










































To drill near the edge of wood with less risk of splitting, first decide what the hole is for. For a plain hole, choose the bit by hole size, clamp the board, and back the exit face with scrap. For a screw, size the pilot hole for that exact screw and wood. No bit or backer makes a hole safe at any distance from the edge.
If the hole or screw leaves only a thin strip of wood next to the edge, change the layout instead of forcing it. The sections below cover plain holes, screw pilots, and what to do when the edge is too close.
For a Non-Screw Hole, Control Tear-Out at Both Faces
For an ordinary hole, the bit and a scrap backer do most of the work of keeping the hole clean. WOOD Magazine's cleaner wood drilling guide recommends a brad-point bit for holes from 1/8 to 1/2 inch. The sharp center point helps keep the bit from wandering off your mark. The outer spurs score the wood fibers before the bit cuts them, which helps reduce tear-out at the rim.
Wandering matters more near an edge. A bit that drifts even slightly pulls the hole toward the thin side, and that leaves less wood than you planned for. Mark the center, set the brad point into the mark, and start slowly so the point seats before the bit spins at full speed.

For holes larger than 1/2 inch, the same source recommends a Forstner bit and tells you to secure the workpiece. Clamp the board to the bench rather than holding it by hand. A larger bit grabs harder, and a loose board can spin or shift as the cutter bites.
The exit face needs its own support. When a bit breaks through the back of a board, the last fibers have nothing behind them, so they tear out instead of being cut. Clamping a piece of scrap tightly under the workpiece gives those fibers support, so the bit exits into the scrap and leaves a cleaner hole. The backer addresses exit-face tear-out. It does not reinforce the thin wood between the hole and the edge.
Sometimes you can't clamp a backer in place, such as on an assembled piece. For a through-hole in that situation, the WOOD Magazine article describes a two-sided method:
- Drill a 1/16-inch starter hole all the way through the workpiece.
- Use that small hole to guide the larger bit from one face, about halfway through.
- Flip the work and drill from the opposite face, following the starter hole, until the two holes meet.
Because neither face is an exit face, neither side tears out the way an unsupported breakout does. Treat this as a clean-hole technique only. It does not decide how close to the edge the hole can go.
If you drill with our Fanttik K2 Ultra Cordless Power Drill, the K2 Ultra drill setup manual covers bit installation and controlled drilling before you start on the workpiece.
Do Not Guess a Screw Pilot or Edge Distance
A screw hole is a different job from a plain hole, so the bit-size bands above don't apply to it. A pilot hole for a screw is sized for the screw's shank and the wood. One generic "use a 1/8-inch bit" rule can be too tight in one board and too loose in another.
Wood hardness changes the answer even for one screw size. For a US #8 wood screw, the Engineering ToolBox chart lists wood screw pilot hole sizes: 7/64 inch in hard wood and 5/64 inch in soft wood. Those two values apply to a #8 screw only. For any other screw, find its own row in a pilot-hole chart instead of reusing these numbers. The chart also doesn't give a pilot depth or say how far from the edge the screw can go, so it covers the diameter choice and nothing more.
For placement and setup, WOOD Magazine's demonstrated screw joint guide shows a practical order of work:
- Clamp the piece the screw passes through to the bench over a scrap backer before drilling it.
- Center the screws across the board's thickness. On that 3/4-inch board, center is 3/8 inch.
- Match up the mating pieces, clamp them, and line up the edges.
- Drill the pilot hole into the end grain of the receiving piece while everything stays clamped.
Clamping before you drill the pilot keeps the holes in line, so the screw doesn't get forced in at an angle. That 3/8-inch figure is simply the center of a 3/4-inch board in this one example. It is not a minimum edge distance for other boards or screws.
When you get to driving the screw, tools like the Fanttik S1 Pro Power Screwdriver with controlled torque and proper bit fit help you avoid over-driving. Our guide on choosing an electric screwdriver set explains those two features.
If the Planned Hole Crowds the Edge, Rework the Layout
If the hole or screw would leave too little wood next to the edge, move the hole or change the design. A better bit or a backer won't make up for the missing material. Before you drill, measure how much wood the hole will actually leave on each side.
The measurement is simple. Subtract the hole diameter from the width of wood available, then divide by two if the hole is centered. As an illustrative example only, a 1/2-inch hole centered on a 3/4-inch-thick edge leaves (3/4 − 1/2) ÷ 2 = 1/8 inch of wood on each side. That thin strip has to resist the bit, and later the screw or bolt. If your layout leaves a strip that thin, treat it as a sign to rethink the plan before you drill.
Work through the options in this order:
- Move the hole inward if the part's function allows it. Every bit of distance from the edge adds material around the hole.
- Use a smaller hole only if the hardware or fastener that goes in it still fits and works.
- Redesign the joint or part if the hole has to sit right at the edge and can't get smaller.

Choosing among these depends on the hardware and how the part carries load, so confirm the replacement fits your hardware before you drill. If a crack starts to open while you drill or drive, stop. Pushing harder will only widen the crack.
FAQs
Can I use the same pilot bit in oak and pine?
Not always. For a US #8 wood screw, an approximate pilot chart lists 7/64 inch for hard wood and 5/64 inch for soft wood. So the right bit for one board may be too small or too large for the other. Check the hardness category and the screw size together before you choose the bit.
Is 3/8 inch from the edge always enough for a screw?
No. In the WOOD Magazine demonstration, 3/8 inch is just the center of a 3/4-inch-thick board. On a thinner board, a wider hole, or a different screw, that same distance can leave a very different amount of wood. Measure what your own layout leaves before you drill.
How do I get two holes to meet when drilling in from opposite edges?
For a bore that enters from both edges and meets in the middle, accuracy comes from the setup. WOOD Magazine's method to drill accurately from opposite edges uses a drill press that bores at exactly 90° to its table. Its fence is set to center a brad-point bit on a same-thickness scrap before you drill the real piece.
Does a pilot hole mean a screw near the edge won't split the wood?
A pilot hole sized for the screw and wood gives the screw a path in, but it doesn't make every position safe. Placement, board thickness, and how much wood surrounds the screw still matter. If the layout leaves only a thin strip, move the screw or redesign the joint.
Continue reading
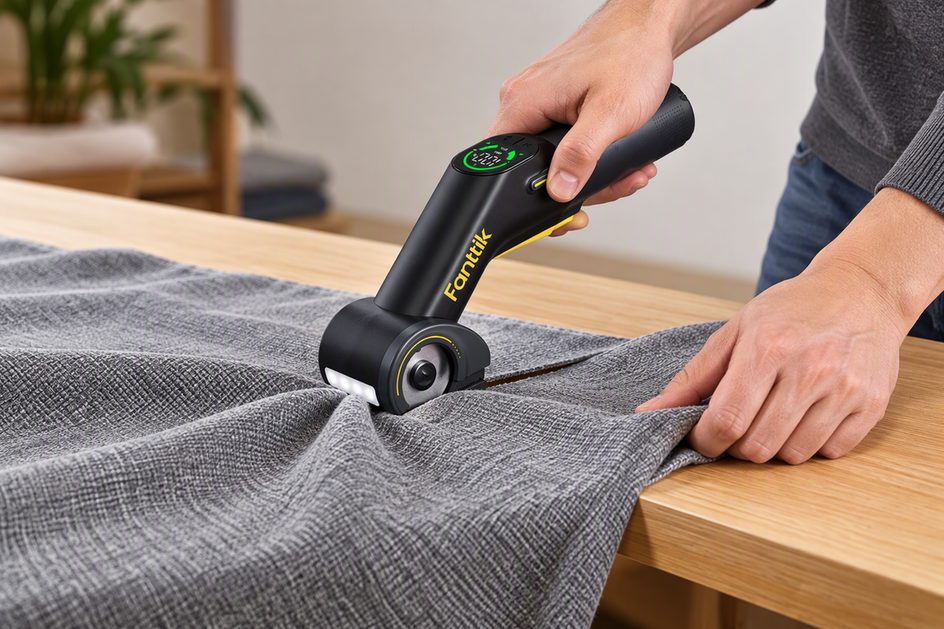 Why Do Electric Scissors Bunch or Pull Fabric?
A practical troubleshooting path for fabric that gathers or pulls under powered scissors: prep the fabric, test one...
Why Do Electric Scissors Bunch or Pull Fabric?
A practical troubleshooting path for fabric that gathers or pulls under powered scissors: prep the fabric, test one...
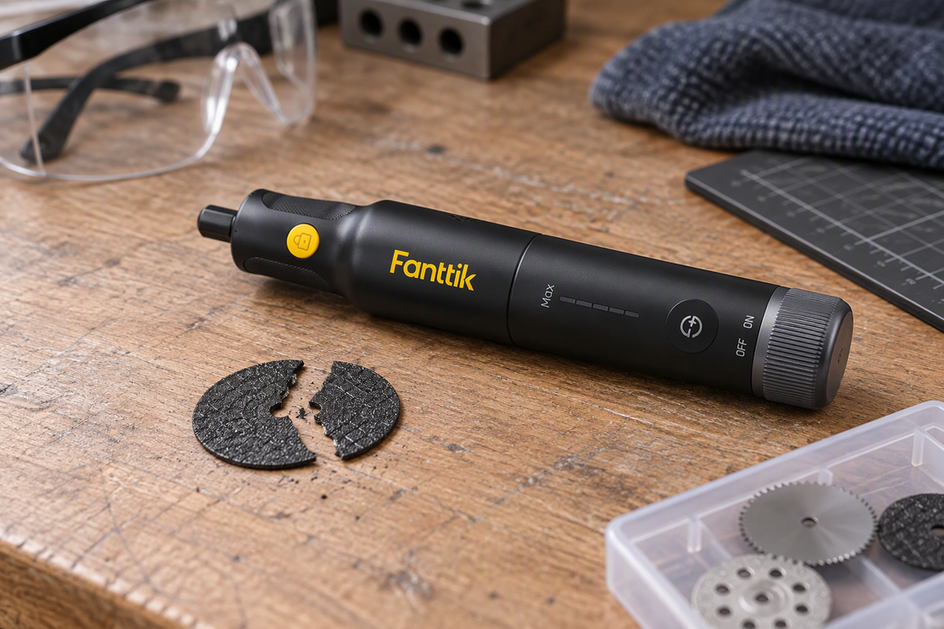 Rotary Tool Cutting Disc Keeps Breaking? What to Check First
A simple troubleshooting path for repeated cutting disc failures: pause the job, confirm documented fit and speed, check...
Rotary Tool Cutting Disc Keeps Breaking? What to Check First
A simple troubleshooting path for repeated cutting disc failures: pause the job, confirm documented fit and speed, check...
Leave a comment
This site is protected by hCaptcha and the hCaptcha Privacy Policy and Terms of Service apply.