










































A drill bit walks across the surface because its tip has nothing to settle into at first contact. It can slide sideways before the cutting edges bite. That skid is a different problem from a drill aimed off the mark or a workpiece that shifts, and each one has its own fix.
The fixes that hold up are about the start and the setup, not about force. Give the tip a seat or a stiffer starting tool, then line up the drill and lock the workpiece down before you pull the trigger or lower the spindle.
Why Does a Drill Bit Walk Before It Starts Cutting?
Drill bit walking happens in the short window before a hole exists. Whether you use a drill press or a handheld cordless power drill, once the bit cuts a shallow recess, the walls hold the tip in place. Before then, the tip sits on a flat or smooth surface with nothing to hold it sideways.
Stiffness matters in that window too. MIT's drill press guide says a center drill has a thick shaft and very short flutes. That makes it very stiff, so it won't walk as the hole gets started. A standard twist drill is longer and thinner, so it has more room to deflect before it has a recess to guide it.

Two other problems can look like walking, but they have different causes:
- The drill is not lined up with the mark. The bit starts cleanly but in the wrong spot, because the tip was never over the mark to begin with.
- The workpiece moves. The bit stays put while the material shifts or turns underneath it.
To tell them apart, watch the first second of drilling. If the tip skids across the surface, work on the starting point. If the tip lands off the mark, check your alignment. If the piece slides or turns, work on how it is held. Vibration can also push a handheld bit off line. Our guide to vibration drift in DIY tasks covers that separate issue.

How Do You Give the Bit a More Stable Starting Point?
Give the tip a place to seat before it cuts. The best-documented method comes from metalworking on a drilling machine: set a twist drill into a center-punched mark, or start with a center drill when you need more precision.
The U.S. Army's drilling-machine manual says that to start a twist drill, you align the drill point with a center-punched mark for a twist drill on the workpiece. The punch leaves a small dimple. The drill point can seat in it instead of resting on a smooth surface. The same manual says that when you need more accurate centering, you need more preparation. It names the center drill, a combination countersink and drill, as the best way to align and start a hole. That matches MIT's point about stiffness. A short, rigid tool cuts an accurate starting cone, and the twist drill then follows that cone.
Pick the method based on how accurate the hole needs to be:
- The hole needs to land close to a mark in metal: center-punch the mark, then seat the twist drill point in the dimple.
- The position has to be more precise: start the hole with a center drill, then switch to the twist drill.
- The stock is round: the manual holds round stock in V-blocks for drilling, so the curved surface can't roll away from the bit.
These methods come from metal drilling on a drilling machine. Don't treat them as proven for every material, every slick surface, or every handheld job. If you're drilling a pilot hole for screws in thin metal, our guide to driving screws into sheet metal explains how to match the pilot hole to the fastener.
How Do You Keep a Drill Press and Workpiece Aligned?
On a drill press, check alignment with the power off, then secure the work before you drill. These steps follow the machine-off alignment check and two-point clamping described in Northeastern University's makerspace guide:
- Turn the machine off and lower the bit. Use the downfeed handle to bring the bit down to the work. Confirm the tip lines up with the spot you marked.
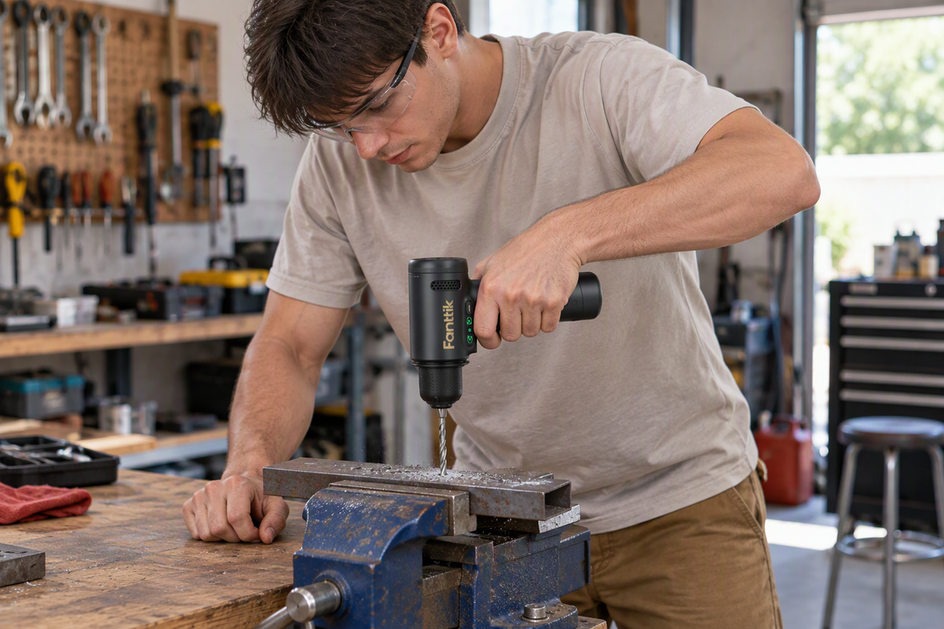
- Secure the workpiece to the table. Use clamps or a vise so the piece can't move once the bit makes contact.
- Clamp in two places when you use clamps. With only one clamp, that clamp becomes a pivot point, and the piece can spin dangerously once drilling starts.
- Use a hold-down on a woodworking drill press. OSHA's woodworking drill-press hold-down guidance warns that a bit can catch and twist stock held by hand. Whenever possible, use a hold-down fixture instead of your hands.
After setup, use the result to find the problem. The bit lined up with the mark when the power was off. If the hole still starts off the mark, the start point is the issue, so add a punched dimple or a center drill. If the piece moved, recheck the clamps or vise before you drill again.
FAQs
Do drill-press setup steps apply to a handheld drill?
Not directly. The power-off alignment check, the two-clamp rule, and OSHA's hold-down advice all come from drill-press guidance, and OSHA's covers woodworking drill presses. The diagnosis still works with a handheld drill, though. A tip that skids before any hole forms needs a better start. A piece that slides or turns needs better holding.
Does pushing harder stop a bit from walking?
None of the fixes described here depend on extra force. They work by giving the tip a seat, starting with a stiffer tool, or holding the work still. If the tip keeps skidding, change how the hole starts before you add pressure.
Is a bit slipping in the chuck the same as walking?
No. Walking means the tip moves across the work surface. Chuck slip means the bit spins or pulls out in the drill's jaws, so the bit loses grip on the drill, not on the work. If you own our K2 Ultra drill, the K2 Ultra troubleshooting guide covers a chuck that won't grip.
How do you drill into a curved or round surface?
A curved surface gives a bit even less to hold at first contact. For round stock on a drilling machine, the Army manual uses V-blocks to hold the piece so it can't roll. Line the drill point up with a center-punched mark, just as you would on flat stock.
Continue reading
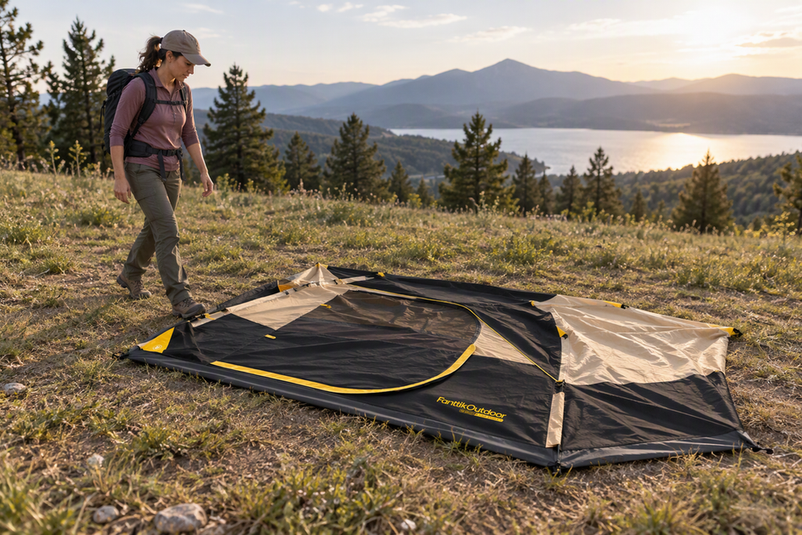 How to Pitch a Tent on Uneven Ground
A practical go/no-go guide for sloped or bumpy campsites, covering site boundaries, tent pads, durable surfaces, and when...
How to Pitch a Tent on Uneven Ground
A practical go/no-go guide for sloped or bumpy campsites, covering site boundaries, tent pads, durable surfaces, and when...
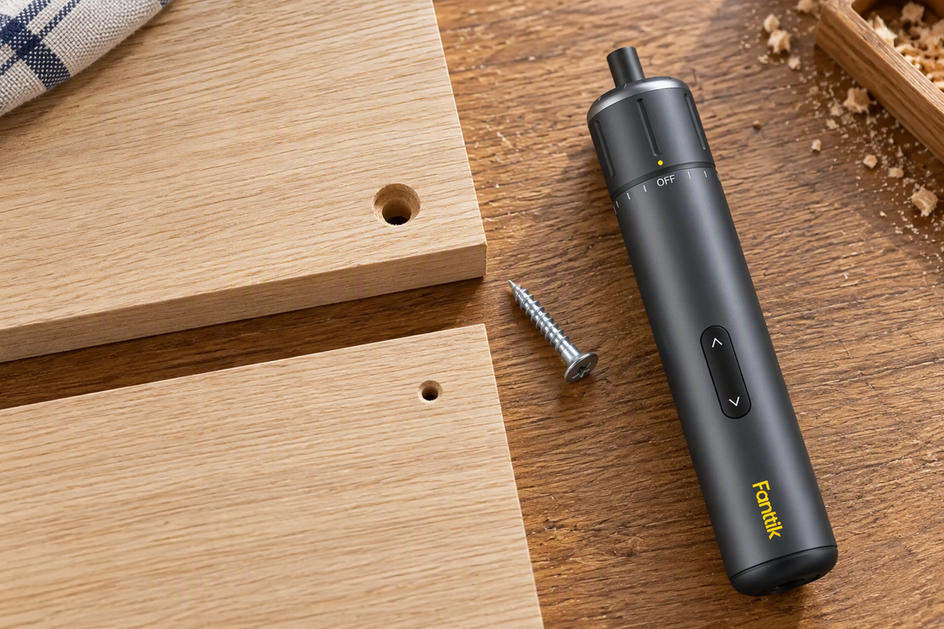 Pilot Hole vs. Clearance Hole: Which One Do You Need?
A pilot hole gives screw threads a guided path to grip; a clearance hole lets a screw pass...
Pilot Hole vs. Clearance Hole: Which One Do You Need?
A pilot hole gives screw threads a guided path to grip; a clearance hole lets a screw pass...
Leave a comment
This site is protected by hCaptcha and the hCaptcha Privacy Policy and Terms of Service apply.