










































If your rotary tool cutting disc keeps breaking, stop putting new discs on the same setup. Repeated rotary tool disc breakage means something in the setup or the cut needs a closer look, and a fresh disc won't tell you what that is.
Check three things in order. First, confirm the tool, mandrel, and disc are a documented match, including speed. Then inspect the disc and mounting parts, and look at how you handle the cut. If none of that explains the breakage, keep the tool stopped and go to the maker's instructions or service support.
What to Check First When a Rotary Tool Disc Breaks
Before you mount another disc on your cordless rotary tool, pause and work through this sequence. Each step gets its own section below.
- Pause the job. Don't swap in a fresh disc and restart the same setup.
- Confirm the match. The exact tool, mandrel, and disc should be a documented pairing from a verified rotary tool accessory kit, including any speed limit.
- Inspect the parts. Check the disc and the parts that hold it for damage.
- Review the cut. Look at how the disc is being loaded while it cuts.
- Escalate if it's still unclear. If nothing explains the breakage, keep the tool stopped and use the manufacturer's instructions or service guidance.
One rule applies to every step across any rotary tool setup. Don't restart with a damaged disc, or with a tool, mandrel, and disc pairing you can't confirm from the instructions. OSHA's power tool fact sheet was written for shipyard work, not home shops. Its core advice still points the same way: examine tools for damage, don't use damaged tools, and run tools and accessories by the manufacturer's instructions.
Verify the Tool, Mandrel, and Disc Match
A disc that slides onto the mandrel and tightens down is not automatically a match. The instructions for your exact tool and accessory decide compatibility, and that includes any speed rating and the job the disc is made for.
Work through each part of the pairing:
- Tool: Write down the exact model name or number and find that model's manual. Speed settings and accessory guidance can differ from one model to the next.
- Mandrel: Use the mandrel or mounting system the instructions specify for your disc, not just one that happens to fit.
- Disc: Read the packaging and the disc itself for its type, intended material, and any maximum speed.
- Intended use: Make sure the disc maker lists both your work material and the cutting task.
- Speed: Compare the speed you plan to run with any maximum marked on the disc or stated in its instructions.

Some discs are marked as Type 1/41 or 27/42 cutting wheels. For those, UAMA's grinding wheel safety guide adds two specific checks. The machine speed must not exceed the maximum operating speed marked on the wheel, and the wheel hole or threads must fit the machine arbor properly. Passing both clears the wheel side of the pairing. It doesn't confirm that the tool and mandrel are right for that disc.
Sometimes the tool's manual doesn't list your disc, or you can't find the disc's speed rating. Close that gap before the next cut. Ask the tool or disc maker, or switch to an accessory the tool's manual names.
Inspect the Disc and Mounting Parts
Treat the disc and the parts that hold it as two separate checks. A clean-looking disc doesn't clear a worn mandrel, and a good mandrel doesn't clear a chipped disc.
- Disc condition: For covered Type 1/41 or 27/42 cutting wheels, UAMA advises checking for cracks or other damage before mounting. Check every disc this way, including new ones straight from the pack.
- Mandrel and screw: Compare the mandrel, its screw, and any washers with the tool or accessory instructions for condition and correct assembly order.
- Collet or chuck: Check the part that grips the mandrel against the tool manual's mounting directions. Make sure the mandrel is seated the way the manual describes.
- Damaged or suspect parts: Set any damaged disc or mounting part aside and don't reinstall it. Replace it or seek service the way the tool or accessory maker directs.

Skip improvised tests and repairs borrowed from other tools. A check written for bench-grinder wheels is not a rotary-tool procedure, and a bent or patched part is not a fix.
Review the Cutting Method
Once the parts check out, look at how the disc is loaded during the cut. For discs marked as Type 1/41 or 27/42 cutting wheels, UAMA gives specific handling rules.
- Sideways force: Watch for leaning on the disc sideways to steer, widen, or straighten a cut. UAMA's handling rules say not to apply side pressure to a cutting wheel.
- Twisting or pinching: Notice whether the disc gets twisted, bent, or wedged in the slot as you move through the material. UAMA says not to twist, bend, or jam any wheel, so stop and come back into the cut without twisting or wedging the disc.
- Using the flat face: Smoothing, deburring, or shaping with the side of the disc counts as grinding. UAMA says covered Type 1/41 or 27/42 cutting wheels are for cutting only, so switch to an accessory made for grinding.
Your disc may not carry one of those type markings. In that case, follow the handling directions from the disc and tool makers rather than assuming these rules cover it.
If Breakage Continues
If the setup checks out and discs still break, leave the tool stopped. Ongoing rotary tool disc breakage with a verified pairing, sound parts, and careful handling needs guidance from the tool or accessory maker, not a guess. Contact them with the tool model, the disc type and markings, the material you were cutting, and what happened just before the break.
Then follow their service direction. Avoid improvised fixes such as shimming a loose mandrel or modifying the tool. If you're using one of our rotary tools, contact our support team with the same details to resolve the issue safely before cutting again.
FAQs
What do Type 1/41 and 27/42 markings mean for my disc?
These are wheel-type designations. UAMA's speed, fit, inspection, and handling guidance applies specifically to cutting wheels with those types. If your disc carries one of these markings, those rules apply directly. If it has no type marking, the disc and tool makers' instructions are your reference.
How does my tool's speed setting relate to the disc's speed rating?
The speed rating marked on a disc is a ceiling. For covered wheels, UAMA says the machine speed must not exceed it. On a variable-speed rotary tool, compare that ceiling with the setting you'll actually use. Also compare it with the tool's top setting if you might turn the speed up partway through a job.
Do grinder or saw safety rules apply to a rotary tool?
Not automatically. Grinders, saws, and rotary tools use different accessories, mounting systems, and speeds, so a procedure written for one doesn't carry over to another. Use instructions written for your rotary tool and the specific disc. Apply guidance like UAMA's only to the wheel types it covers.
Where can I find the manual for a Fanttik rotary tool?
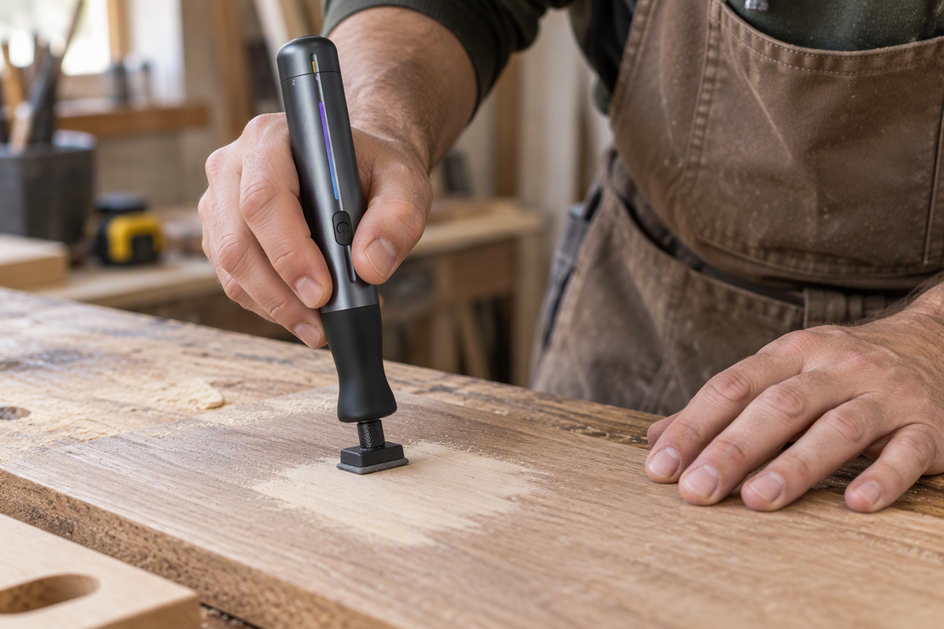
If you own the F2 PRO, our F2 PRO manual and quick start covers setup, the speed control, bit changes, and safety. Use the manual for your exact model, since accessory and speed details shouldn't be assumed across models.
Continue reading
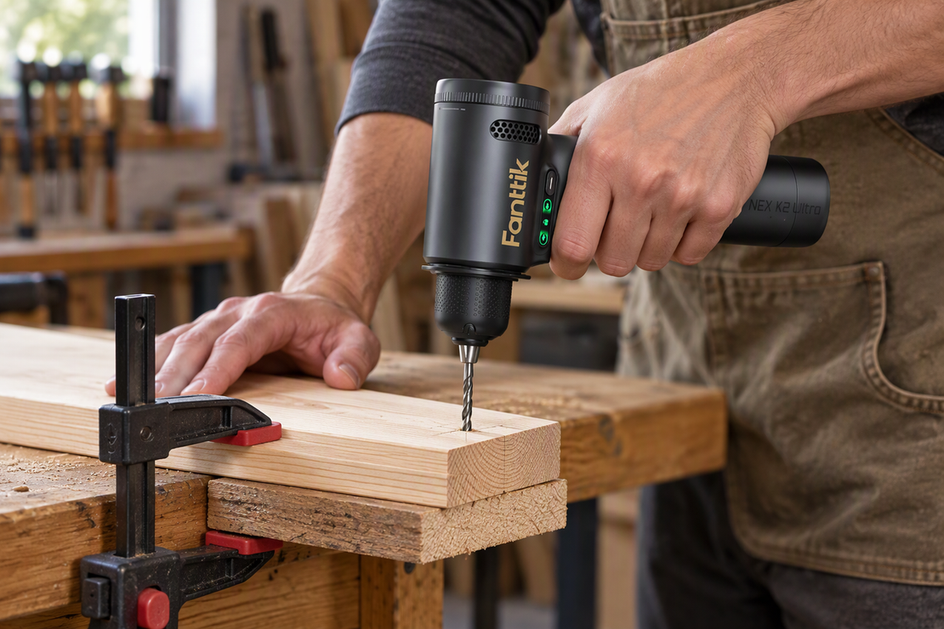 How to Drill Near the Edge of Wood Without Splitting It
A practical guide to cleaner holes close to a board edge: brad-point vs. Forstner bits, scrap backers, #8...
How to Drill Near the Edge of Wood Without Splitting It
A practical guide to cleaner holes close to a board edge: brad-point vs. Forstner bits, scrap backers, #8...
 One-Door or Two-Door Tent: Which Layout Works Better for Two Campers?
Two campers with different nighttime routines gain most from opposite-side doors, but only if each door lines up...
One-Door or Two-Door Tent: Which Layout Works Better for Two Campers?
Two campers with different nighttime routines gain most from opposite-side doors, but only if each door lines up...
Leave a comment
This site is protected by hCaptcha and the hCaptcha Privacy Policy and Terms of Service apply.