


Everything you need to get the Fanttik F2 PRO Cordless Rotary Tool Kit running: where to find documentation, how to install bits, how to use the 5-speed control, how the RevoStor hub works, and the key safety rules. The F2 PRO runs up to 25,000 RPM across 5 variable speeds, ships with 55 accessories and a 3000mAh battery, and uses a 1/8 in collet.
Where to Find the F2 PRO Manual
Fanttik does not publish a separate downloadable PDF manual for the F2 PRO. Everything you need to set up and operate the tool ships with it and is documented on the product page:
- In the box: A printed quick-start card and safety sheet ship with the tool.
- Product page: fanttik.com/products/fanttik-f2-pro-cordless-rotary-tool-kit lists the full specification sheet, accessory breakdown, and feature explanations.
- Support center: fanttik.com/pages/contact-us — request documentation, ask about accessory compatibility, or open a warranty claim.
For detail that isn't on the product page — torque figures, certification documents, or third-party bit compatibility — contact Fanttik support directly rather than relying on third-party listings, which often carry incorrect specs.
Quick Spec Sheet
| Parameter | Fanttik F2 PRO |
|---|---|
| Speed settings | 5 variable speeds |
| Speed range | 5,000–25,000 RPM |
| Battery | 3000mAh |
| Runtime | 45–120 minutes (speed-dependent) |
| Collet size | 1/8 in |
| Accessories included | 55 |
| Core functions | Cut, Grind, Polish, Engrave |
| Accessory storage | RevoStor 360° rotating magnetic hub |
| Charging | Included charging cable |
Quick-Start Steps
- Charge before first use. Connect the included charging cable to the F2 PRO's charging port. The LED shows charging status and changes state when the 3000mAh battery is full. Don't run the tool on a critically low battery — the motor won't hold full speed under load.
- Check the collet size. The F2 PRO uses a 1/8 in collet, so every bit needs a 1/8 in shank. A mismatched shank can damage the collet or accessory and causes wobble.
- Insert a bit. Hold the spindle-lock (or use the supplied wrench, depending on your kit variant) so the shaft can't turn, then snug the collet nut — firm, not forced. A loose nut causes wobble and vibration.
- Start at the lowest speed. Power on at speed 1 and confirm the bit runs true before stepping up; if it wobbles, power off, re-seat the bit, and retighten.
- Step up to working speed. Use the 5-speed control to match the material — softer materials cut well at lower RPM, harder materials need higher RPM.
Using the 5-Speed Control
The F2 PRO offers 5 variable speeds spanning 5,000 to 25,000 RPM:
- Lower speeds (around 5,000 RPM): Polishing, light engraving on soft materials, and detail work — lower speed reduces heat on delicate workpieces.
- Middle speeds: Sanding, carving wood, shaping plastic or resin, surface prep on metal.
- Top speed (25,000 RPM): Cutting, grinding, and aggressive removal on hardwood, glass, or metal.
Start low and work up. Higher speeds also draw the battery down faster — expect runtime closer to 45 minutes at full speed and up to 120 minutes at lighter loads.
The RevoStor Accessory Hub
The F2 PRO ships with the RevoStor Hub, a 360° rotating magnetic accessory rack that holds your bits in place and rotates so you can grab the one you need without digging through a case. Sort the bits by function — cutting, grinding, polishing, engraving — so swaps are quick. The magnetic hold keeps small bits from rolling off the bench, but store the hub away from fine metal filings that can cling to the magnets.
Changing Bits
The 1/8 in collet accepts the included accessories and any standard third-party bit with a matching 1/8 in shank.
- Power off and let the bit stop completely.
- Hold the spindle-lock to immobilize the shaft.
- Loosen the collet nut counterclockwise until the bit slides out freely.
- Insert the new bit until the shank is fully seated — no shank gap visible between the collet and nut.
- Tighten clockwise until snug. Don't overtighten; the collet can be damaged if forced.
Charging & Safety
Charge with the included cable before first use; the LED shows progress. Do not operate the tool while it is connected to the charger.
- Always wear eye protection — rotary tools throw debris at high speed.
- Confirm the bit is fully seated and the collet nut is snug before powering on.
- Let the tool reach speed before touching the workpiece, and let it stop fully before setting it down.
- Keep the vents clear so the motor and battery don't overheat during long sessions.
F2 PRO vs F2 Master
The F2 PRO and F2 Master are different tools in the same family. The PRO uses a 1/8 in collet, a 3000mAh battery, 5 variable speeds, the RevoStor hub, and 55 accessories. If you own the F2 Master — which uses a smaller 3/32 in collet — follow the F2 Master manual instead; the collets and bit sets are not interchangeable. Check the model name on your tool before ordering bits.
FAQ
Q: Is there a downloadable PDF manual for the F2 PRO?
A: No. Fanttik documents the F2 PRO on its product page rather than as a standalone PDF. For setup and safety, use the printed card in the box; for anything more detailed, contact Fanttik support at fanttik.com/pages/contact-us.
Q: What size bits fit the F2 PRO?
A: The F2 PRO uses a 1/8 in collet, so bits need a 1/8 in shank. This is different from the F2 Master's 3/32 in collet — don't assume bits transfer between the two tools.
Q: How long does the F2 PRO run on a charge?
A: Between roughly 45 and 120 minutes, depending on speed and load. Light polishing at lower speed lasts longest; full-speed cutting drains the 3000mAh battery fastest.
Q: Can I use the F2 PRO while it's charging?
A: No. Charge it fully, then unplug and operate. Running the motor with the charger connected is not supported.
Q: The bit wobbles at high speed — what's wrong?
A: The collet nut is loose or the bit shank isn't fully seated. Power off, loosen the nut, re-insert the bit until it bottoms out, and retighten snugly.
Related Support
- Fanttik F2 Master Manual — setup and quick start for the sibling F2 Master tool.
- Fanttik F2 Master Troubleshooting Guide — full issue index for the F2 Master.
- Fanttik F2 PRO product page — full specifications, accessory list, and purchasing.
- Fanttik Support Center — warranty, contact, and documentation requests.
Continue reading
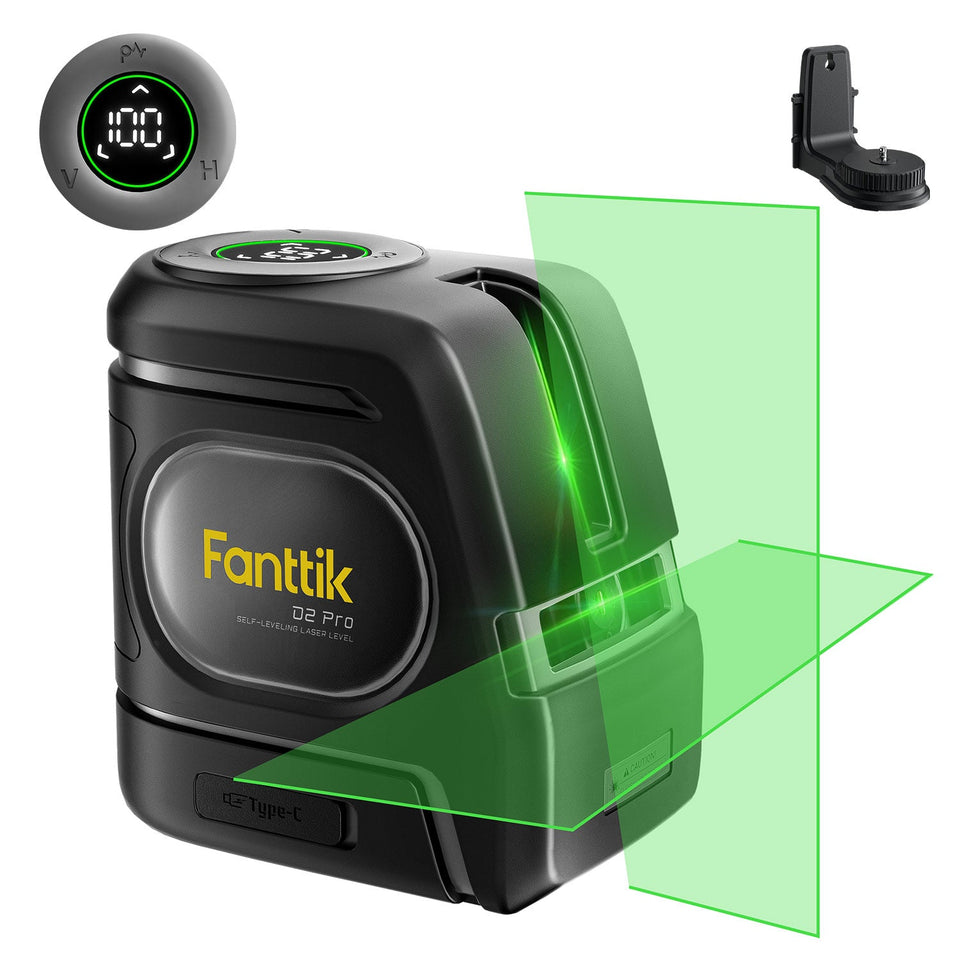
 Fanttik Laser Level Self-Leveling Not Working: Pendulum & Tilt Fix
Fanttik D2 PRO or D16 APEX won't self-level? Fix the locked pendulum, out-of-range tilt warning, and calibration drift...
Fanttik Laser Level Self-Leveling Not Working: Pendulum & Tilt Fix
Fanttik D2 PRO or D16 APEX won't self-level? Fix the locked pendulum, out-of-range tilt warning, and calibration drift...
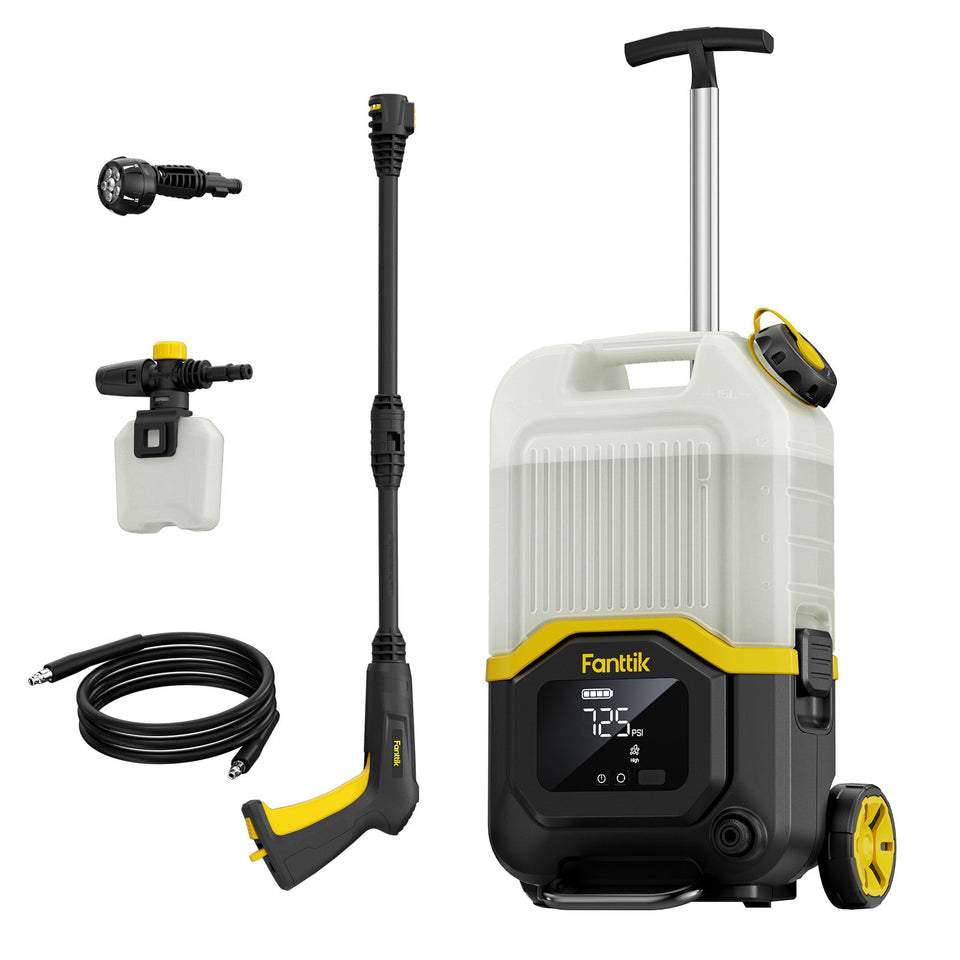 How to Use Fanttik NB8 Ultra Pressure Washer: 7 Steps
Learn how to use the Fanttik NB8 Ultra pressure washer: fill and prime the tank, connect the hose,...
How to Use Fanttik NB8 Ultra Pressure Washer: 7 Steps
Learn how to use the Fanttik NB8 Ultra pressure washer: fill and prime the tank, connect the hose,...
Leave a comment
This site is protected by hCaptcha and the hCaptcha Privacy Policy and Terms of Service apply.