


Everything you need to get the Fanttik X9 Pro Portable Tire Inflator working from the first charge: where to download the manual, how to charge, how to set a target pressure with auto-stop, how to use the four inflation modes, and the safety rules that matter. The X9 Pro is a cordless 150 PSI air compressor with a built-in rechargeable battery, a digital tire pressure gauge, and an integrated hose, sized for cars, electric bikes, motorcycles, and sports balls.
Where to Find the X9 Pro Manual
Fanttik publishes the official user manual as a downloadable PDF — no account or registration required:
- PDF download: Fanttik X9 Pro User Manual PDF
- In the box: A printed quick-start guide ships with the inflator.
- Support hub: fanttik.com/pages/contact-us lists product documentation and warranty contacts.
Use the PDF for the full mode tables, indicator-light meanings, and complete safety certifications. The printed card covers first-time setup and essential warnings only.
Quick Spec Sheet
| Parameter | Fanttik X9 Pro |
|---|---|
| Maximum pressure | 150 PSI |
| Fast inflate | About 1 minute (as fast as 27 seconds on smaller tires) |
| Runtime per charge | 23 minutes |
| Inflation modes | 4 presets — car, bike, motorcycle, ball |
| Auto-stop | Yes — stops automatically at your set pressure |
| Pressure gauge | Built-in digital tire pressure gauge |
| Battery | Built-in rechargeable (cordless) |
| Charging port | USB-C, fast charge |
| Hose | Integrated |
| Storage | Built-in storage for hose and nozzles |
Quick-Start Steps
- Charge before first use. Connect the included USB-C cable and plug into a USB-C wall adapter; let it reach a full charge before the first inflation. The indicator light shows charging status — see the manual PDF for the exact pattern.
- Choose your inflation mode. Press the mode button to cycle through the four presets — car, bike, motorcycle, and ball — so you start in the right pressure range.
- Set your target pressure. Use the plus/minus buttons to dial in the exact PSI. The gauge shows the target while you set it, then switches to live pressure once inflation starts.
- Connect the hose to the valve. Unscrew the integrated hose and thread it onto the tire's Schrader valve until snug and square, so air does not leak around the connection.
- Start inflation. Press start. The X9 Pro reads current pressure first, then runs the pump as the live reading climbs toward your target.
- Let auto-stop finish. At your set pressure the pump stops automatically — no need to watch the gauge. Unthread the hose, store it in the built-in compartment, and you are done.
Inflation Modes Explained
The X9 Pro has four preset modes. Each sets a default target appropriate for that category; you then fine-tune the exact PSI with the plus/minus buttons.
- Car mode: Passenger and compact-car tires. Set the target to the PSI on your driver-side door jamb, not the higher number on the tire sidewall.
- Bike mode: Bicycle and electric-bike tires, which run higher than car tires. Use the range printed on the bike tire sidewall.
- Motorcycle mode: Motorcycle tires. Match the figure in your manual or on the swingarm sticker.
- Ball mode: Sports balls and low-pressure items. Fit the needle adapter and set a low target so you do not over-inflate.
Whichever mode you pick, the displayed target is what auto-stop uses, so setting it correctly is what prevents both under- and over-inflation.
Charging and Battery Care
The X9 Pro has a built-in rechargeable battery and charges over USB-C with fast charge support. A few habits keep it healthy:
- Charge with a proper USB-C wall adapter rather than a low-current computer port for a quick top-up.
- The pump runs about 23 minutes of continuous inflation per full charge — enough for a set of car tires. Top up before a long job.
- Recharge every few months if it sits unused so the battery does not deep-discharge, and keep it out of a hot car interior or direct sun.
Reading the Gauge and Nozzles
The digital gauge shows live tire pressure as the pump runs and the target while you dial it in. For an accurate baseline, check pressure when tires are cold — before driving, or at least three hours after. The X9 Pro threads onto standard Schrader (car/motorcycle) valves, and the included accessories adapt to Presta bike valves and sports balls — store them in the built-in compartment so they stay with the unit.
Safety Rules
- Never inflate past the maximum pressure printed on the tire or item. The X9 Pro can reach 150 PSI — well above most car-tire pressures — so always set a correct target and let auto-stop do the rest.
- For cars, set the target to the PSI on the door jamb, not the higher maximum on the tire sidewall.
- Let the unit cool between long jobs. Continuous high-pressure inflation warms the pump; pausing briefly between tires keeps it easy to handle.
- Keep the hose connection square and snug so it does not blow off under pressure.
- Keep the inflator away from children during use — moving pump parts and high-pressure air require adult handling.
FAQ
Q: Where do I download the Fanttik X9 Pro manual PDF?
A: The official manual is available directly from Fanttik's servers. No account or registration is needed.
Q: How do I set a target pressure and use auto-stop?
A: Pick the matching mode, then use the plus/minus buttons to set the exact PSI. When you start inflation, the X9 Pro reads current pressure, runs the pump, and stops automatically once it reaches your target.
Q: What are the four modes for?
A: Car, bike, motorcycle, and ball. Each sets a default target in the right range for that category; you then fine-tune the exact PSI before inflating.
Q: How long does the X9 Pro run on one charge?
A: Up to 23 minutes of continuous inflation per full charge — enough for a typical set of car tires. Recharge over USB-C with fast charge support.
Q: How fast does it inflate a tire?
A: About a minute for many tires, and as fast as 27 seconds on smaller ones. Larger tires and bigger pressure jumps take longer.
Q: Can I use it on bike and motorcycle valves?
A: Yes. It threads onto standard Schrader valves, and the included accessories adapt to Presta bike valves and sports balls. See the manual PDF for fitting each adapter.
Related Support
- Fanttik X9 Pro Troubleshooting Guide — gauge accuracy, over-inflation, won't power on, and other common issues.
- How to Use a Fanttik Tire Inflator — step-by-step inflation walkthrough that applies across Fanttik inflators.
- Fanttik X9 Pro product page — full specifications and purchasing.
- Fanttik Support Center — warranty claims, contact form, and all product documentation.
Continue reading
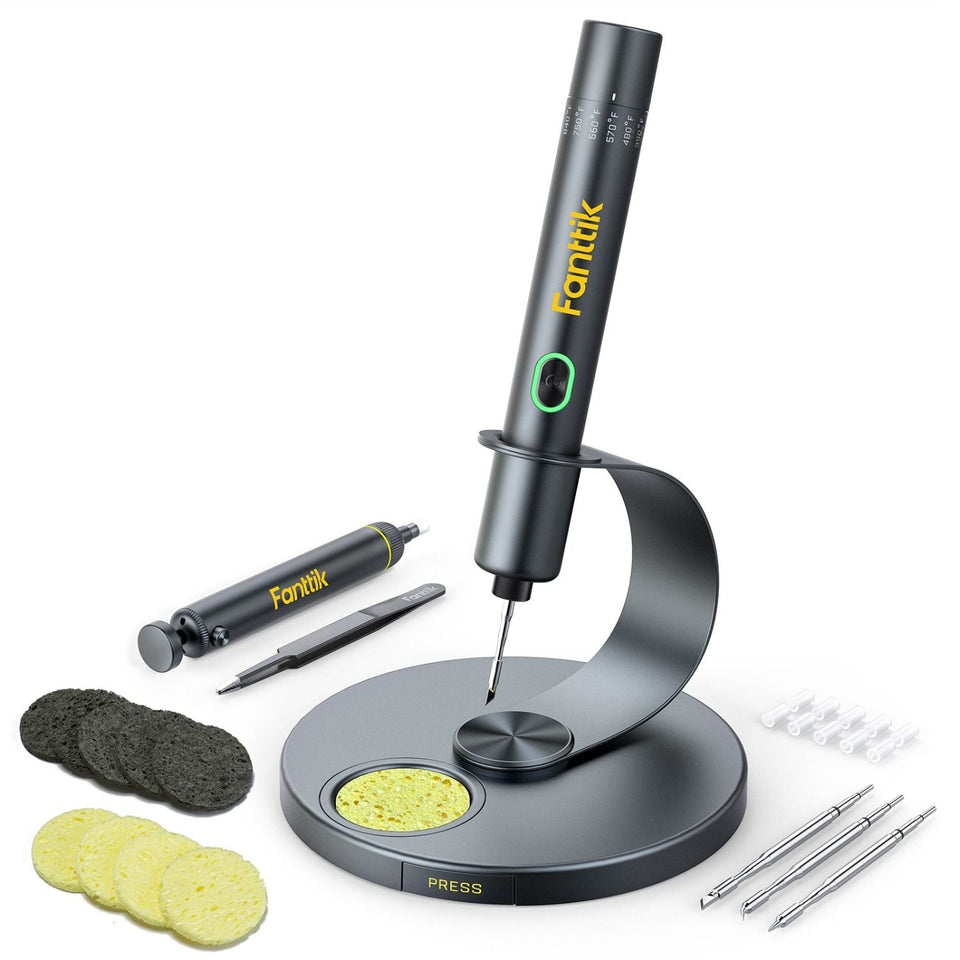 How to Use Fanttik T1 Max Soldering Iron: 7 Steps
Learn how to use the Fanttik T1 Max soldering iron: charge, install and tin a C210 tip, set...
How to Use Fanttik T1 Max Soldering Iron: 7 Steps
Learn how to use the Fanttik T1 Max soldering iron: charge, install and tin a C210 tip, set...
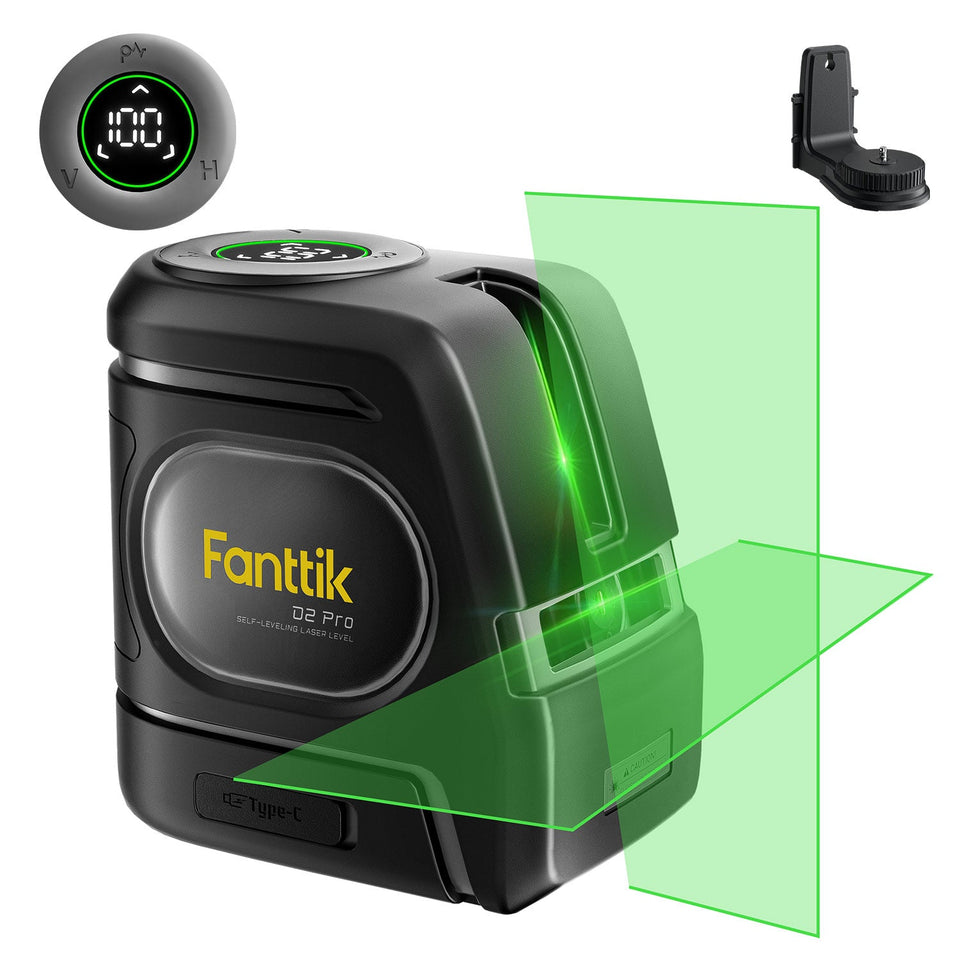 How to Use a Fanttik Laser Level: D2 PRO & D16 APEX
Learn how to use Fanttik D2 PRO and D16 APEX laser levels: self-level, choose lines, lock manual tilt...
How to Use a Fanttik Laser Level: D2 PRO & D16 APEX
Learn how to use Fanttik D2 PRO and D16 APEX laser levels: self-level, choose lines, lock manual tilt...

Leave a comment
This site is protected by hCaptcha and the hCaptcha Privacy Policy and Terms of Service apply.