









































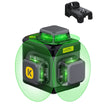

If your Fanttik D2 PRO or D16 APEX laser level powers up but the lines blink or sit visibly crooked, the self-leveling system is the part to look at — not the laser diode. Both models use a gravity-driven pendulum that swings the laser module level on its own. When self-leveling stops working it is almost always one of three things: the pendulum is still locked, the tool is outside its self-leveling tilt range, or the unit has drifted out of calibration. This page walks each one in order.
Symptom Quick Check
- Lines come on but sit at a fixed angle and never move — pendulum is locked, or you are in manual/locked mode.
- Lines blink continuously and the unit beeps or flashes — the tool is tilted past its self-leveling range and the out-of-level warning is active.
- Lines are steady and look level by eye, but a measured reference shows them off — calibration drift, not a self-leveling fault.
- Lines swing and never settle on any surface — pendulum is free but the setup surface is too unstable, or the damping system needs to settle.
Cause 1: The Pendulum Lock Is Still Engaged
This is the single most common reason a Fanttik laser "won't self-level." Both the D2 PRO and the D16 APEX have a transport lock that immobilizes the pendulum so the laser module can't swing and get damaged in transit. With the lock engaged the laser still powers on and projects lines — but those lines are frozen at whatever angle the tool is sitting, so they look crooked and never correct themselves.
- Locate the lock switch and set it to the unlocked position before use. With the pendulum free, you should feel or hear a faint swing if you gently tilt the tool by hand.
- If you selected manual mode (sometimes called locked or tilt mode), the pendulum is deliberately held still so you can project a deliberately angled line. Switch back to the standard self-leveling mode to restore automatic leveling.
- Always re-lock the pendulum before putting the tool back in its case. Storing it unlocked is what leads to the calibration drift covered in Cause 3.
Cause 2: The Tool Is Outside Its Self-Leveling Tilt Range
A pendulum laser can only correct a small amount of tilt — once the base sits past that range, the pendulum hits the end of its travel and can no longer find level. When that happens the Fanttik laser warns you instead of projecting a wrong line: the lines blink, and depending on the model you may also get an audible or flashing alert.
- Set the laser on a surface that is already roughly level. The self-leveling system handles small deviations, not a steeply sloped floor or a tilted shelf.
- If you are mounting to a tripod or bracket, level the mount first. On the D16 APEX especially, a tripod head that is cranked over to one side will push the tool past range.
- Once the blinking stops and the lines hold steady, the pendulum has found level and the projection is trustworthy.
- If the lines blink even on a flat, stable surface, re-check Cause 1 (lock) before assuming a fault — a half-engaged lock can mimic an out-of-range warning.
Cause 3: Calibration Drift
If the pendulum is free, the surface is level, and the lines hold steady but are measurably off against a known reference, the unit has drifted out of calibration. This is mechanical, not electronic — usually from a drop, a hard knock, or repeated storage with the pendulum left unlocked so it bangs around in transit. The D16 APEX uses TPR soft rubber rated for 1m drop resistance, which reduces this risk, but no pendulum tool is immune to a hard enough impact.
To check for drift: place the tool a few feet from a wall, mark where the line lands, rotate it 180 degrees on the same spot, and compare. A small, consistent offset between the two marks indicates drift. Fanttik laser levels are factory-calibrated and field re-calibration is not a user adjustment on these models — if the offset is beyond what your work tolerates, treat it as a service or warranty case rather than opening the housing.
Step-by-Step Recovery
- Confirm the pendulum lock is in the unlocked position.
- Confirm you are in self-leveling mode, not manual/locked mode.
- Place the tool on a surface that is already roughly level and stable; if on a tripod, level the head first.
- Power on and wait a few seconds for the pendulum to settle. Steady lines mean self-leveling succeeded.
- If the lines keep blinking on a level surface, the unit is reading out-of-range — move it to a flatter spot.
- If the lines are steady but measurably off, run the 180-degree rotation check above to confirm calibration drift, then contact support.
When to Contact Support / Warranty
Open a warranty ticket through the Fanttik support page if, after confirming the lock is off and the tool is on a level surface, the lines still will not settle or are consistently off in the rotation test. Include:
- Model (D2 PRO or D16 APEX) and how the tool was being mounted (flat surface, tripod, magnetic bracket).
- Whether the pendulum swings freely when you tilt the tool by hand with the lock disengaged.
- Whether the lines blink, hold steady but crooked, or never settle.
- Any recent drop or impact, and how the tool is normally stored (lock engaged or not).
FAQ
Q: My Fanttik laser lines are on but crooked. Is the laser broken?
A: Almost never. A crooked but steady line means the pendulum is held still — check that the transport lock is unlocked and that you are not in manual/locked mode. The laser diode itself is fine.
Q: Why do my laser lines keep blinking?
A: Blinking is the out-of-level warning. The tool is tilted past its self-leveling range and is telling you not to trust the line. Move it to a flatter, more level surface until the blinking stops.
Q: Do I have to unlock something before the laser self-levels?
A: Yes. Both the D2 PRO and D16 APEX ship with the pendulum locked to protect it in transit. Set the lock to unlocked before use, and re-lock it before putting the tool back in its case.
Q: Can I recalibrate the laser myself if it is off?
A: These models are factory-calibrated and field re-calibration is not a user adjustment. Use the 180-degree rotation check to confirm drift, then contact Fanttik support rather than opening the housing.
Q: Why does storing the tool unlocked cause problems?
A: With the pendulum free, normal transport knocks let the laser module swing and bang against its stops, which over time can push it out of calibration. Always re-engage the lock for storage and transport.
Related Support
- How to use a Fanttik laser level — full setup walk-through including lock, modes, and mounting.
- Fanttik laser level manual — where to find the manual and the spec reference for each model.
- Fanttik D2 PRO product page — cross-line model with Osram green beams and IP54 rating.
- Fanttik D16 APEX product page — 4D 16-line model with 4×360° coverage and pulse mode.
Continue reading
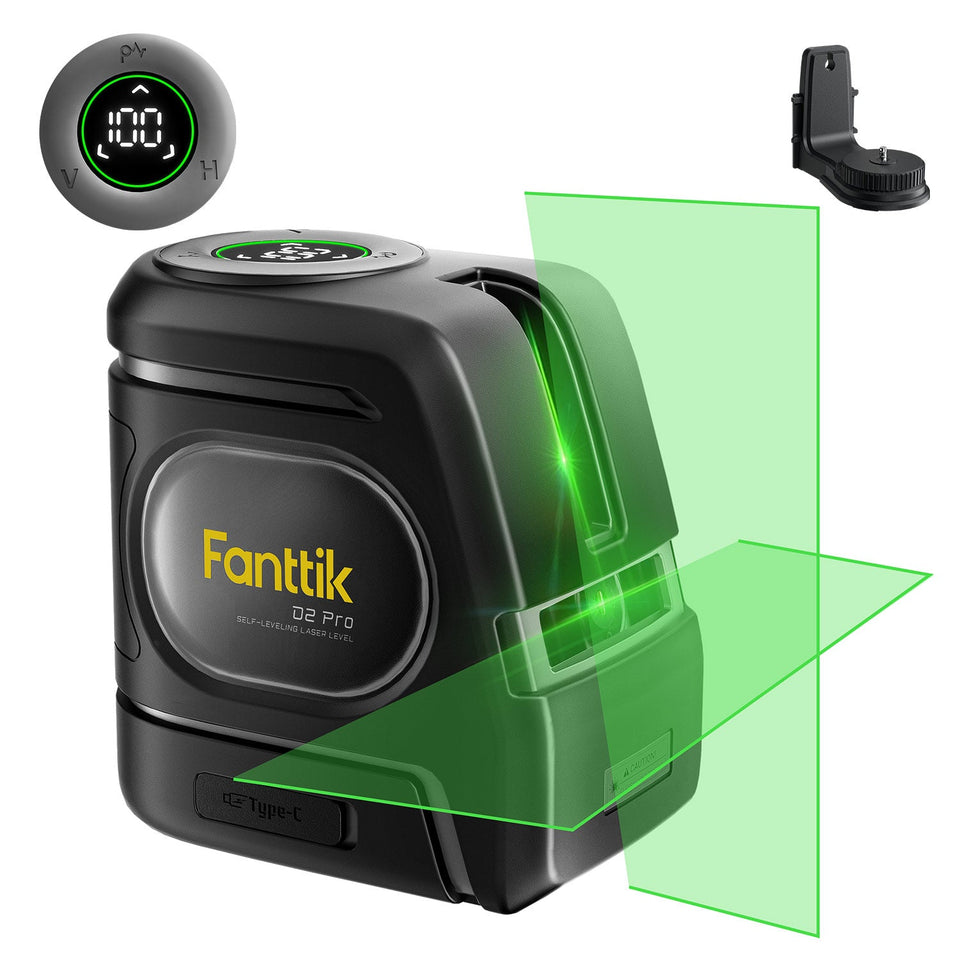 How to Use a Fanttik Laser Level: D2 PRO & D16 APEX
Learn how to use Fanttik D2 PRO and D16 APEX laser levels: self-level, choose lines, lock manual tilt...
How to Use a Fanttik Laser Level: D2 PRO & D16 APEX
Learn how to use Fanttik D2 PRO and D16 APEX laser levels: self-level, choose lines, lock manual tilt...
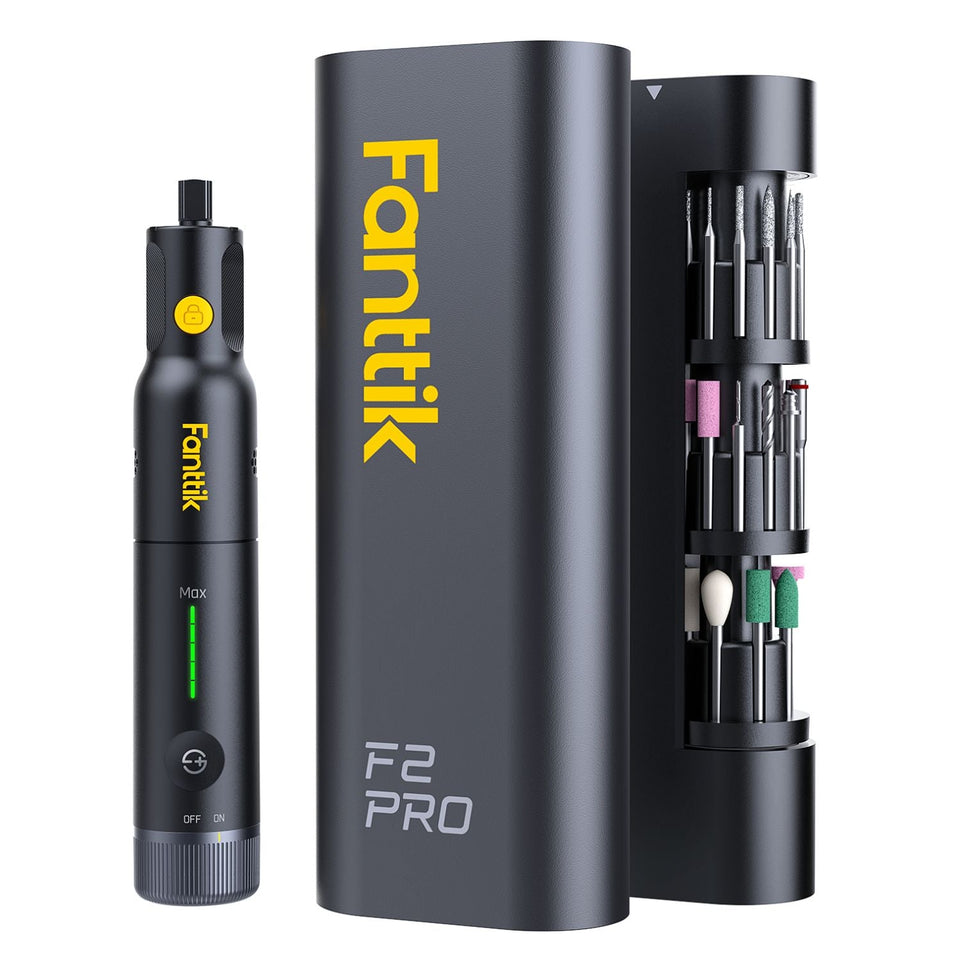 Fanttik F2 PRO Manual & Quick Start Guide
Fanttik F2 PRO manual: setup, the 5-speed (5,000–25,000 RPM) control, the RevoStor hub, 1/8 in bit changes, charging,...
Fanttik F2 PRO Manual & Quick Start Guide
Fanttik F2 PRO manual: setup, the 5-speed (5,000–25,000 RPM) control, the RevoStor hub, 1/8 in bit changes, charging,...


Leave a comment
This site is protected by hCaptcha and the hCaptcha Privacy Policy and Terms of Service apply.