










































To choose rotary tool speed, match the material and the accessory to a speed band. Then keep that setting inside your tool's and accessory's limits. As a practical starting point, run plastics and soft woods at low to medium speed, metals with cut-off wheels or burrs at medium to high speed, and engraving or polishing with small bits at high speed.
These are relative bands, not fixed RPM numbers. Your tool's manual tells you what each dial position delivers. The accessory's own rating sets the ceiling you should not pass.
What RPM Should You Start With for Each Material and Task?
Start in the speed band listed for your material and task, not at your tool's top speed. Whether working with our Fanttik F2 Master Eng Cordless Rotary Tool or another model, speed bands offer a baseline. The bands below come from a rotary tool guide from Toolstash. They are rules of thumb, not a manufacturer specification or a safety limit.
| Material and task | Starting speed band | Source note |
|---|---|---|
| Plastics | Low to medium | Helps reduce melting |
| Soft woods | Low to medium | Helps reduce tear-out |
| Metals, cut-off wheels or burrs | Medium to high | Tied to these accessories |
| Engraving, small bits | High | Tied to small bits |
| Polishing, small bits | High | Tied to small bits |
The table covers only these five pairings. Hardwood, glass, stone, and ceramic have no band here. If you use a tool like our Fanttik F2 Pro Cordless Rotary Tool on those materials, take your starting point from the accessory's instructions rather than borrowing a nearby row.
A band still has to become a dial position. On a tool with an RPM readout, low to medium means the lower part of its range. On stepped models such as our Fanttik F2 Master Cordless Rotary Tool, the manual lists what each step delivers. Pick the step that sits in the band, not the step at the top.

Make a short first pass on scrap or a hidden spot. On plastic, a gummy or melted edge tells you the speed is too high for the job. Drop one step and try again. On soft wood, fuzzy or torn fibers along the cut mean the same thing. When the cut looks clean, keep that setting for the rest of the piece.

One number to leave out of this choice is the headline RPM on the box. That figure tells you how fast the motor can spin. It does not tell you what speed suits plastic, pine, or a polishing bit.
What Changes the Right Rotary Tool Speed?
Two things move the setting in the guidance above: what the material does under heat and friction, and which accessory touches the work. Toolstash frames its advice as matching speed to both material and accessory, so treat them as one decision rather than two.
Material behavior explains the low end of the scale. Plastics can soften and melt when the bit spins too fast. Soft woods can tear instead of cutting cleanly. That is why both start at low to medium speed. If you see melting or tear-out, the fix is to lower the speed, not to push harder.
The accessory explains the high end. The metal band is tied to cut-off wheels and burrs, and the engraving and polishing bands are tied to small bits. Changing the accessory changes which row applies, even if the material stays the same. Swapping a burr for a small engraving bit on the same piece of metal puts you under a different row.
Rated speed and working speed are not the same thing. A tool's rated or no-load RPM describes the motor spinning freely with nothing pressing on the bit. It marks the top of the dial. Your working speed is the band you choose for the job, and it sits inside that range.
Keep rotary tool advice separate from charts made for drills, angle grinders, sanders, or saws. Those charts are written for different tools and accessories. Their numbers do not carry over to a small high-speed bit in a rotary tool collet.
How Do Tool and Accessory RPM Limits Bound the Choice?
Your starting band only works if it fits under two ceilings: the tool's speed range and the accessory's rating. Work through this sequence before the bit touches the material.
- Identify the exact tool and accessory. Note the tool's model number from the housing or manual, and keep the accessory's packaging or instruction sheet. Accessories from different kits or brands are not automatically interchangeable.
- Read the tool's speed range. Find the lowest and highest speeds in the manual, and what each dial position or step delivers.
- Read the accessory's rating and fit. Look for a maximum speed marking and the shank size or collet it is meant for. Confirm that the shank matches a collet or chuck your tool accepts.
- Place the band under both ceilings. Choose a dial position inside the band from the table. If the band's upper end would pass the accessory's maximum rating, stop at the rating instead.
- Resolve gaps before you run it. If the accessory has no speed rating, the shank fit is unclear, or the tool and accessory documents disagree, do not guess. Use the lower of any two stated limits, and confirm the exact combination with the manufacturer before running the accessory.
The result should be simple. Either you have a documented, compatible tool-and-accessory pair set to a speed inside both limits, or you have a no-go until the missing rating is confirmed.
If you work with one of our rotary tools and can't match an accessory to it, you can contact our support team with the model and accessory details before you start.
FAQs
How do I set speed on a tool that shows numbered steps instead of RPM?
Use the manual to see what speed each step delivers. Then pick the step that falls in the band for your material and task. For plastics or soft woods, that means one of the lower steps. For engraving or polishing with small bits, it means one of the higher steps, as long as the accessory's rating allows it.
Why does plastic melt when I work it with a rotary tool?
Plastic can soften under the heat that friction builds up at high speed. The Toolstash guide recommends low to medium speed for plastics to reduce melting. If you see a gummy edge or material sticking to the bit, lower the speed one step and make a short test pass before continuing.
Can I use a drill or grinder speed chart for my rotary tool?
No. Speed charts for drills, angle grinders, sanders, and saws are written for those tools and their accessories. A rotary tool uses smaller bits in a collet, so take your starting band from rotary tool guidance and the accessory's own instructions, not from another tool category.
Continue reading
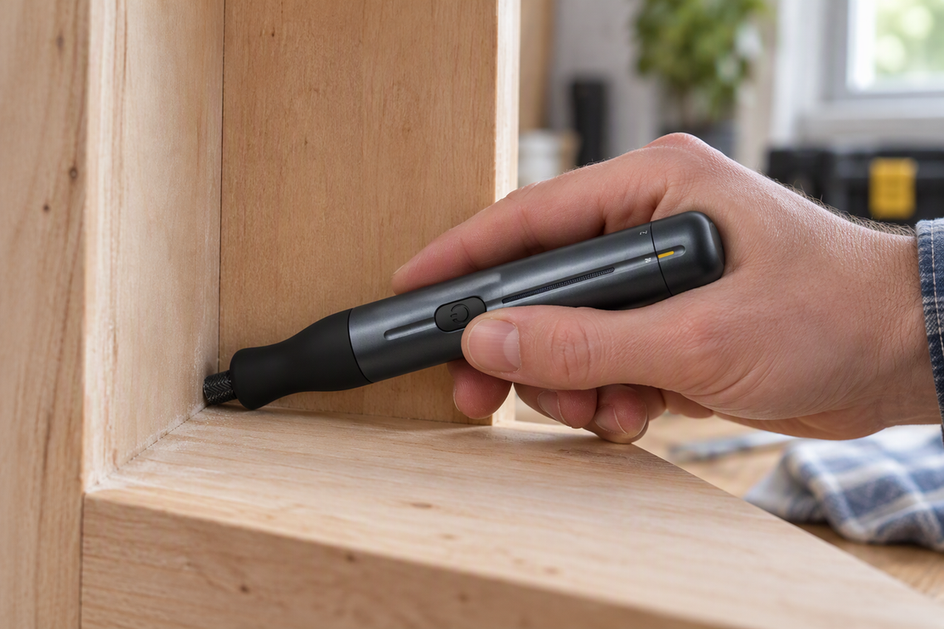 How to Use a Detail Sander in Inside Corners
A practical proceed-or-switch guide for detail sanders in tight wood corners, covering pad reach, model-specific setup, surface checks,...
How to Use a Detail Sander in Inside Corners
A practical proceed-or-switch guide for detail sanders in tight wood corners, covering pad reach, model-specific setup, surface checks,...
 Tent Floor Damp in the Morning: Condensation or a Leak?
A damp tent floor after one night is an open question. This guide explains wet patterns, weather, ground...
Tent Floor Damp in the Morning: Condensation or a Leak?
A damp tent floor after one night is an open question. This guide explains wet patterns, weather, ground...
Leave a comment
This site is protected by hCaptcha and the hCaptcha Privacy Policy and Terms of Service apply.