










































An electric screwdriver usually slips or strips a screw because the bit is not gripping the screw head well. The bit may be the wrong size or type, it may be chipped or worn, or it may be sitting crooked. A setting or the way you finish the screw can also play a part. Start with the bit and screw head, because you can inspect them in seconds. Then move on to the driver's settings.

When the bit starts to jump out of the screw, stop driving. Each extra powered attempt can chew up more of the head. Look at when the slip happened, check the parts, and only then try again.
What Does the Timing of a Slip Tell You?
When the slip happens tells you where to look first, but it doesn't prove the cause. Use it to decide which check comes first, not as a final answer.
The bit slips right away, before the screw turns. The bit is not getting a real grip on the recess. The recess is the shaped opening in the screw head. Go straight to the physical checks in the next section: size and type, bit wear, screw-head damage, and how straight the bit sits. Changing a driver setting won't fix a bit that never engaged.
The bit grips at first, then slips as the screw tightens. Now the screw has started moving, and the slip shows up as resistance builds. Stop the moment you feel the bit or head trying to ride out of the recess. Popular Mechanics' screwdriver guide gives exactly this advice in its section on overtightening. Its point: tighten firmly, then stop when you feel cam-out coming on. Then check the bit and head as you would for an early slip. If both look fine, check whether your electric screwdriver has adjustable settings you can change in the next section.
Either way, don't squeeze the trigger again and hope. A second or third pass on a slipping bit gives you no new information, and it wears down the surfaces you still need to inspect.
Check the Bit, Screw Head, and Alignment
Most of this diagnosis comes down to one question: is the bit making full, solid contact with the recess? Work through these checks in order, with the driver off and the bit pulled out of the screw.
- Size and type match. Set the bit into the screw by hand. It should fill the recess without rocking or sitting high. According to this screwdriver guide, a bit that is too small or too large for the fastener won't turn it properly and will likely strip the head. If the fit feels loose or shallow, swap bits before doing anything else. Our guide to choosing the right screwdriver bit covers bit types and sizes if you're not sure which one matches.
- Bit condition. Look closely at the tip. Chipped edges or rounded, worn wings mean the bit can spin inside the recess and strip it, even when the size is correct. Replace a chipped or badly worn bit instead of trying to push harder with it.
- Screw-head condition. Look at the recess itself. If its edges are already rounded over or torn from earlier slips, a fresh bit has less to grip. At that point you're no longer diagnosing a slip. You're dealing with a damaged screw, which is a different job from the one this guide covers.
- Alignment. Seat the bit fully and look along the driver from the side. The tool should line up with the screw, not lean off to one side. A tilted bit engages only part of the recess. Straighten the driver and keep it steady before you pull the trigger. If the tip seems to wander on the screw head while it spins, our explanation of vibration drift and bit walk covers what causes that movement and how to spot it.

Here's how the results point to your next step. If the fit or bit condition fails, replace the bit. If alignment fails, reseat the bit and straighten the driver. If the screw head is already badly damaged, stop powered driving on that screw. If everything passes and the bit still slips late in the drive, the driver setting is the next thing to check.
When Should You Change a Driver Setting?
Look at the settings only after the bit, screw head, and alignment check out, and only if the slip happens as the screw tightens. A slip before the screw turns is a fit problem, not a settings problem.
Two numbers get mixed up here. Maximum torque is the most turning force the tool can produce. An adjustable torque setting is a lower level you choose for the job. A high maximum rating doesn't tell you which setting suits a given screw. The right level depends on the fastener and the material, not on the tool's ceiling.
If your screwdriver has a torque or speed control, your model's manual is the place to find out what each level does. It will show where the control is, which direction lowers the output, and what the tool does when it reaches that level. Use that description to pick a level before your next attempt. Don't cycle through settings with the trigger held down on a screw that's already slipping, because a damaged recess makes every test less reliable. If your driver has no adjustment at all, skip this step. Focus on bit fit and on stopping at the first sign of cam-out.
How you handle the tool matters too. Keep it lined up with the screw, start under control, and ease off as the head seats. Our electric screwdriver usage tips cover controlled starts and stops, speed, and bit choice in more detail.
For your next attempt, use a new screw or one with an undamaged head. Fit a bit that seats fully and straight, and drive at the level your manual describes for the job. If the bit still rides out once the screw gets tight, stop at that point and treat the driver setting as the variable to fix.
FAQs
Why does a brand-new bit still slip?
A new bit can still be the wrong match for the screw. Some cross-head screws look almost the same. A Pozidriv screw has four small extra notches that a Phillips head lacks, and Pozidriv sizes are usually marked PZ or PSD plus a number. This Phillips vs. Pozidriv guide shows the difference so you can pick the matching bit.
Is a more powerful electric screwdriver less likely to slip?
Not by itself. More power doesn't fix a bit that is the wrong size, worn, or sitting at an angle. Those problems cause screwdriver screw stripping no matter how strong the motor is. A higher maximum torque only raises the ceiling. The setting you choose, and how well the bit fits, decide what happens at the screw head.
Do these checks apply to drills and impact drivers too?
The bit checks apply to any tool that turns a screw through a bit. That means size, type, wear, and seating. Settings and handling work differently for drills and impact drivers, though, so use that tool's own manual for its controls. Don't carry over settings advice from an electric screwdriver.
Continue reading
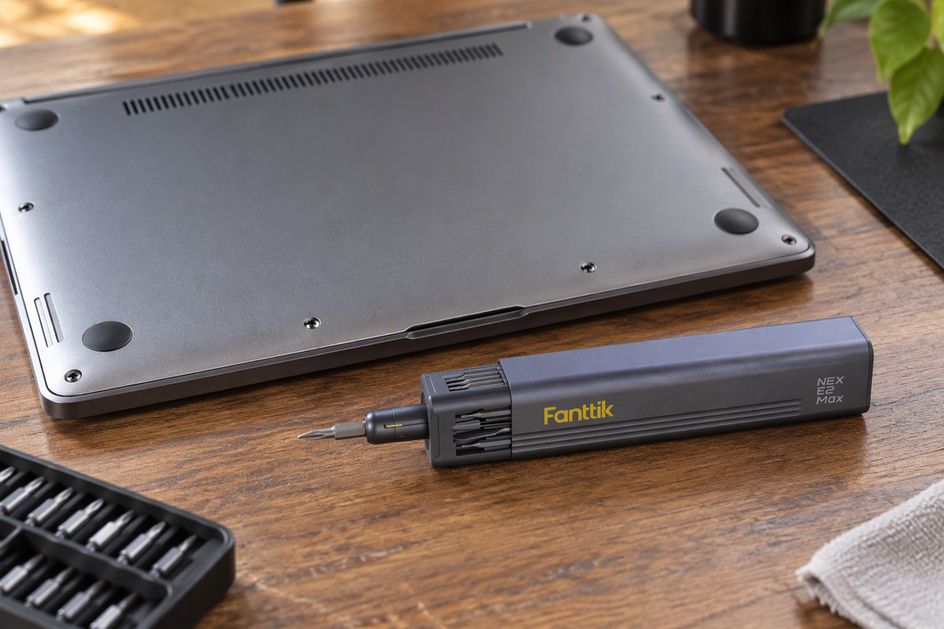 Preventing Stripped Screws in Laptops and Consoles: Using Precision Electric Drivers Safely
Step-by-step guide to driving laptop and console screws with a powered precision driver, using official service guides, bit...
Preventing Stripped Screws in Laptops and Consoles: Using Precision Electric Drivers Safely
Step-by-step guide to driving laptop and console screws with a powered precision driver, using official service guides, bit...
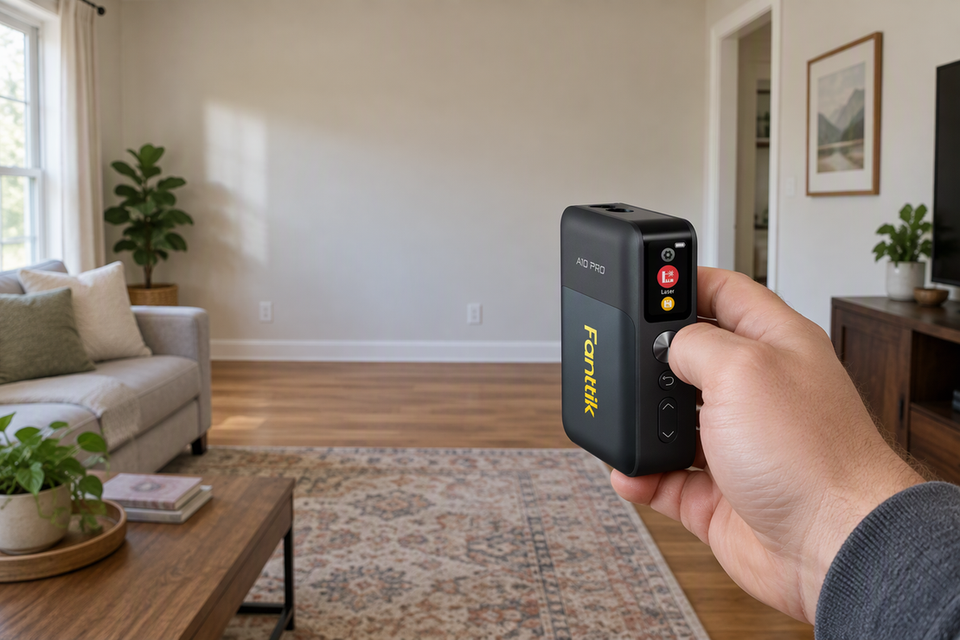
 How to Measure a Room and Calculate Its Area With a Distance Meter
Take wall-to-wall readings with a laser distance meter, log them in one unit, then multiply for square feet...
How to Measure a Room and Calculate Its Area With a Distance Meter
Take wall-to-wall readings with a laser distance meter, log them in one unit, then multiply for square feet...
Leave a comment
This site is protected by hCaptcha and the hCaptcha Privacy Policy and Terms of Service apply.