












































Pick your gravel bike tire pressure from a tire-maker chart that matches your tire width and body weight. Then use the portable pump to reach that number.
For example, a 40 mm gravel tire and a 71–80 kg (about 157–176 lb) rider starts at 43.5 PSI on Michelin's chart. The pump's maximum rating has nothing to do with your target.
Before you pump, check the tire and rim limits. Then inflate while reading a gauge, and fix any overshoot before you roll out.
What Gravel Bike Tire Pressure Should You Start With?
Start with a gravel-specific chart and match its inputs to your setup. Michelin lists 43.5 PSI for a 40 mm gravel/cyclocross tire in its 71–80 kg rider-weight column as a starting point. This figure is a scoped chart entry for that specific width and weight band rather than a universal standard.
The chart selects pressure values based on rider weight and tire section width, so plan to fine-tune from your baseline.
Do not use the number printed on the sidewall as your target. According to Bicycling, the sidewall maximum is generally too high for a personal setting, and it ignores factors like rider size and terrain.
Treat the maximums as a ceiling instead. Tire and rim limits are often different, and the lower of the two maximums governs. Read both before you inflate. If a chart value lands above your lower limit, stop at or below that limit and check the tire or rim maker's guidance for a compatible starting pressure. Never treat the limit itself as the target.

Which Setup Factors Change the Target?
Tire size, rider weight, and riding surface all move the target. The sources give the direction for each one, but they don't give you a gravel formula for how much to change it.
- Tire width and volume: On Michelin's chart, wider gravel tires get lower pressures at the same rider weight. Bicycling also notes that higher tire volume calls for lower pressure, so lower your number when you move to a wider tire.
- Rider weight: Michelin's chart values go up as rider weight goes up. Use the column that matches you. The chart does not list a separate adjustment for bags, bottles, or other gear.
- Terrain: The same Bicycling guidance suggests lower pressure for rides full of corners and switchbacks, or on chip seal. Michelin also says surface may call for adjustment within its range. Neither source puts a PSI figure on that change, so make small changes and note how the bike feels.
How to Set and Check Pressure With a Portable Pump
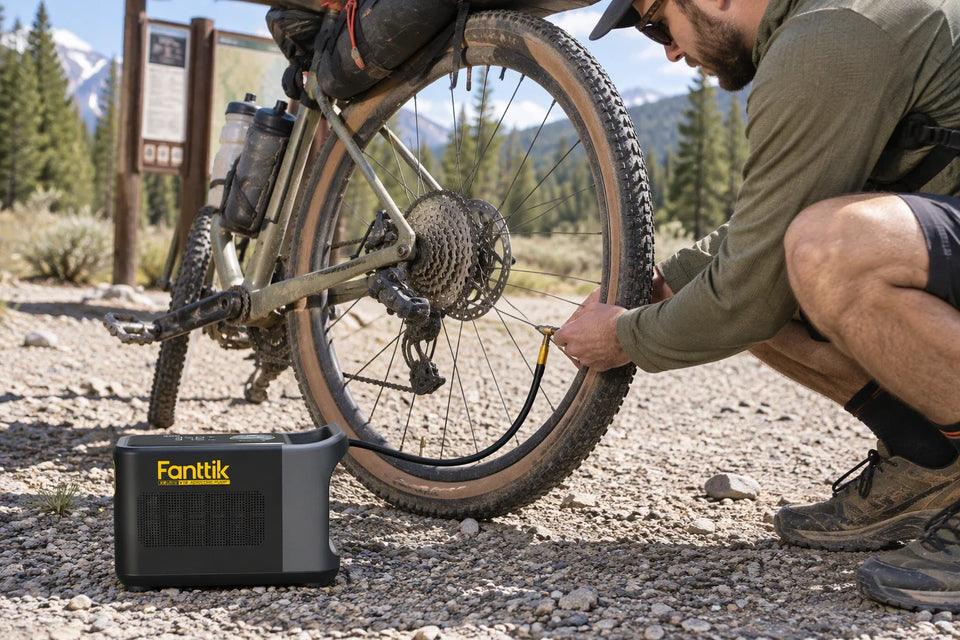
The basic routine is to match the valve, follow pump instructions, and verify with a gauge. Here is the full order to follow before a ride:
- Confirm your target and the pump's reach. Write down your chart-based PSI and check that it sits under the lower tire or rim maximum. Then compare it with the pump's documented maximum. If the pump can't reach your target, switch to a pump that can. Don't settle for whatever pressure the pump tops out at.
- Identify the valve. Gravel tires use Presta or Schrader valves. Make sure the pump head fits the valve. A Presta valve may need an adapter.
- Prepare the valve. Remove the cap. On a Presta valve, unscrew the small lock nut so the valve is open before you attach the pump. For electric models, our guide to a Presta electric-pump connection covers matching the head and when to use an adapter.
- Attach the pump. Follow your pump's own connection steps, since lever and head designs vary. If air hisses out at the valve, reseat the head. Our article on seating brass Presta adapters helps if the leak continues.
- Inflate while reading a gauge. Pump until the gauge shows your target. If the pump has no gauge, check with a separate tire gauge. Squeezing the tire is not a pressure reading.
- Detach and correct. A short hiss when you remove the head is normal. If you went over the target, press the valve core to let air out. On a Presta valve, keep the lock nut open while you do this. Recheck the pressure afterward.
- Close the valve. Tighten the Presta lock nut and refit the cap. On a Schrader valve, just replace the cap.

If you use a digital inflator that lets you preset the PSI, our guide on using a portable tire inflator walks through setting the target and rechecking it.
FAQs
Should front and rear tires use the same pressure?
Not always. Michelin says its guide gives separate recommendations for front and rear tires. Look up both values instead of copying one number to both wheels.
Does a tubeless setup change the starting pressure?
It can. Michelin's guide accounts for whether a setup is tubed or tubeless. Pick the chart option that matches your wheels before you choose a number.
Why does my gauge reading differ from another pump's?
Gauges vary. Bicycling reports that floor-pump gauges can be off by a few PSI or as much as 10 to 15 PSI, though most read the same way every time. If you use a floor pump and want a steadier reference, verify it with a separate gauge.
Is a little air loss when removing the pump a problem?
No. A brief hiss as you pull the head off is normal and shouldn't change the pressure much. If you're unsure, check again with the gauge before you ride.
Continue reading
 SUV Tent vs Cabin Tent: Which Fits Your Family's Car-Camping Setup?
How to decide between a tent that attaches to your vehicle and a standalone cabin tent, using exact...
 Holiday Gift Guide for Cyclists: Choosing a Bike Pump
Shopping for a rider? Decide between a home floor pump and a carry-along mini pump, then confirm the...
Leave a comment
This site is protected by hCaptcha and the hCaptcha Privacy Policy and Terms of Service apply.