










































A Presta valve that leaks during inflation is almost always a connection problem, not a failed valve. Stop pumping, find the exact interface where air is escaping, and fix that one spot before touching anything else. Most leaks trace back to a crooked or loose brass adapter, a valve core that needs service, or a chuck that is not seated squarely on the adapter.
Even if you use the best tire inflator with pressure gauge, air will escape if the mechanical interface between the valve and the adapter is unsealed. This guide walks through proper diagnosis and adapter seating technique. It focuses on resolving the leak in front of you so your inflator can deliver accurate pressure.
Key Takeaways
- Stop pumping and find the leak location first; the fix depends on which interface is leaking, not on the pump itself.
- A hiss right at the adapter joint usually means the adapter is not threaded straight or its internal seal is dirty, worn, or missing.
- Leakage that continues after you remove the adapter points to the valve core, but only a removable core can be serviced, and only with a compatible tool.
- Thread the brass adapter straight and stop as soon as it is hand-tight; forcing it risks cross-threading the valve stem.
- If the connection still leaks after a repair, or hardware looks bent or damaged, stop and replace the part instead of adding more force.
What to Do First When a Presta Valve Leaks During Inflation
Work through this sequence before you decide the adapter or the valve is bad. Each step narrows down the leak so you do not waste time swapping parts that were never the problem.
- Stop pumping as soon as you hear or feel air escaping, so you do not push more pressure through a bad seal.
- Listen closely and run a finger around the connection to pinpoint whether the sound comes from the adapter joint, the valve itself, or the chuck and hose.
- Remove the adapter from the valve and check for a lingering hiss at the bare valve stem.
- Inspect whichever interface the sound points to: adapter threads and seal, valve tip and core, or chuck engagement.
- Reseat or service only the part your inspection confirmed is the problem, then retest before inflating further.
Even when paired with the best tire inflator with pressure gauge, an improperly seated adapter prevents the gauge from reading tire pressure accurately and causes air loss.
Where Is the Air Escaping?
Where the air escapes tells you what to fix next. Three locations account for nearly every leak: the adapter-to-valve joint, the valve itself once the adapter is off, and the chuck or hose feeding the adapter.
If the Hiss Is at the Adapter-to-Valve Joint
Check that the brass adapter went on straight and that the threads are fully engaged before you touch the valve core. A crooked start is the most frequent reason an adapter fails to hold air, even when it feels tight. Also check the adapter's internal seal; a hand-tight fit can still leak if that seal is dirty, worn, or missing. If threads look fine and the seal is clean, the connection leakage guide walks through further checks at this joint.

If Air Continues After the Adapter Is Removed
A hiss that keeps going once the adapter is off means the leak is inside the valve, not the adapter. That points to the valve core or the small locknut at the valve tip, not the joint you just inspected. Only a removable or replaceable Presta core can be serviced, and it needs a compatible core tool rather than pliers or force.
If the Chuck or Hose Is the Noisy Point
When the leak is at the portable inflator's chuck or hose instead, correct that connection rather than tightening the Presta valve. Seat the chuck squarely on the adapter and check the hose fitting. Do not apply fixes meant for a shop air compressor or a different valve system; a portable inflator's chuck and hose connect differently and the same troubleshooting steps do not automatically transfer.
How to Seat a Brass Presta Adapter Without Cross-Threading It
Seating the adapter correctly is a straight start followed by a hand-tight stop, nothing more. Rushing the start or forcing the last turn causes most seating failures.
- Stop the inflator and set it aside before handling the valve.
- Loosen the small locknut at the Presta tip counterclockwise until the valve is open, without removing the internal core.
- Hold the valve stem steady and line up the brass adapter squarely with the threads.
- Turn the adapter clockwise, keeping it aligned with the stem the entire time.
- Stop turning once the adapter is snug and hand-tight; going further does not improve the seal and can damage the threads.
- Attach the portable chuck squarely onto the adapter and run a short test burst before fully inflating.
This sequence reflects a conventional screw-on adapter setup; other adapter designs may vary slightly, so treat the hand-tight rule as a starting technique rather than a fixed spec. Stop immediately if the adapter will not start straight, if the threads feel gritty or damaged, or if the valve stem looks bent. Forcing a damaged connection will not seal it, and it can turn a simple leak into a part you have to replace.
When to Tighten or Replace the Presta Valve Core
Core service only applies when the core is removable and you have the right tool. Everything else in this section is about confirming that before you touch it.
Check Whether the Core Is Removable
Not every Presta valve has a removable core, so do not assume yours does just because it looks similar to one that does. A design with visible wrench flats on the core, or documentation confirming a removable Presta valve core, is the signal to look for. Appearance alone is not proof; if you cannot confirm removability, treat the core as fixed and look elsewhere for the leak.
Tighten Only With a Compatible Core Tool
Once you have confirmed the core is removable, use the tool made for it rather than pliers or improvised grips on the thin stem. Manufacturer instructions for a replaceable Presta core describe removing it with the supplied tool and tightening the replacement hand-tight, with no separate torque spec. That hand-tight limit is the practical stopping point; do not keep turning past it hoping for a tighter seal.
Replace Rather Than Force Damaged Hardware
A core that is bent, stripped, or still leaking after a proper hand-tight installation is not fixed by more force. At that point, replace the core if a matching one is available, or check model-specific repair guidance for your exact valve or wheel setup before continuing to inflate.
How to Retest the Connection and Know When to Stop
A short retest tells you whether the repair actually worked. Run it before you inflate to full pressure.
- Pass: The adapter stays square and seated, the chuck holds without shifting, and there is no continuing hiss at the joint you fixed once you remove the chuck.
- Fail: The hiss continues, the adapter shifts or will not stay seated, or the threads or stem show damage.
If the connection passes, keep the mating surfaces clean and free of grit before your next inflation, since debris on the seal frequently causes a good connection to leak again. If it fails, stop using that adapter or core and replace it, or check model-specific repair guidance if the valve design is unfamiliar. A brief retest confirms the connection is airtight; it does not confirm the tube, tire, or wheel is otherwise sound.

FAQs
Is the small nut at the Presta valve tip the same as the removable core?
No. The locknut at the tip just opens or closes the valve so air can pass; the removable core is the internal mechanism further down the stem. You loosen the locknut every time you inflate, but you only need core tools when the core itself is suspected of leaking.
Why does my adapter still leak even though it feels hand-tight?
A hand-tight adapter can still leak if it started crooked or if its internal seal is dirty, worn, or missing. Tightness and alignment are two separate checks; back the adapter off, inspect the seal, and restart it straight before tightening again.
Can I use pliers to tighten a Presta valve core?
No. Pliers can bend or strip the thin valve stem. Use a compatible core tool, and only if you have confirmed the core is removable; a nonremovable core is not meant to be opened at all.
What does it mean if the leak keeps coming back after I fix it?
Persistent leakage after a proper adapter reseat or core service usually means the hardware itself is damaged rather than just misaligned. Stop reusing that part, replace it, or check model-specific repair guidance instead of repeating the same fix with more force.
Continue reading
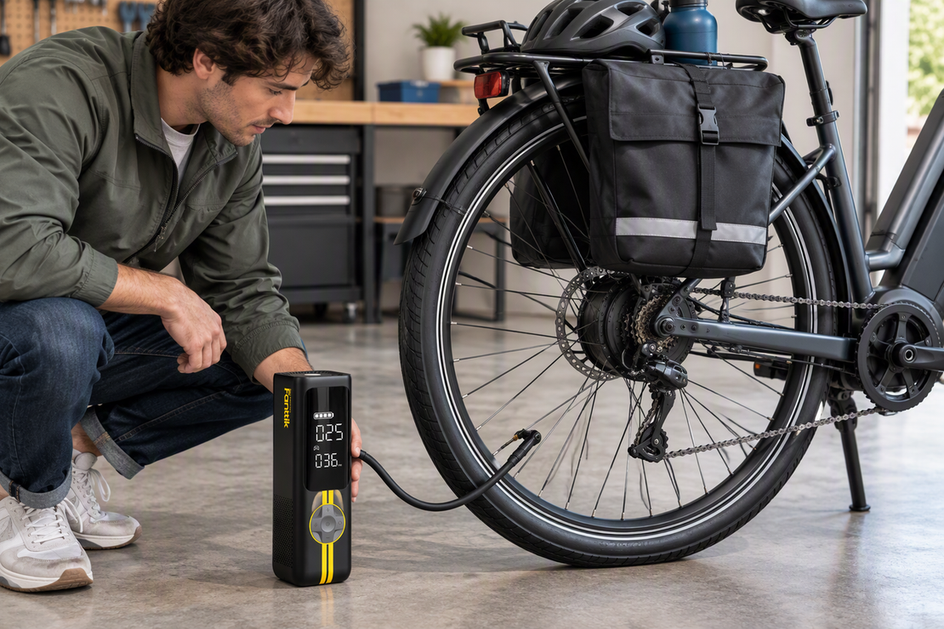 Electric Commuter Bike Tire Pressure: Factoring in Rear Hub Motor and Battery Weight
A practical, evidence-based method for setting front and rear PSI on rear-heavy commuter e-bikes, keeping every choice inside...
Electric Commuter Bike Tire Pressure: Factoring in Rear Hub Motor and Battery Weight
A practical, evidence-based method for setting front and rear PSI on rear-heavy commuter e-bikes, keeping every choice inside...
 Cleaning Concrete Patio Moss and Algae with a Compact Pressure Washer: 15-Degree vs Turbo Nozzle
A practical breakdown of when a 15-degree nozzle or rotary turbo nozzle is the safer choice for clearing...
Cleaning Concrete Patio Moss and Algae with a Compact Pressure Washer: 15-Degree vs Turbo Nozzle
A practical breakdown of when a 15-degree nozzle or rotary turbo nozzle is the safer choice for clearing...



Leave a comment
This site is protected by hCaptcha and the hCaptcha Privacy Policy and Terms of Service apply.