










































A small, accessible puncture in the TPU bladder inside an air beam can often be patched in the field, but only as a temporary fix. Whether that patch is worth attempting depends on where the damage sits, what pressure and valve instructions your specific tent documents, and whether you can actually get the repair area clean, dry, and cured before you need to rely on the beam again.
This guide walks through the decision in order: how to tell a patchable bladder puncture from a valve, seam, or connection problem, what your tent's documented pressure and relief valve actually control, how to trace a slow leak at camp, and the field steps for patching a TPU bladder with a compatible adhesive system.
Can You Repair an Inflatable Tent Air Beam in the Field?
A localized, accessible puncture in the bladder itself is the best candidate for a temporary field repair. Damage at a valve, seam, attachment point, or structural connection is a different problem, and trying to glue over it usually wastes time and adhesive without restoring a reliable seal.
Before you reach for a patch kit, confirm three things: the tent's documented operating pressure and inflation procedure, whether the bladder material and your patch system are actually compatible, and whether camp conditions let you clean, dry, and cure the repair the way the kit instructions require. A patch made at camp should be treated as a get-you-through-the-trip fix, not a permanent repair, unless the tent or bladder manufacturer specifically says otherwise.
If the damage is near a valve, seam, attachment, or another structural connection, or you can't get the surface clean, dry, and held still long enough to cure, stop trying to improvise. Isolate that beam and follow the tent maker's repair or replacement instructions instead.
What Can Cause an Air-Beam Tent to Lose Pressure?
Air beams are built from an outer protective sleeve wrapped around an inflatable TPU bladder, plus the valves, seams, and connection points that route air into that bladder. Loss of firmness can come from any of these locations, so the visible damage you see is not automatically the reason the beam went soft.

Bladder Punctures and Abrasions
A hole or tear in the bladder itself is the failure that actually lets air escape, and it typically shows up as a slow, localized firmness loss in one specific beam. A scuff, scrape, or cut limited to the protective outer sleeve can look alarming without touching the air-holding layer underneath, so check whether the sleeve fabric is damaged in the same spot where you feel or hear air moving before assuming the bladder is punctured.
Valves, Seams, Sleeves, and Connections
A loose or faulty valve, a stressed seam, an attachment point, or a hose connection can all mimic a bladder puncture because they produce the same symptom: a beam that won't hold air. Start by inspecting and listening at the valve and any connection points first, since these are easier to check and often easier to fix than a bladder repair, before you assume the fault is inside the bladder itself.
What PSI Should an Inflatable Tent Use?
There is no single PSI that applies across inflatable tents, so the number you need comes from your specific tent's manual or manufacturer support page, not from a generic camping guide or your inflator's maximum rating. If you can't find that documented operating pressure and inflation limit, pause before inflating rather than guessing at a figure borrowed from another tent or another product.
Use the Tent's Documented Pressure, Not a Generic PSI
Your tent's manual or support documentation is the only source that should set the operating pressure for that model. Airflow is a separate measurement from pressure: airflow describes how quickly your inflator fills the beam, while pressure is the force measured inside it once filled, and a fast-filling inflator does not tell you what pressure to stop at.
What a Pressure-Relief Valve Can and Cannot Tell You
A pressure-relief valve, when a tent has one, is designed to limit or release pressure beyond a set point, but that set point and its exact behavior vary by model and are not something you should assume. Having a relief valve doesn't mean you can inflate past the documented limit and let the valve sort it out; treat the valve as a safeguard for your tent's documented pressure, not a substitute for following that documented pressure in the first place.
How Do You Find a Slow Leak at Camp?
Work through this sequence before opening a repair kit, since patching the wrong component wastes both time and adhesive.
- Consider temperature and time of day first. Air beams can soften somewhat as temperatures drop overnight or firm up as they warm; if the beam recovers some firmness once it warms up, that points to normal pressure change rather than a leak.
- Inspect the outer sleeve and beam visually for cuts, abrasions, or punctures, and note whether any visible damage lines up with where the beam feels soft.
- Listen and feel along the beam's length for escaping air, moving slowly and checking with your hand near seams and the sleeve surface.
- Check valves and connection points specifically, since a loose valve cap or a stressed hose connection is often easier to find, and to fix, than a bladder puncture.
- If your tent's instructions permit it, use a compatible leak-detection method such as a soap-and-water check at the suspected spot, keeping the beam in its sleeve or following the maker's access instructions.
- Record the result: a confirmed bladder puncture calls for a patch, a valve or connection leak may need only tightening or reseating, and damage you can't resolve this way means isolating that beam.
How Do You Patch a TPU Bladder in the Field?
Treat compatibility as the first decision, not an afterthought: a repair system needs to specifically document that it bonds to your bladder's material before you apply anything. Once compatibility is confirmed, the sequence below separates preparation, application, and cure so nothing gets rushed under field pressure.
Prepare the Bladder and Patch Area
- Deflate the beam and expose only the damaged section your tent's instructions allow you to access.
- Clean and dry the surface thoroughly, removing dirt, oil, and moisture. The LOCTITE flexible adhesive datasheet specifies a clean, dry, contaminant-free surface as a condition for its bond, and that same baseline applies to most flexible-material adhesives.
- Follow only the abrasion, solvent-wipe, and working-temperature steps your chosen repair system specifies; don't substitute a different product's prep steps.
Apply the Compatible Patch
- Match the patch or adhesive to your bladder's documented material; a "TPU" label on packaging alone isn't proof of compatibility with your specific tent.
- Center the patch over the damage, press out any trapped air from underneath, and hold or roll the bond according to the kit's instructions.
- Do not inflate the beam while the patch or adhesive is still in its stated open, set, or cure window.
Cure, Test, and Decide Whether to Continue
- Keep the repaired area flat, dry, and free of pressure for the time your kit specifies. The same LOCTITE datasheet lists a 24-hour full cure before water exposure for its named adhesive; other patch systems will have their own cure times, so check the product you're actually using rather than assuming this figure applies universally.
- Once cure time has passed, inflate slowly to a low pressure within your tent's documented limit and check the patched area for air loss.
- If the patch holds under that check, you have a temporary field repair; if it doesn't, or if you're not confident it will hold overnight, treat the beam as unusable until you can get a proper repair or replacement.
Which Repair Materials Belong in the Kit?
Choose a repair system that explicitly names TPU or your bladder's exact material rather than reaching for whatever adhesive is in the toolbox. The table below sorts common options by what they're actually suited for.
| Material | Supported role | Compatibility evidence needed | Field limitation |
|---|---|---|---|
| TPU-specific self-adhesive patch | Bladder puncture repair | Kit must name TPU or your bladder material | Needs clean, dry surface for a full bond |
| Manufacturer-specified adhesive and patch (e.g., flexible-plastic adhesive) | Bladder puncture repair | Datasheet-confirmed prep and cure conditions, such as the 24-hour cure window for this specific product | Cure time varies with temperature, humidity, and adhesive thickness |
| Ordinary duct tape | Temporary exterior containment only | None documented for airtight TPU bonding | Not a verified durable bladder seal |
| Generic household glue | Not recommended for bladder repair | No substrate-compatibility documentation | Can fail unpredictably under repeated flex |
A TPU-specific patch or a manufacturer-documented adhesive system is the closer choice for anything you expect to hold air overnight. Duct tape and generic glue can buy you a few minutes to bundle a damaged area or keep dirt out, but neither has documentation supporting an airtight bond on a flexible bladder, so don't rely on either as your actual repair.

How Do You Prevent Air-Beam Problems Before a Trip?
Run one pre-trip pass that covers inspection, protection, cleaning, and packing rather than treating these as separate checklists.
- Inspect the outer sleeve and beam for cuts, abrasions, or soft spots before you pack the tent.
- Keep beams away from sharp rocks, branches, and gravel during setup and while the tent is staked out.
- Check valve caps and hose connections for looseness or damage, and protect valves from impact during transport.
- Clean mud and debris off the tent, and dry hidden seams and valve areas fully before folding; our guide on how to clean and store inflatable tents covers the drying and storage steps that help avoid mildew and coating delamination.
- Print or save your tent's documented operating pressure and inflation instructions so you're not relying on memory at camp.
- Pack a repair kit that specifically documents compatibility with your bladder's material, not a generic adhesive or tape.
FAQs
What is the typical PSI for an inflatable tent?
There isn't a universal PSI that applies across inflatable tents. Use your exact tent's manual or manufacturer support page for its documented operating pressure and maximum before you inflate, and pause if you can't locate that information rather than borrowing a number from another tent or your inflator's rated maximum.
How do I identify a slow leak versus a puncture?
A slow leak shows up as repeatable, localized air loss in one specific beam, sometimes with an audible or feelable escape point, while a general firmness change that recovers as temperatures warm is more likely an ordinary pressure shift, not damage. Check the valve and any hose connections before assuming the bladder itself is punctured, since those are often easier to find and fix.
Can I use standard duct tape for a field repair?
Standard duct tape can temporarily contain or bundle exterior damage, but it isn't documented to form a durable, airtight bond on a TPU bladder. Use a repair patch or adhesive system that specifically names your bladder's material for anything you plan to rely on overnight, and treat duct tape as a stopgap until you can apply that compatible repair.
Continue reading
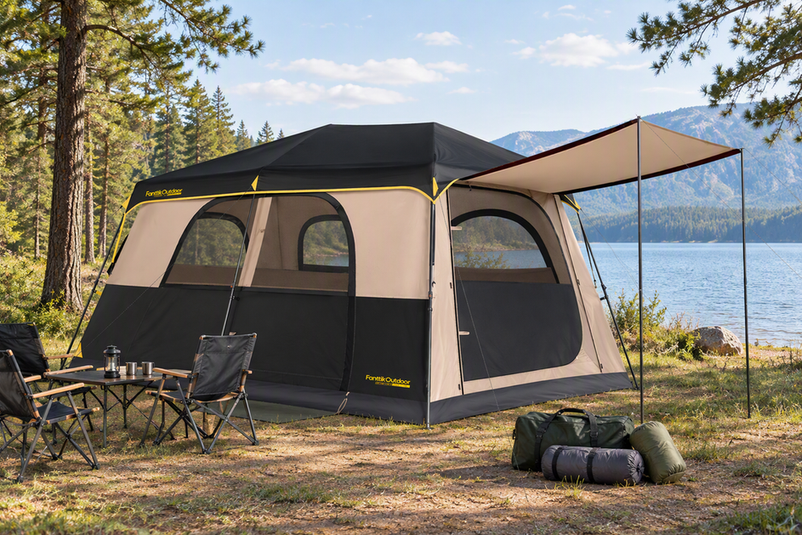 How to Choose a Large Family Camping Tent: Space, Layout, and Setup
A practical walk-through for picking a family-size tent: convert sleepers and gear into floor space, pick a layout,...
How to Choose a Large Family Camping Tent: Space, Layout, and Setup
A practical walk-through for picking a family-size tent: convert sleepers and gear into floor space, pick a layout,...
Leave a comment
This site is protected by hCaptcha and the hCaptcha Privacy Policy and Terms of Service apply.