












































Only add air after a trailside plug if the plug stays put, the tire has no other visible damage, and the bead looks seated on the rim. If those checks pass, connect a pump that fits your valve and inflate to a pressure inside your tire's marked range and your rim's limit. Then listen and look for leaks again.
A pump only adds air. It can't fix a plug that's pushing out, a cut casing, or a bead that has come off the rim. If any of those problems show up, more pumping won't solve them.
Check the Plug and Bead Before Reinflating
A plug doesn't seal the hole by itself. Park Tool explains that a plug shrinks the puncture down to a manageable size so the tubeless sealant can seal it again. That means a plug that looks fine is a good sign, but it doesn't prove the seal has formed yet. Run through these checks before you pick up the pump:
- Plug: It should sit firmly in the hole with some material sticking out. If it moves, slides back out, or air or sealant keeps hissing out around it, the repair isn't holding.
- Tire casing: Look for cuts, tears, or more punctures near the plug and on the sidewall. Damage the plug doesn't cover is a separate problem.
- Bead: The bead is the tire edge that locks against the rim. Look at the line where tire meets rim all the way around both sides. It should sit evenly, with no spot that dips low or has pulled away.
Park Tool's tubeless setup guide says to check that the bead is correctly seated and warns that in some cases it sits too low. That advice comes from mounting a tire, not from a post-plug safety test. Still, it gives you something clear to look for on the trail.
Stop here if the plug keeps leaking or moving, the tire has visible damage, or the bead is displaced. In those cases, inflation is not the next step. Pumping again and again just puts air into a tire that can't hold it.

Reinflate With a Pump That Fits Your Valve
When the checks pass, the job is simple: get the right head on the valve and stop inside the right pressure range. Trek's guide on pumping bike tires to the right pressure covers the basic connection steps used below.
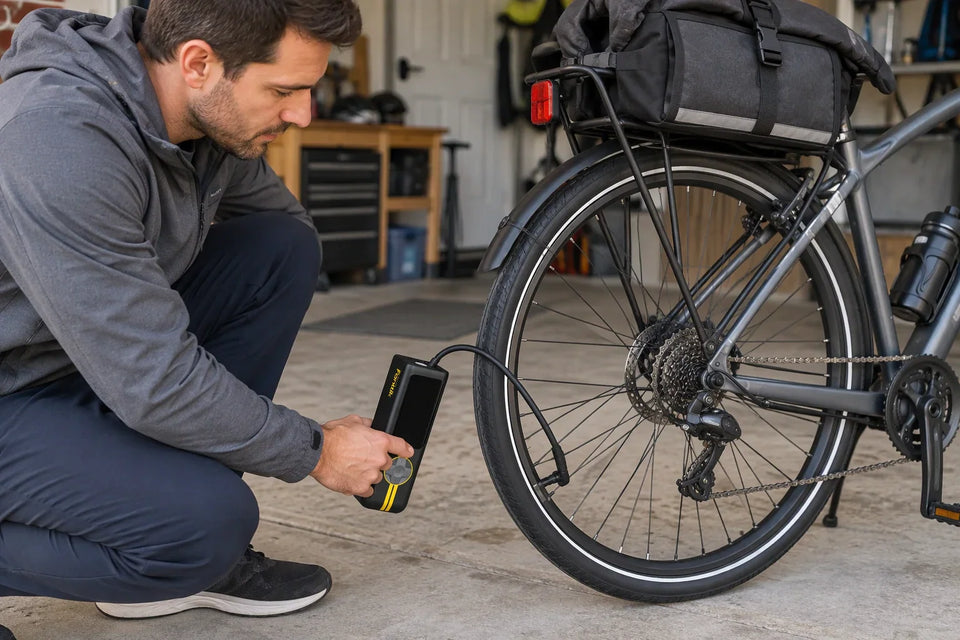
- Confirm the pump matches your valve. Bike valves are either Presta or Schrader. Use a head made for your valve, or the right adapter. If the head won't fit, don't force it.
- Open a Presta valve first. Unscrew the small tip nut. Press the tip briefly. A short burst of air tells you it's open.
- Attach and lock the head the way your pump's instructions say. On a lever-style head, push it all the way onto the valve and flip the lever to lock it. If you can feel the valve wiggle inside the head, or hear hissing while you pump, reseat the head before you keep going.
- Inflate while you watch the gauge. Aim for your normal riding pressure if you know it, and keep it inside the range printed on the tire sidewall. Don't treat the tire's maximum number as a target. It's a limit, not a riding pressure.
- Respect the rim too. On hookless rims, Schwalbe says you must observe both tire and rim pressure specifications, and you follow the rim's maximum if it's lower than the tire's.
- Disconnect carefully and close the valve. Release the head as its instructions say, then close the Presta tip nut. A screw-on head can sometimes loosen the valve core as you unscrew it. Hold the valve steady and check that the core is still snug.
- Spin the wheel. WTB's plug instructions suggest spinning the wheel to move the remaining sealant around the puncture.

If you don't know your tire or rim pressure limits, don't guess high. Read the sidewall first. If the pump head won't lock onto the valve and seal, stop. Pushing harder can damage the valve. Choosing between a mini pump and a cartridge before your next ride? Our guide on bike pump vs. CO₂ covers the trade-offs. For general Presta technique with a hand pump, see inflating with a portable pump.
Check for Air Loss Before You Ride
With the tire back up to pressure, check the repair one more time. Put your ear near the plug and listen for hissing. Look for sealant foaming or bubbling around the plug, then run your eyes along the bead on both sides for the same signs. WTB's plug instructions also recommend listening for leaks at this point. If air is still escaping, add another plug if you have one rather than topping off again.
If you keep losing air after inflation, stop relying on the pump. A tire that slowly goes soft again has the same problem it had before you added air. Each refill only delays the next one. Walk out, use your backup plan, or arrange a ride rather than chasing the leak with more air.
If the tire holds pressure and you hear nothing, that's a good initial result, but it's only one check. Holding air on the trail does not prove the repair is complete or that the tire is safe to ride on. Give the tire a squeeze or a gauge check before moving on; if it has lost noticeable pressure, the seal isn't holding.
FAQs
Should I trim a tubeless plug after reinflating?
Only if you need to. WTB's plug instructions say trimming is optional when the plug sticks out too far. If you trim it, leave a small amount exposed so the plug stays in place as you ride. A pocket knife or small scissors works.
Should I check the plug again after the ride?
Yes. WTB recommends checking the tire after the ride to make sure the plug is still holding. A trailside check only tells you how the repair looks right then. A later inspection shows whether the plug has stayed in place, and lets you replace it or plan a better repair if it hasn't.
Is a tubeless plug a permanent repair?
Don't assume it is. Park Tool says that in general, punctures in tubeless tires cannot be repaired, except for some UST tires and other tires with a butyl inner lining, which may be patched with a vulcanizing patch kit. Whether you can make a longer-term fix depends on how your tire is built. Follow your tire maker's repair guidance, and replace the tire if it can't be repaired.
Leave a comment
This site is protected by hCaptcha and the hCaptcha Privacy Policy and Terms of Service apply.