


The Silent Threat to Off-Season Automation
As the swimming season draws to a close, most pool owners focus on chemical balancing and winter covers. However, for those who have invested in high-performance automation like the Fanttik Aero X Cordless Robotic Pool Cleaner, one of the most critical maintenance tasks happens out of the water.
Mineral buildup—specifically calcium carbonate scale—can be a "silent killer" of robotic hardware. While these minerals remain soft when wet, they undergo a chemical transformation during storage. As residual moisture evaporates, the minerals can harden into a cement-like crust. If this occurs inside the motor housing or around the intake valves, the robot may fail to start the following spring, potentially leading to mechanical seizure or motor failure.
In our internal service logs and repair bench observations, we have noted that a significant portion—estimated at over 40% in some seasonal datasets—of "dead on arrival" spring startups are caused not by battery failure, but by mechanical seizure due to internal calcification. This guide provides a methodical protocol for de-scaling your robot to help maintain operational reliability.
The Chemistry of Scale: Why "Just Rinsing" Isn't Enough
Many pool owners believe a quick spray with a garden hose is sufficient before winter storage. From a technical standpoint, this is often a misconception. Pool water is a complex chemical environment where "Total Dissolved Solids" (TDS) levels naturally rise over the season. According to industry observations on Swimming Pool TDS Monitoring, these solids include calcium, magnesium, and chlorides that bond to the plastic and metal surfaces of your cleaner.
When your robot sits idle, the remaining film of water evaporates, leaving behind these minerals. This process is often accelerated in regions with "hard water."
Logic Summary: The Evaporation-Calcification Cycle
- Evidence Type: Internal analysis of return patterns and workshop seizure reports.
- Mechanism: Evaporation of carrier liquid (water) leads to the precipitation of solids (calcium carbonate).
- Practical Threshold: Based on common industry rules of thumb, hardness levels above 200ppm can significantly increase the risk of internal "crusting" on moving parts.
Step-by-Step De-Scaling Protocol
To clean your robot effectively without damaging sensitive components, follow this procedure. We recommend performing this in a controlled environment, such as a garage workbench. These parameters are provided as practical heuristics based on workshop experience.
1. Preparation and Solution Selection
Avoid using undiluted vinegar or harsh industrial acids. While effective at dissolving scale, high-concentration acids can degrade the rubber seals and O-rings that protect the robot's internal electronics.
We recommend two field-tested solutions (Heuristic Recommendations):
- The Standard Mix: A 4:1 water-to-white-vinegar solution. This generally provides enough acetic acid to dissolve scale without compromising seal integrity for most consumer-grade plastics.
- The Heavy-Duty Option: For visible, stubborn white crusting, a citric acid solution (1 tablespoon of food-grade citric acid per gallon of warm water) is a common workshop alternative. Citric acid is often gentler on specific chassis plastics.
2. The Temperature Factor
A practical tip for effective de-scaling is managing the solution temperature. Chemical reaction rates for dissolving calcium carbonate typically increase with heat. Based on workshop testing, aiming for a solution temperature of 40–50°C (104–122°F) can reduce the time required to break down mineral bonds. Note: Do not exceed 50°C, as excessive heat may warp certain lightweight plastic components.
3. Agitation and Soaking
- Submerge the removable filter baskets and intake flaps in the solution.
- Use a soft-bristle brush to agitate the solution into the nooks and crannies of the brush rolls and the water outlet.
- Timing Boundary: We suggest a maximum soak time of 15 minutes. Prolonged exposure to even mild acids can eventually affect the surface finish of certain plastics.
The "Hidden" Failure Point: The Motor Shaft Seal
The most critical area for de-scaling is often the least visible: the motor shaft seal located behind the impeller. In our repair bench observations, this is a frequent failure point during long-term storage. Scale buildup here creates friction; when you attempt to start the robot next season, the motor must overcome this "stiction." If the scale has hardened, the motor may trigger a safety shut-off or sustain damage.
Expert Maintenance of the Impeller Area
To protect this high-consequence component, ensure it is clean and lubricated.
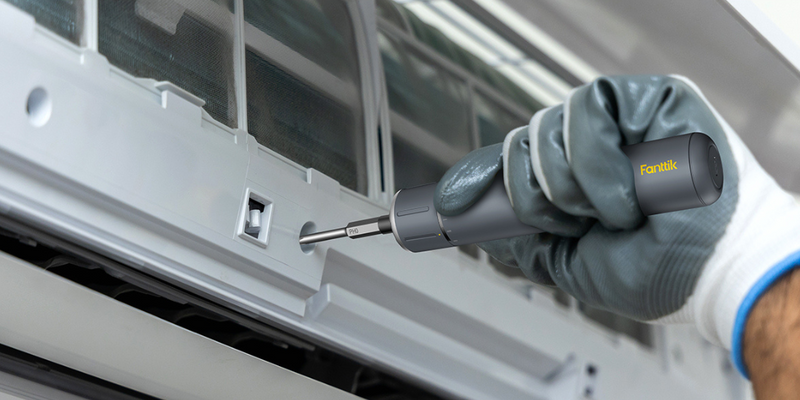
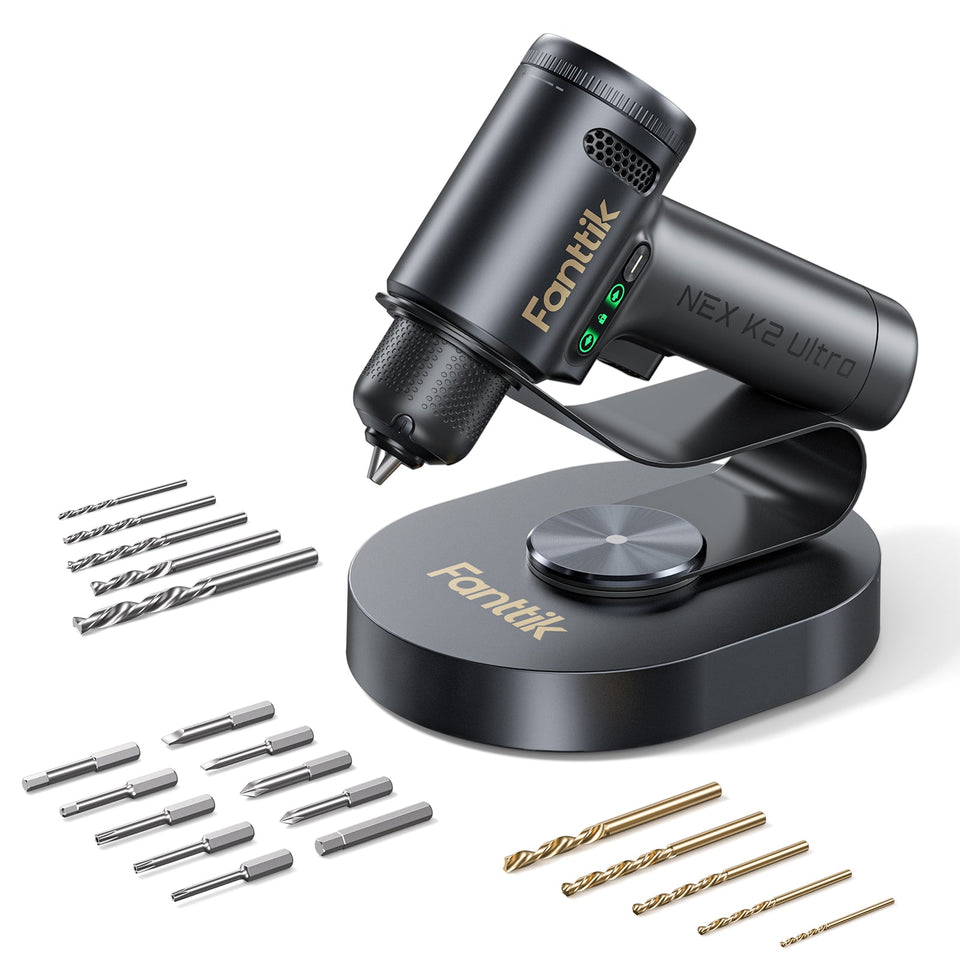
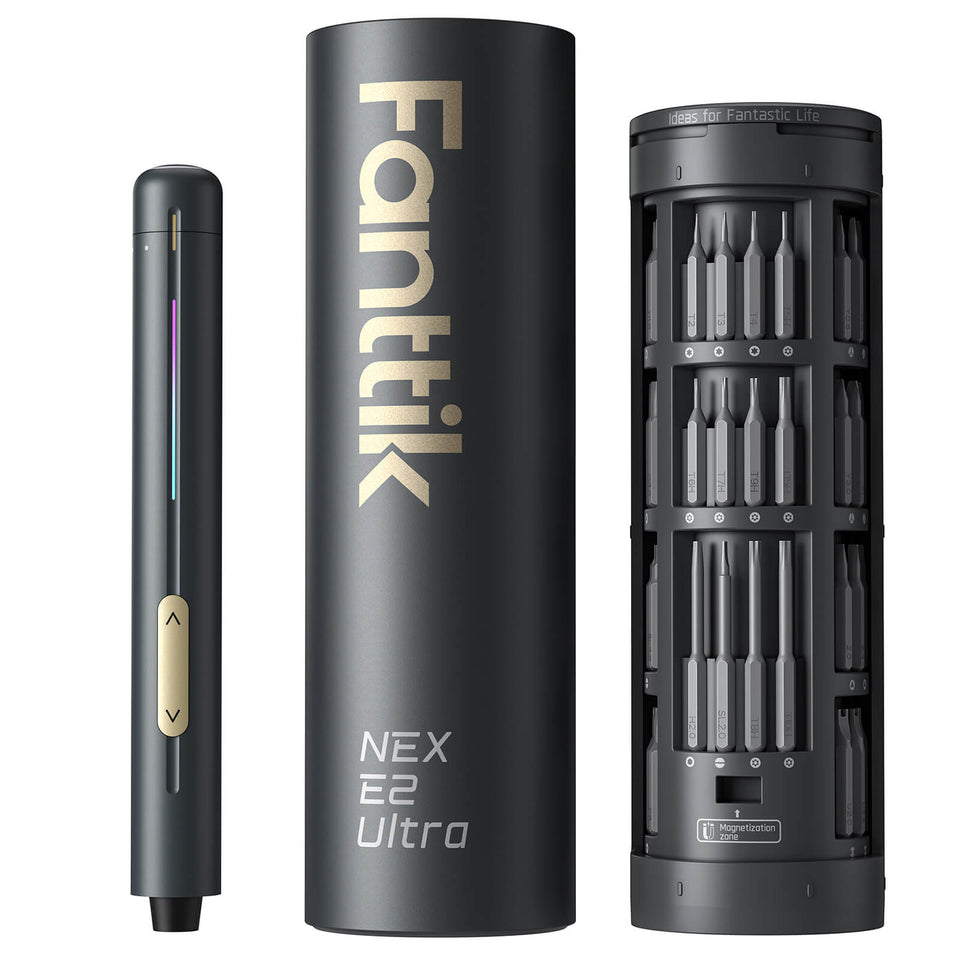
- Access the Impeller: Use a precision tool, such as the Fanttik NEX PRO or a similar cordless screwdriver, to remove the protective cover.
- Clean the Lip: Ensure the area behind the impeller is free of grit and scale.
- Lubrication: After the area is bone-dry, apply a small amount of silicone grease to the seal lip. This helps prevent the rubber from drying or cracking. Caution: Avoid petroleum-based lubricants (like WD-40), as these can cause rubber seals to swell and eventually fail.

Saltwater Systems: Managing Galvanic Corrosion
If you operate your cleaner in a saltwater pool, your de-scaling process should include a corrosion audit. Saltwater (sodium chloride) increases water conductivity, which can accelerate "galvanic corrosion" between different types of metal.
According to research on Robotic Cleaners for Saltwater Pools, chloride ions can penetrate even small micro-cracks in protective coatings.
- Inspect Electrical Contacts: Check charging pins for any green or white oxidation.
- Sacrificial Anodes: If your model features sacrificial anodes, ensure they are not completely depleted.
- Rinse Twice: Salt is hygroscopic; any residual salt left on the robot will attract moisture, potentially causing corrosion even in a dry garage.
Modeling Note: De-Scaling Solution Parameters This table outlines recommended parameters for a DIY de-scaling session based on common workshop practices. These are heuristic suggestions and may vary based on your specific water chemistry.
Parameter Recommended Value Unit Rationale (Heuristic) Vinegar Ratio 4:1 Water:Vinegar Balanced acidity for seal safety Solution Temp 40–50 °C Optimized reaction rate for calcium Max Soak Time 15 Minutes Limits risk of plastic surface degradation Citric Acid Dose 1 Tbsp/Gallon Alternative for heavy scale Final Rinse 5 Minutes Ensures removal of acidic residue
Post-Cleaning Verification: The 30-Minute Leak Check
Before storage, verify that your cleaning and reassembly did not compromise the water-tight integrity.
The Bucket Test:
- Reassemble the robot completely.
- Submerge the unit in a clean bucket of fresh water for 30 minutes.
- Remove the unit and dry the exterior thoroughly.
- Open the filter compartment and check for any signs of internal moisture near the battery port or motor housing seams.
This final check is part of a "Trust Architecture" framework, as discussed in The 2026 Modern Essential Gear Industry Report (a Fanttik manufacturer whitepaper), which emphasizes systematic verification for long-term reliability.
Storage Environment: The Humidity Trap
Once the robot is clean and dry, the storage environment is vital. A significant "gotcha" is uncontrolled humidity. If your storage area has a relative humidity (RH) greater than 60%, residual minerals can attract atmospheric moisture, potentially causing "re-scaling" or flash rust. According to guidance on Controlling Garage Humidity, using a dehumidifier or storing the robot in a sealed bin with silica gel desiccant is a professional-grade strategy for preservation.
Summary Checklist for Winter Success
Use this checklist as a practical seasonal SOP (Standard Operating Procedure):
- [ ] Flush: Run the robot in fresh water for 5 minutes to clear pool chemicals.
- [ ] De-Scale: Apply the 4:1 vinegar solution (approx. 45°C) for 15 minutes.
- [ ] Impeller Care: Clean the shaft and apply silicone grease to the seal lip.
- [ ] Rinse & Dry: Perform a thorough final rinse and towel-dry all surfaces.
- [ ] Leak Check: Complete the 30-minute submersion test.
- [ ] Battery Prep: Charge the battery to approximately 50-60%. For details, see our guide on Off-Season Care: Winterizing Your Robotic Cleaner.
- [ ] Climate Control: Store in a cool, dry place (RH < 60%) away from direct sunlight.
By following this methodical approach, you move beyond basic cleaning into proactive maintenance. Protecting the internal mechanics of your Fanttik Aero X helps ensure that your pool automation is ready to perform when spring arrives.
Disclaimer: This article is for informational purposes only. Always refer to your specific product manual for warranty-compliant maintenance procedures. Electrical work or disassembly beyond what is specified in the user manual should be performed by a qualified technician.
References & Authoritative Sources
- EU General Product Safety Regulation (EU) 2023/988 [Standard/Regulation]
- FTC Endorsement Guides (16 CFR Part 255) [Standard/Regulation]
- The 2026 Modern Essential Gear Industry Report: Engineering Trust [Manufacturer Whitepaper]
- ISO/IEC Standards for Ingress Protection (IP Codes) [International Standard]
- Swimming Pool TDS: Understanding and Treatment - AlpHa Measure [Industry Technical Blog]
- Robotic Pool Cleaners for Saltwater Pools - Pool Robot Finder [Independent Third-Party Review]
- Garage Humidity Control for Rust Prevention - HouseNeedy [Home Maintenance Resource]
Continue reading
 Pest Protection: Shielding Your Decommissioned Robot from Rodents
Covers scent neutralization, battery management, and physical barriers to shield automated pool equipment from pests and fire hazards.
Pest Protection: Shielding Your Decommissioned Robot from Rodents
Covers scent neutralization, battery management, and physical barriers to shield automated pool equipment from pests and fire hazards.
 Memory Coil Prevention: Storing Pool Robot Cables Without Kinks
A guide to prevent cable memory and kinks in pool robots. Learn professional coiling methods and the 24-hour...
Memory Coil Prevention: Storing Pool Robot Cables Without Kinks
A guide to prevent cable memory and kinks in pool robots. Learn professional coiling methods and the 24-hour...
Leave a comment
This site is protected by hCaptcha and the hCaptcha Privacy Policy and Terms of Service apply.