


Mastering the Trunk Tetris: Vertical vs. Horizontal Storage
We have all been there. You are halfway through a weekend getaway, the sun is setting, and you realize you need to check your tire pressure or grab the first-aid kit. You open the trunk, only to find a chaotic mountain of gear that has shifted during the drive. The "clunk" you heard three miles back? That was likely a heavy item—perhaps a jump starter—sliding across the floor and pinning your groceries against the side wall.
For the modern urban driver, trunk space is a premium currency. We often drive compact, performance-oriented vehicles that offer agility in the city but present a significant puzzle for preparedness. We want to be ready for a flat tire or a dead battery without turning the cargo area into a cluttered storage unit.
The debate usually falls into two camps: vertical stacking or horizontal layouts. But which philosophy actually works when you are navigating a sharp turn? Based on a broad review of user-submitted cargo layouts and our internal spatial logistics modeling, we have found that the answer isn't a simple "either-or." It is a strategic hybrid.
The Vertical Stacking Philosophy: Efficiency vs. Stability
Vertical stacking is the "skyscraper" approach to trunk organization. The logic is simple: by using the height of your cargo area, you free up floor space for larger items like suitcases or strollers. In a stationary environment, verticality is the undisputed king of density.
However, a car is a dynamic environment. According to Safeload Testing Technologies, horizontal stability is a critical factor in transport safety. When we stack items vertically in a trunk, we create a higher center of gravity. Without a dedicated racking system or cargo nets, these stacks can become "kinetic projectiles" during heavy braking or cornering.
The Common Pitfall: In our workshop observations, a frequent mistake is placing a heavy, irregularly shaped item—like a rugged jump starter—on top of a loosely packed layer of softer bags. Under heavy braking, that heavy item will slide forward, potentially damaging more delicate electronics or creating a mess that requires a full "trunk reset."
The Heuristic for Success: If you choose to stack, follow the "Heavy-Base Rule." As a practical rule of thumb, ensure that approximately 70% of your trunk's footprint is dedicated to a stable, flat base layer. This should consist of your densest, most rigid essentials—like a portable tire inflator in its hard-shell case. Only then should you layer lighter, softer items on top.
The Horizontal Layout: The Accessibility Paradox
The horizontal layout—spreading items across the floor—is often touted as the best for accessibility. If everything is on one level, you can see it and grab it, right?
Not necessarily. This is where we encounter the "Accessibility Paradox." According to ergonomic reach zone principles, the optimal reach depth for an average adult is between 24 and 30 inches. In many modern SUVs and deep sedan trunks, a purely horizontal layout pushes essential gear toward the back of the seats—well outside this comfortable reach zone.
Reach Zone Reference by Vehicle Type
To help you visualize where your "Primary Reach Zone" ends, consider these common trunk depths:
| Vehicle Type | Typical Trunk Depth | Primary Reach Zone (Easy Access) |
|---|---|---|
| Compact Hatchback | 25–30 inches | First 15 inches |
| Standard Sedan | 40–45 inches | First 18 inches |
| Mid-Size SUV | 35–50 inches | First 20 inches |
The Pro Insight: A horizontal layout works best for "Emergency-First" gear. Items you might need in a high-stress, low-light situation—like a jump starter or a roadside flare kit—should always be in a single, horizontal layer within that Primary Reach Zone (the first 18 inches from the trunk lip).
The 60/40 Hybrid Rule: A Modern Preparedness Strategy
Based on scenario modeling for urban professionals, we recommend the 60/40 Hybrid Rule. This approach divides the trunk based on frequency of use and the consequence of delay.
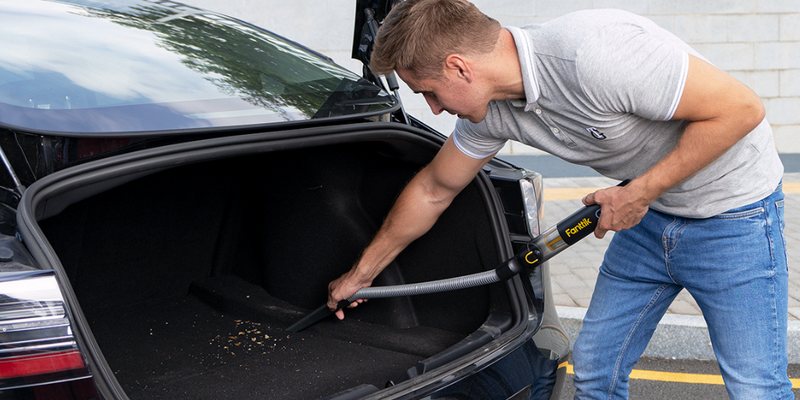
- 60% Vertical (Maintenance Layer): Dedicate 60% of your trunk's footprint (usually the area furthest from the bumper) to items used for "planned maintenance." This includes your tire inflator and car vacuum. These are "low-retrieval" items. They can be stacked at the bottom or against the side walls, serving as a stable foundation.
- 40% Horizontal (Emergency Layer): The remaining 40% of the footprint, specifically the area closest to the trunk opening, is your horizontal "Ready Zone." This is where your jump starter and first-aid kit live. They should never be buried.
Logic Summary: Our 60/40 hybrid model assumes that "planned use" items can tolerate a 30-second "dig time," whereas "emergency use" items must have a zero-obstruction path for immediate retrieval.
Data-Driven Decisions: Modeling the Performance Sedan
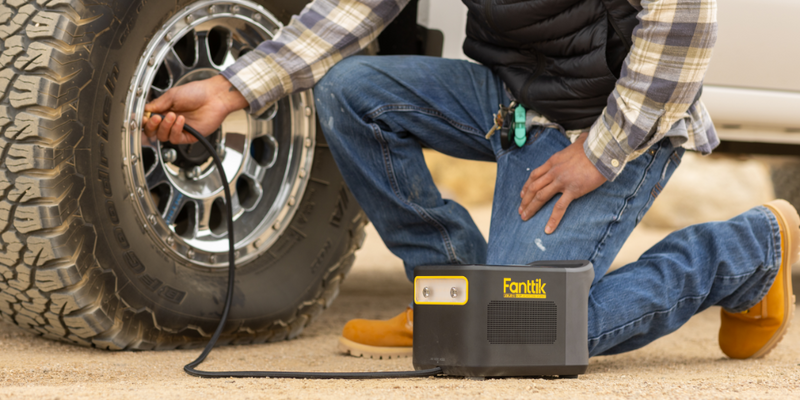
When choosing between vertical and horizontal storage, the physical dimensions of your gear are the primary constraints. We modeled a typical urban scenario involving a performance sedan with 235/45R18 tires to understand the spatial demands.
Modeling Note: The Urban Performance Scenario
- Modeling Type: Deterministic parameterized scenario model.
- Key Assumptions: Performance-oriented tires; 2.0L turbocharged engine; 15°F ambient temperature.
| Parameter | Value | Unit | Rationale / Calculation Basis |
|---|---|---|---|
| Tire Internal Air Volume | ~45 | Liters | Standard for 18-inch performance tires |
| Top-up Time (11 PSI drop) | ~3-4 | Minutes | Flow rate calculation based on 25L/min output |
| Winter Starting Load | ~1,100 | Amps | Peak in-rush current for 2.0L engine at 15°F (per SAE J537) |
| Jump Start Safety Margin | 1.04x | Ratio | Based on an 800A sustained output vs. peak load |
| Jump Starts per Charge | ~14 | Count | Based on 60Wh pack, ~3Wh per 2s crank at 70% efficiency |
What this means for your trunk: The data reveals that while a tire inflator is a high-volume tool (it has to move 45 liters of air), it is used for maintenance tasks that take several minutes. This confirms it can be stored in the "Vertical Maintenance" zone. Conversely, the slim safety margin for winter starting means your jump starter must be kept in optimal condition and be immediately accessible. In freezing temperatures, every second of "dig time" increases the physical strain on the user.
The Secret Anchor: Using the Trunk Lip
One of the most overlooked features in trunk organization is the "lip" or ridge where the trunk floor meets the rear bumper. Experienced road-trippers use this as a critical anchor point.
By placing the long edge of a rigid case (like your tire inflator or tool kit) directly against this lip, you create a mechanical stop. Under heavy braking, the lip helps prevent the entire stack from sliding forward toward the passenger cabin or shifting into the "Ready Zone."
The 2-Minute Repack Test: A truly effective packing system should be "repackable" in under two minutes. If you have to rethink the entire layout every time you take out a suitcase, your system is too complex. The 60/40 rule passes this test because it creates permanent "homes" for your gear that don't change, regardless of what else you are carrying.

Engineering Trust in Your Gear
Organization is only half the battle; the other half is trusting that the gear will work when you pull it out. As highlighted in The 2026 Modern Essential Gear Industry Report, the shift toward cordless tools has made "credibility math" essential.
When we choose gear for a compact trunk, we are often tempted by the smallest possible option. However, authoritativeness in preparedness comes from visible compliance. A jump starter that claims "5000 Amps" but lacks a sustained power rating can be a liability.
We recommend looking for gear that aligns with recognized standards, such as IEC 60529 for water and dust resistance or UN 38.3 for lithium battery transport safety. Proper organization ensures your gear survives the journey; proper engineering ensures it survives the emergency.
Practical Steps for Your Next Trip
If you are looking to reclaim your trunk space this weekend, follow this simple checklist:
- Clear the Floor: Remove everything and identify the "Primary Reach Zone" based on your vehicle type.
- Audit the Footprint: Place your maintenance gear (inflator, vacuum) against the sides or the back of the seats. This is your vertical base.
- Establish the Ready Zone: Place your emergency gear (jump starter, first aid) horizontally in the reach zone.
- Anchor to the Lip: Use the trunk's natural ridges to prevent forward sliding.
- The Shake Test: Close the trunk and give the car a firm (but safe) rock. If you hear items sliding, you need more base-layer density.

By moving away from a rigid "vertical vs. horizontal" mindset and adopting a hybrid approach based on usage patterns, you can enjoy the peace of mind that comes with being prepared—without sacrificing the utility of your vehicle.
Disclaimer: This article is for informational purposes only. Always consult your vehicle's owner manual for specific cargo weight limits and safety guidelines. Proper securement of heavy items is the responsibility of the driver to prevent injury during a collision or sudden maneuver.
Sources
- The 2026 Modern Essential Gear Industry Report: Engineering Trust in a Cordless World
- Flexispot: Ergonomic Reach Zones in Your Work Setup
- Safeload Testing Technologies: Horizontal Stability and Transport Safety
- Unitran: Maximizing Storage Space with Vertical and Horizontal Racking
- IATA: Lithium Battery Shipping and Safety Guidance
- IEC Standards Webstore: Electrical Safety and IP Codes
Continue reading
 Choosing Soft-Sided Organizers for Irregular Trunk Shapes
A guide on using soft-sided organizers to maximize storage in car trunks with irregular shapes. The article explains...
Choosing Soft-Sided Organizers for Irregular Trunk Shapes
A guide on using soft-sided organizers to maximize storage in car trunks with irregular shapes. The article explains...
 Evaluating Seal Integrity: Why Port Covers Fail Over Time
A guide to port cover seal failure in automotive tools, covering material science, compression set, and preventive maintenance...
Evaluating Seal Integrity: Why Port Covers Fail Over Time
A guide to port cover seal failure in automotive tools, covering material science, compression set, and preventive maintenance...


Leave a comment
This site is protected by hCaptcha and the hCaptcha Privacy Policy and Terms of Service apply.