










































To set auto-shutoff on a cordless tire inflator, enter your vehicle's recommended cold PSI, found on the tire placard or in the owner's manual, then use the inflator's PSI mode and target-pressure control to lock that number in before you start inflating. The device stops automatically once its display reaches that target, but the exact menus and buttons differ from one model to the next.
Cold tires and a snug hose connection matter as much as the number you type in, and the stop event alone doesn't prove the tire is at exactly that pressure. The steps below cover the universal part of the job, then point out where you need your specific model's manual.
Key Takeaways
- Enter the vehicle's recommended cold PSI from the door-jamb placard or owner's manual, not the tire's sidewall maximum.
- Check pressure cold, meaning the vehicle hasn't been driven for at least three hours, since driving raises the reading.
- Set the inflator to PSI, enter the target, and seat the hose fully before starting inflation.
- Auto-shutoff stops at the displayed preset; it doesn't by itself prove the tire is at an exact measured pressure.
- Confirm the final reading and stop if the connection won't seal or the tire or valve looks damaged.
How to Set Auto-Shutoff on a Cordless Tire Inflator
The core workflow is the same across most cordless inflators, even though the exact controls vary. Follow these steps in order, then confirm the result before you drive.
- Make sure the tire is cold. It should not have been driven on for at least three hours.
- Find your vehicle's recommended cold inflation pressure on the door-jamb placard or in the owner's manual. This is the number you'll use, not the tire's sidewall maximum.
- Power on the inflator and switch its display to PSI if it isn't already set that way.
- Use the target or preset control to enter the vehicle's cold PSI value.
- Push the air hose fully onto the valve stem until it seats without hissing or leaking.
- Start inflation and let the device run until it reaches the target and shuts off on its own.
- Read the final displayed pressure and treat it as a result to confirm, not as a finished job. The next sections cover the target rule, model differences, and how to verify that reading.
Choose the Correct Cold PSI Before You Set the Target
The number you enter comes from your vehicle, not your tire. NHTSA explains that the vehicle manufacturer, not the tire manufacturer, sets the correct pressure, and that figure is called the recommended cold inflation pressure. It's printed on the driver's-side door-jamb placard or listed in the owner's manual.
The tire sidewall lists a different number: the tire's maximum permissible pressure, which is a limit built into the tire, not the pressure your vehicle needs day to day. Entering that higher sidewall figure into the inflator's target will overinflate the tire relative to what the vehicle actually calls for.

Cold status is part of the measurement, not an optional nicety. NHTSA defines a cold tire as one that hasn't been driven on for at least three hours, because driving heats the tire and raises the air pressure inside it. If you've already been driving, wait for the tire to cool rather than adjusting a warm reading down to the placard number, since a warm tire that reads at the placard PSI will actually be below that pressure once it cools. For more background on why this distinction affects fuel economy and tire wear, see this guide to proper tire inflation.
Use Model-Specific Controls Without Guessing
Once you know the target PSI, the controls that get you there are model-specific, so don't assume every cordless inflator uses the same buttons. The shared goal is simple: select PSI, enter the target, connect the hose, and start only when the device indicates it's ready. How each model implements that goal is different.
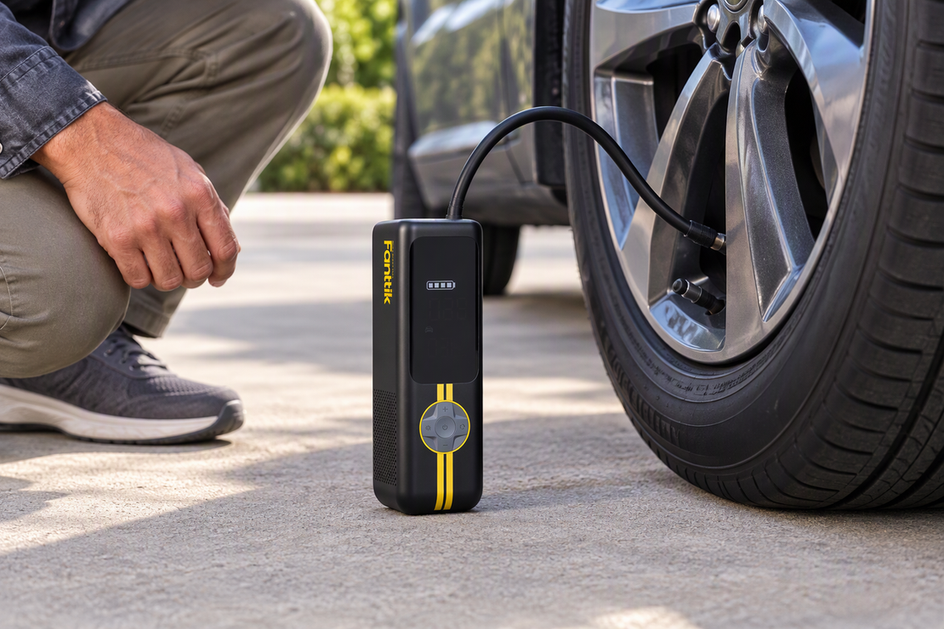
For example, our documented facts for the Fanttik X9 Pro Portable Tire Inflator describe PSI, kPa, and bar unit modes, an adjustable preset-pressure setting, an integrated hose that activates when pulling out its yellow end, and a preset auto-stop that ends inflation once the target is reached. Meanwhile, our Fanttik X9 APEX Portable Tire Inflator features a one-click preset auto-stop, but its complete unit-selection and button sequence is not established by the same facts. Neither example should be applied to other inflators, since hose activation, unit toggles, and hold-button behavior aren't standardized across brands or even across models from the same brand. For the exact sequence on your unit, use its current manual rather than guessing from a different model's layout.
Verify the Final PSI Before You Drive
Auto-shutoff tells you when the device stopped, not whether the tire's actual pressure is exactly right, so a quick check after the stop event is worth the extra minute. Confirm three things: the display was set to PSI and matched your vehicle's target, the tire was genuinely cold when you started, and the hose stayed seated without a leak at the valve.
A second gauge check adds a useful cross-reference. General guidance on checking pressure with a separate gauge recommends pressing the gauge firmly onto the valve stem until the hiss disappears, then rechecking after filling. This isn't a calibration standard for any specific inflator, but it's a reasonable practical habit when the exact number matters, such as before a long trip.
If the hose won't seal, the tire or valve looks damaged, or the pressure behaves unexpectedly during inflation, stop and resolve the issue with qualified tire service before driving rather than repeating the inflation cycle.

FAQs
Why does my tire pressure reading differ after the inflator auto-shuts off?
A mismatch between the inflator's stopping point and a separate gauge usually traces back to one of a few things: the tire wasn't fully cold, the inflator or gauge was set to a different unit, the hose wasn't fully seated, or the two devices simply measure slightly differently. Confirm the unit is PSI, wait for a cold condition if the tire was recently driven, reseat the hose, and recheck. If the gap persists or the pressure behaves oddly, stop and don't rely on that reading before driving.
What should I do if my cordless inflator is set to kPa or bar instead of PSI?
Stop before relying on the preset or the final display. Switch the device's unit setting to PSI, then re-enter your vehicle's cold PSI target from the placard or owner's manual, and let the device run again to that value. Don't try to convert or estimate the target on the fly if you're unsure which unit the device was actually using.
Can I set auto-shutoff if my tires are already warm from driving?
Setting auto-shutoff to your vehicle's cold placard PSI on a warm tire will leave it underinflated once it cools down. Driving heats the tire air, temporarily raising internal pressure. For an accurate reading and safe inflation, let the vehicle sit parked for at least three hours until the tires return to ambient cold status before setting the target and starting the inflator.
Continue reading
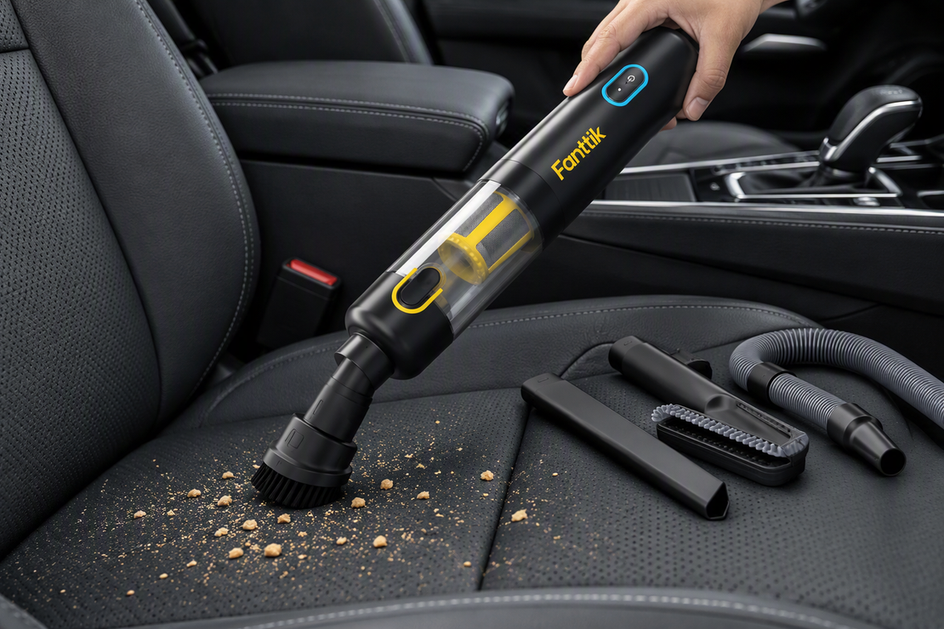 Wet vs Dry Car Messes: Why Standard Cordless Car Vacuums Should Never Suck Up Spilled Coffee
Standard cordless car vacuums are dry-only tools. Here's the spill-cleanup order that protects your vehicle interior and keeps...
Wet vs Dry Car Messes: Why Standard Cordless Car Vacuums Should Never Suck Up Spilled Coffee
Standard cordless car vacuums are dry-only tools. Here's the spill-cleanup order that protects your vehicle interior and keeps...
Leave a comment
This site is protected by hCaptcha and the hCaptcha Privacy Policy and Terms of Service apply.