











































You can pressure wash a mountain bike or dirt bike safely only if you treat the washer's maximum PSI rating as a capacity number, not a cleaning target. Use the lowest controllable setting, a wide spray pattern, and enough distance to avoid a direct hit on sealed cartridge bearings, hubs, pivots, and suspension seals. There is no single PSI range that fits every bike and every washer, so the setup depends on how well you can control the spray rather than on one published number.
If your washer can't hold a gentle, wide pattern, a hose, bucket, and soft brush do the same job with less risk. The steps below walk through washing a mountain bike with a pressure washer without damaging bearings, and where a dirt-bike wash needs a different pace.
Key Takeaways
- No universal PSI range protects bearings and seals. Use the lowest controllable setting, a wide spray, and distance instead of chasing the washer's maximum rating.
- Never aim direct spray at sealed bearings, hubs, pivots, headset, bottom bracket, suspension seals, brakes, or electrical connectors.
- Soak and brush packed mud instead of increasing pressure, and switch to a hose or bucket if you can't control the spray.
- Dry the bike fully, skip compressed air on bearings, then lubricate and inspect before you ride again.
- Dirt bikes typically need more soak time and a closer inspection because of heavier mud and extra suspension, chassis, and electrical components.
What Pressure and Spray Setup Should You Use?
The safest setup is the lowest controllable setting on your washer, delivered through the widest spray pattern, from a distance that still lifts mud off open surfaces. No manufacturer or bike-care organization publishes one PSI number that works for every bike and washer combination, so you control the variables instead of chasing a figure.
Use the Lowest Controllable Setting
Treat your washer's maximum PSI rating the way you'd treat a car's top speed: it tells you what the machine can do, not what your bike needs. A cordless model's spec sheet lists a maximum PSI rating, but that number describes machine capacity, not a bearing-safe cleaning setting. Before using a cordless pressure washer's settings anywhere near bike hardware, confirm it actually offers a low, controllable mode rather than one concentrated stream.
Choose a Wide Spray and Back Off
Start farther away than feels necessary, then move closer only over open, mud-caked surfaces like the down tube or fenders. Park Tool's bicycle-care guidance recommends low-pressure, wide-spray washing with a hose, and the same principle carries over to a pressure washer: spread the water out instead of concentrating it on one spot, and sweep across the surface rather than holding still.

Know When to Use a Hose or Bucket
Switch to a hose, bucket, brush, or cloth whenever your washer can't hold a gentle, wide pattern, or when mud sits right next to a hub, pivot, or seal. Let water soak into packed mud for a few minutes before brushing it loose. That dwell time does more work than extra pressure ever will.
Where Water Must Not Go on Either Bike
Some components on both bikes need indirect cleaning instead of a direct jet, because concentrated spray can push water and grit toward grease and rubber seals. The list below covers the no-direct-jet zones shared by mountain bikes and dirt bikes.
Sealed Bearings and Grease-Packed Interfaces
- Hubs, pivots, headset, bottom bracket, and pedal axles: keep the jet off these points and use a brush or damp cloth instead.
- If mud sits right beside one of these interfaces, brush it loose first, then rinse from a wider angle rather than closing the distance.
Suspension Seals and Wipers
- Fork and shock seals or wipers should never receive a direct spray; clean the stanchions and surrounding surfaces with a broad, indirect pass. Bike-washing guidance from BikeRadar also flags these seals as an area to avoid a direct water jet, even at a lower setting.
- A model's listed spray modes, including a portable pressure washer's spray patterns, don't tell you whether a given mode is gentle enough for a seal. Check the actual pattern width and working distance yourself before relying on a preset.
Brakes, Drivetrain, and Electronics
- Keep spray off brake rotors and pads; contamination here can cause noise or reduced stopping power.
- Rinse drivetrain interfaces, such as the chain and derailleur pivots, from a distance instead of forcing water into the linkages.
- On a dirt bike, treat electrical connectors and controls the same way. Check your bike's manual for connector locations before you start washing.
How to Pressure Wash a Mountain Bike or Dirt Bike
Follow this sequence in order, and keep the setting low and the spray wide at every step. Mud comes off through soaking, brushing, and controlled rinsing, not through added force.
- Park the bike on a hard surface and gather a bucket, soft brush, microfiber towel, and a light bike lubricant.
- Remove or protect anything vulnerable, such as a bike computer, saddle bag, or a dirt bike's air filter cover, following its own instructions.
- Soak visibly muddy areas with a hose or the washer's widest, lowest setting, and let the mud sit for a few minutes to loosen.
- Wash open surfaces, including the frame, fenders, and wheels, from the top down using the lowest controllable setting and a wide spray, sweeping across the surface instead of holding one spot. If you're already using a foldable cordless washer, confirm this pass uses its lowest setting.
- Switch to a soft brush or cloth around hubs, pivots, headset, bottom bracket, suspension seals, brake components, and electrical connectors instead of spraying them directly.
- Rinse the whole bike again from a greater distance to clear soap or loosened mud, using the widest available pattern.
- Towel-dry accessible surfaces, then let the bike air-dry fully. Skip compressed air directed at bearings, since it can drive contamination into the interface instead of clearing it.
- Once the bike is dry, lubricate the chain and other documented pivot points, then do a quick hand inspection while you're already close to the bike.
What Changes When You Wash a Dirt Bike?
The core rule, low force and no direct spray at sensitive interfaces, applies to both bikes. What changes is how much soak time, brushing, and inspection the mud and extra components demand.
Mountain Bikes: Protect the Bearing Interfaces
A mountain-bike wash usually centers on cartridge bearings, pivots, hubs, headset, bottom bracket, and the drivetrain, since these carry most of the exposed grease. Keep the wash focused on controlled rinsing of open frame surfaces, with brushing or wiping wherever mud collects next to one of those interfaces.
Dirt Bikes: Add Soak Time and Inspection
A dirt bike often carries heavier, more deeply packed mud across the chassis, suspension, and drivetrain, so plan on longer soak time before you brush or rinse. Give extra attention to suspension seals, chassis joints, and electrical connectors, and check your bike's owner's manual for model-specific service points. A mountain-bike wash routine doesn't automatically cover a dirt bike's suspension or electrical service requirements.
How to Dry, Inspect, and Lubricate After Washing
Drying and a quick inspection turn a wash into a pass or fail check before you ride again. Lubricate only after the bike is fully dry.
Dry Before You Lubricate or Store
- Towel-dry every accessible surface, then let the bike air-dry completely before storage or lubrication.
- Skip compressed air pointed at bearings; it pushes contamination toward the seal instead of clearing it away.
Run a Post-Wash Inspection
- Check for roughness or grinding when you spin a wheel or crank, and for unusual play when you rock a wheel side to side.
- Check brakes for consistent bite, and listen for new noise once the bike is dry.
- Any of these findings mean holding off on riding until you get component-specific service, since a wash-related issue can look identical to an unrelated mechanical problem.
Know When Routine Cleaning Ends
Don't keep hosing an area, or ride the bike to test it, when a part feels rough, loose, or damaged. Suspected bearing, suspension, brake, or electrical problems call for a bike shop, a dirt-bike service center, or the component manufacturer's guidance rather than another wash.

FAQs
Is a garden hose or bucket safer than a pressure washer for a muddy bike?
Yes, when your washer can't deliver a controllable low-force, wide spray, a hose or bucket is the more conservative choice. Soften packed mud with soak time and a soft brush rather than compensating with a closer, stronger jet.
Can I pressure wash around mountain-bike or dirt-bike suspension seals?
No, suspension seals should never receive a direct jet. Clean the surrounding stanchion surfaces with an indirect pass, and follow your fork or shock manufacturer's service guidance for any seal-specific maintenance.
What nozzle pattern and distance should I use on a bike?
Nozzle angle and working distance are control variables you adjust, not fixed safety specifications. Choose the widest controllable spray pattern your washer offers, start farther away than feels necessary, and move closer only over open, mud-covered surfaces.
What should I check after pressure washing a bike?
Stop treating it as routine washing if a bearing feels rough or loose, a seal leaks or looks damaged, or a component develops abnormal noise or play. Get component-specific service before riding again instead of washing or riding through the symptom.
Continue reading
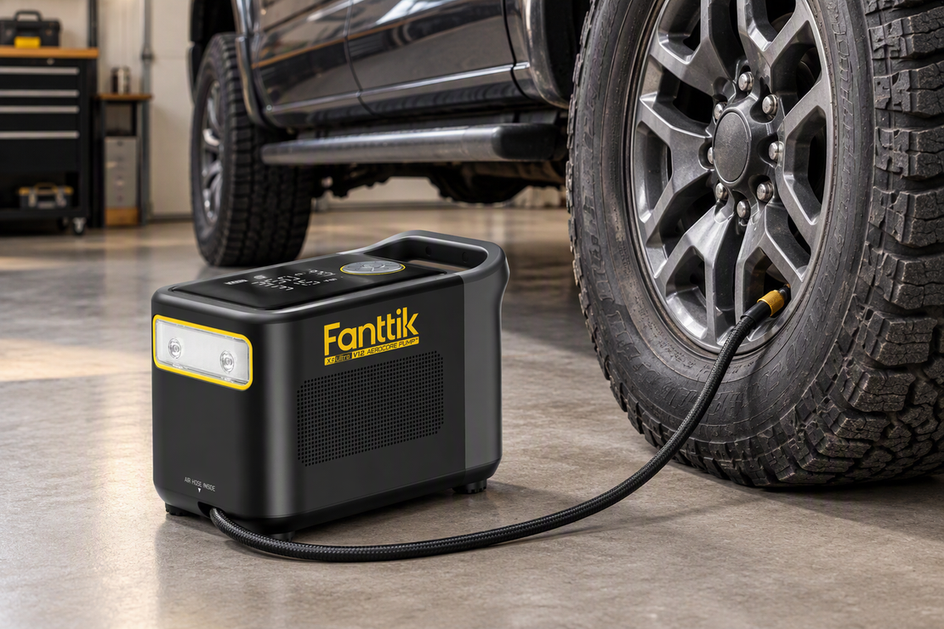 CFM vs Max PSI in Portable Tire Pumps: What Determines Inflation Speed on Truck Tires?
Breaks down why airflow, not maximum PSI, governs how fast a portable tire inflator fills large truck and...
CFM vs Max PSI in Portable Tire Pumps: What Determines Inflation Speed on Truck Tires?
Breaks down why airflow, not maximum PSI, governs how fast a portable tire inflator fills large truck and...

Leave a comment
This site is protected by hCaptcha and the hCaptcha Privacy Policy and Terms of Service apply.