




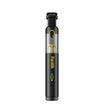
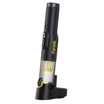
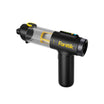
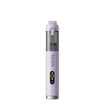

Build your roadside emergency kit in this order. First, decide whether the situation calls for help instead of a roadside attempt. Next, name the specific problem, and then carry only gear that has one clear job and a clear point where you stop.
A tire that is slowly losing air, a flat or damaged tire, and a car that will not start are three separate problems. Each one needs different gear and has a different limit.
How to Prioritize a Roadside Kit by the Problem First
Put decisions in order before you put tools in order. Whether to work at all is the first call, and the tools come second.
- Decide whether to call for help before you touch a tool. If your vehicle is stranded on a highway or surface street, AAA Club Alliance advises pulling as far right as possible and staying inside, buckled up, with your hazard lights flashing while you wait. The same guidance warns against roadside DIY repairs, especially complex ones and on busy roads. When your stop looks like that, the kit helps you get ready for the help that is coming. It is not a reason to step out into traffic.
- Name the problem in plain terms. Is it slow pressure loss, a flat or visibly damaged tire, or a no-start? These are not interchangeable. Air won't fix a no-start, and a jump starter won't fix a puncture.
- Give every item one task and one stop point. For example: "Gauge: check pressure. Stop if the reading keeps dropping." If you can't name both for an item, it is either dead weight or it needs vehicle-specific instructions packed with it.
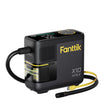
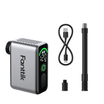
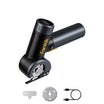
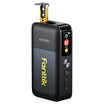
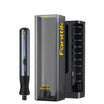
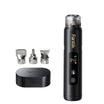
For example, a published AAA sample kit list includes items such as jumper cables, a portable jump starter, a tire inflator, and sealant. Organizing those tools into distinct groups—jump gear for potential no-starts and inflation gear for tire pressure issues—gives each item a defined role so packing stays straightforward. If trunk space is tight, compare small-sedan kit sizes to choose between one all-in-one bag and separate modules for each problem group.
What to Carry for a Tire That Is Losing Pressure
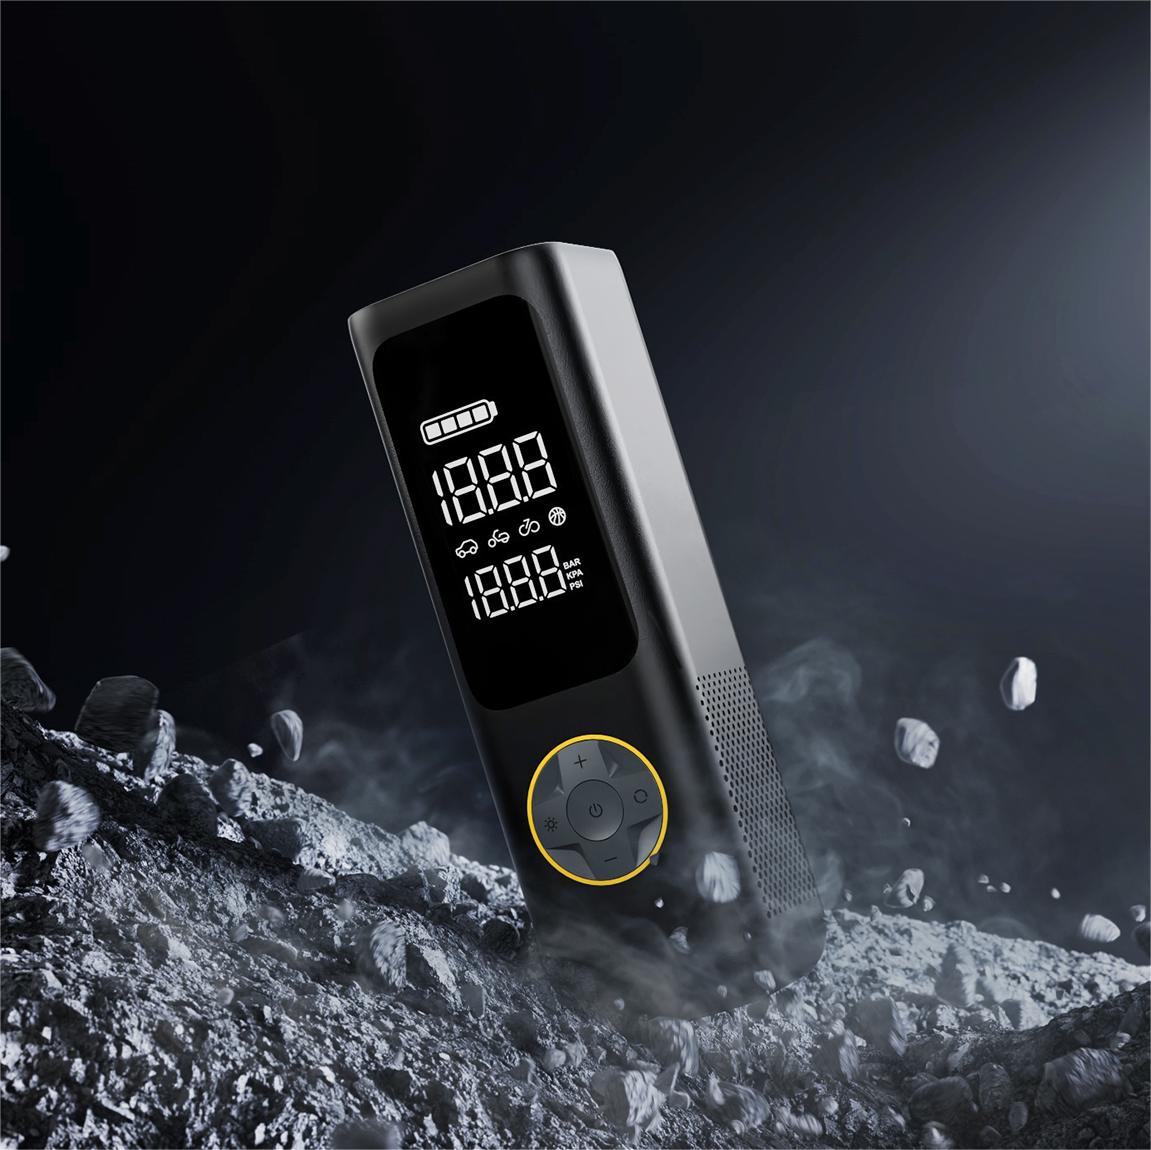
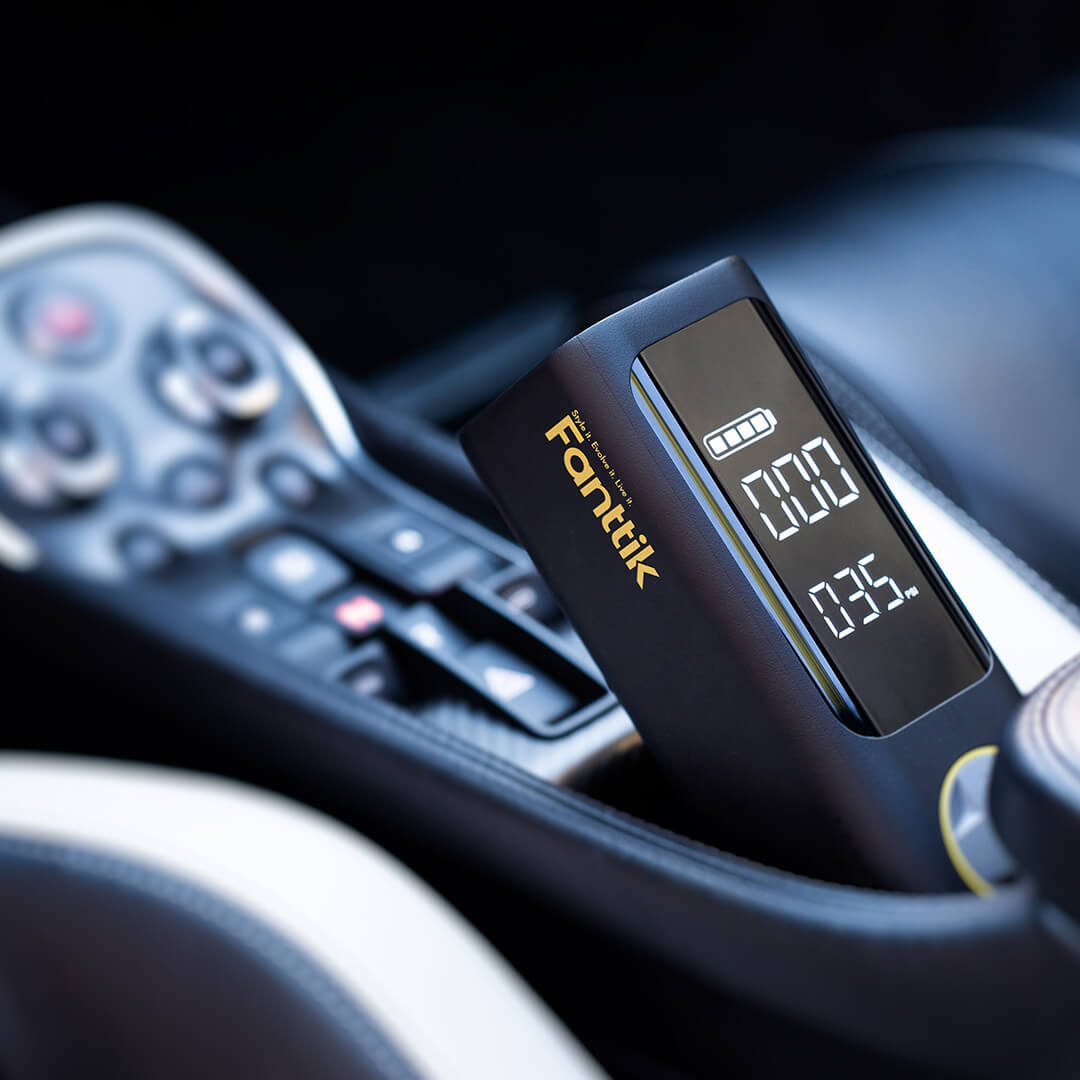
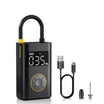
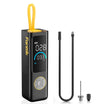
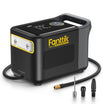
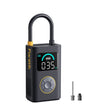
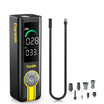
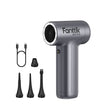
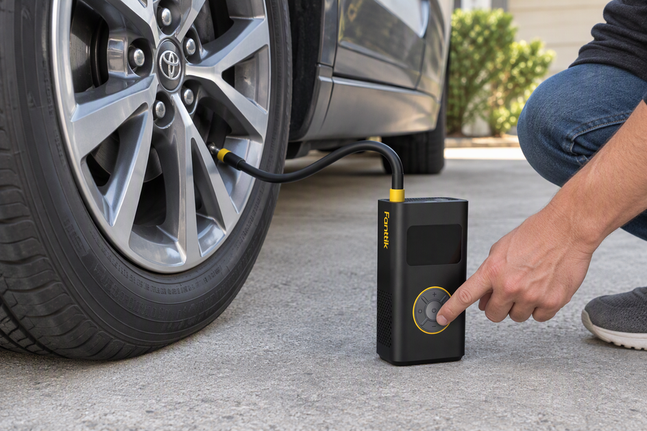
If a tire is low but still holding its shape, carry a tire pressure gauge and a portable tire inflator. Their task is narrow: measure the pressure and bring it back up to your vehicle's recommended level. Find that number on the tire placard on the driver's door jamb or in the owner's manual, keeping in mind that an inflator's maximum PSI rating is a tool limit rather than a target for your tire.

Timing affects the reading. Heat from driving raises the number, so a reading taken right after a drive will be higher than a cold reading. Before you adjust anything, it helps to know how to measure tire pressure accurately.
Adding air doesn't tell you why the tire lost it. Say the pressure drops again soon after you top it off, or you can see a nail, a cut, or a bulge. At that point it's no longer a pressure problem, so switch to the flat or damaged tire plan below.
What to Carry for a Flat or Damaged Tire
With a flat or visibly damaged tire, the question changes. You're no longer asking how much air to add. You're asking whether the tire can be used or repaired at all, and no roadside tool can answer that.
For passenger and light-truck tire punctures, USTMA's tire repair guidance recommends going to a trained technician. It says the tire must be removed from the wheel and inspected for all possible damage, including damage to the inner liner. Repairs are limited to the tread area, the puncture can't be more than 1/4 inch (6 mm) across, and not every tire can be repaired.
That changes what this part of the kit can do. For passenger and light-truck punctures, treat the tire as unrepaired after using emergency sealant or a temporary plug until a technician removes and inspects it. If your vehicle has a spare and a jack, the owner's manual is the reliable source for jack points and steps, so keep it with them.
Your stop point here is the road itself. Next to busy traffic, wait inside the car for roadside assistance instead of changing the tire. After that, take the tire to a shop for inspection.
What to Carry for a No-Start
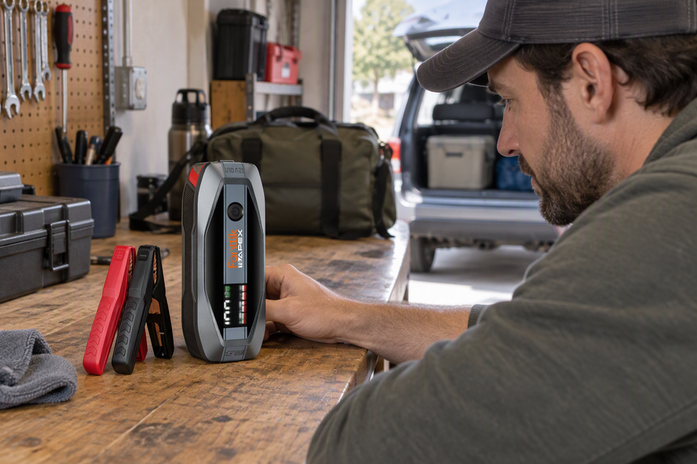
A car that won't start gets its own group, and a no-start doesn't always mean a dead battery. Jumper cables or a portable jump starter cover one possible cause: a battery too weak to start the engine.

Where you connect the clamps and the order of the steps depend on the vehicle. Keep the jump-starting page from your owner's manual with the cables or jump starter, and follow it instead of a generic diagram. Whether a jump starter deserves space in your kit depends on your vehicle and how you drive. This rundown of reasons to carry a jump starter also covers when you might not need one.
Set a clear stop point before you ever need it. When conditions on the road make any attempt unsafe or if the engine fails to start, the kit has done its job, and the next step is calling roadside assistance for qualified help rather than trying another roadside fix.
FAQs
Is there one item every roadside emergency kit should pack first?
No single tool comes first for every driver. The first priority is a decision: wait for help, or attempt a limited task. After that, build the tire and no-start groups that fit your vehicle. Leave out anything you can't give a job and a stop point.
Can a tire inflator fix a tire that keeps going flat?
No. An inflator restores pressure, but it can't find or seal the cause. For passenger and light-truck punctures, USTMA says a tire has to come off the wheel and be inspected by a trained technician before anyone can decide on a repair.
How do I make sure my kit tools work before a road trip?
Check them at home, not on the shoulder. Charge battery-powered tools, make sure your gauge reads correctly, and check tire pressure cold. A pre-trip tool check walks through these checks in order.
Does carrying a roadside kit mean I can skip roadside assistance?
No. Each kit item covers one limited task, such as checking pressure or attempting a jump-start that your manual describes. Inspection, repair, and any work next to busy traffic still call for roadside assistance or a service shop.
Continue reading
 How to Check a Portable Jump Starter Before a Road Trip
A step-by-step home check for drivers who charged a jump starter months ago, ending in a clear pack,...
 How to Plan Road-Trip Coffee When Power, Water, and Cleanup Vary
A stop-by-stop method for brewing coffee on the road: match brewer and outlet ratings, size water from your...
Leave a comment
This site is protected by hCaptcha and the hCaptcha Privacy Policy and Terms of Service apply.