










































Use a precision electric screwdriver for repetitive, free-turning screws once you have confirmed the bit fits and the tool's torque setting is documented for light electronics work. Reach for a manual driver whenever you need to feel resistance, such as the first loosening turn, a stuck or damaged screw, or the final snug turn during reassembly.
Most laptop and game-console repairs use both tools in the same session. The decision point is the individual screw, not the whole job.
Which Driver Should You Use for Laptop or Console Repair?
The right tool changes by repair moment, not by a single "better" category. Match the situation below to the starting tool before you pick anything up.
| Repair situation | Better starting tool | Why and boundary |
|---|---|---|
| Repetitive enclosure screws (bottom cover, shell) | Electric, after bit fit is confirmed | Free-turning screws with a known profile let a low-torque setting save repeated hand motion |
| Initial loosening of any screw | Manual | You need to feel breakaway resistance before applying any powered force |
| Final tightening during reassembly | Manual | Snugness depends on feel, not a documented device-specific torque number |
| Stuck or resistant screw | Manual | Powered rotation against unknown resistance is how heads get stripped |
| Delicate or uncertain fastener near the motherboard | Manual until fit and setting are verified | Confirm the bit, alignment, and tool documentation before any powered attempt |
This is a conditional scenario guide, not a measured performance ranking between one electric model and one manual driver. If your repair fits more than one row, work through the removal screws with the electric option first and finish with manual control, as covered in the workflow section below. A Fanttik E2 Ultra Precision Electric Screwdriver product page is one place to check whether a specific tool's documented settings match the repetitive-screw scenario above before you rely on it.
What Electric and Manual Drivers Actually Control
An electric driver applies motor-driven rotation at a torque and speed setting you select. A manual driver applies rotation directly from your hand, with continuous feedback about how the screw is responding.
Powered Torque Is Selected Force, Not a Fastening Target
A torque setting on an electric driver describes the output the motor is limited to, not the correct value for every screw you will encounter. The maximum torque a driver can produce shows its capacity; it does not prove the setting is safe for a specific motherboard-area fastener. Speed, usually shown as RPM, tells you how fast the bit spins, and that number says nothing about whether the screw is seated correctly or whether the torque is accurate at that setting. Checking a model's documented torque range, such as the settings listed on the Fanttik E2 MAX Precision Electric Screwdriver product page, tells you what the tool can be set to, not what any particular screw needs.

Manual Torque Keeps the Feedback in Your Hand
A manual driver lets you feel engagement, slip, thread resistance, and the point where a screw becomes snug. That feedback matters most during the first turn of a fastener and the last turn during reassembly, because those are the two moments where guessing wrong causes damage. Manual feel is not a calibrated torque measurement, but it lets you react to a problem the instant it starts rather than after a motor has already applied several seconds of force.
When an Electric Precision Driver Is the Better Fit
An electric driver earns its place once you know the screws are accessible, already turning freely, and matched to a documented low-torque setting. That combination shows up most often in three parts of a laptop or console teardown:
- Laptop bottom-cover screws that are exposed, uniform, and already loosened enough to spin freely.
- Game-console shell screws where the enclosure panel comes off in one piece and every fastener uses the same profile.
- Repeated reassembly screws once the threads have been started by hand and you are only running them the rest of the way in.
In each case, the electric driver is a convenience for turns you have already confirmed are safe, not a substitute for checking bit fit first. If a screw does not spin freely, resistance is higher than expected, or you have not verified the bit profile against your device's own service documentation, treat it as a manual job instead. Some owners check a compact model like the Fanttik E1 PRO Precision Electric Screwdriver for this kind of repetitive access work, but the tool choice still depends on the individual screw meeting the conditions above.
When a Manual Driver Is the Safer Choice
A manual driver is the safer starting tool whenever you cannot predict how a screw will behave before you touch it. That covers more of a typical laptop or console teardown than most people expect:
- First loosening on any screw you have not removed before, since you do not yet know its breakaway resistance.
- A screw that already looks stuck, cross-threaded, or partially damaged, where added torque only worsens the head.
- Final tightening during reassembly, where the correct stopping point is a feel-based snug turn rather than a published number for that fastener.
- Any screw near the motherboard or other delicate components where the bit fit or your tool's suitability for that fastener is still uncertain.
None of this means manual operation prevents every stripped screw. It means the tactile feedback gives you a chance to stop the moment something feels wrong, which a motor running at a fixed setting cannot do on its own.
A Manual-First Workflow for Removal and Reassembly
The safest sequence starts with identifying the fastener, not with pressing a power button. Use this order for a mixed-tool laptop or console repair:
- Identify the exact screw profile and size from your device's own service documentation, then select a bit that fully fills the head.
- Seat the bit on-axis and turn it by hand first to confirm the screw moves freely and to feel its breakaway resistance.
- If the screw turns freely and is part of a repetitive, accessible set, switch to the electric driver on a documented low-torque setting to finish removing it.
- Return to manual control for any screw that resists, feels different from the others, or sits near the board.
- During reassembly, start every screw by hand and finish snugging by hand, stopping as soon as it feels seated rather than continuing to turn.
Follow your device's own repair instructions for any step this sequence does not cover, especially fastener location and length, since mixing up screws is a separate risk from tool choice.
What Must Be Documented Before Choosing an Electric Driver
Before you trust any specific electric driver on delicate electronics, require documentation for these five points, not just a high headline number:

- Low-torque settings relevant to small electronics screws, not only the tool's maximum torque.
- Bit interface and included profiles that match your device's actual fastener heads.
- Speed information, kept separate from torque control and from how the tool performs under load.
- An explicit working mode for manual or low-speed operation, not only full-power rotation.
- Stated suitability for the specific task you're doing, rather than a general "precision" or "electronics" category label.
If a driver's listing does not document these points, treat that gap as a reason to default to manual control near sensitive components rather than as a feature you assume is present. A high RPM figure, a large bit count, or a broad "precision" label does not establish torque accuracy or motherboard-safe stop behavior on its own.
FAQs
What should I do if the bit starts slipping or the screw begins to strip?
Stop turning immediately and lift the driver away from the screw. Inspect the screw head and the bit for wear or mismatch before trying again, and reseat the bit fully on-axis at a slower, manual pace. Do not continue applying powered force or attempt an improvised extraction method near internal electronics; if the head is already rounded, follow your device's own repair documentation for the next step.
Are Phillips and JIS bits interchangeable for laptop or game-console repair?
No, do not assume a Phillips and a JIS bit are interchangeable just because they look similar. Many laptops and consoles use JIS screws that a Phillips bit can partially grip but not fully seat, which increases the chance of cam-out. Check your device's service documentation for the correct profile and choose a bit that fills the screw head completely before turning it by hand or with power.
Can an electric driver safely install motherboard screws during reassembly?
Only switch to powered rotation once you have started the screw threads by hand and confirmed the driver provides documented low-torque control. Motherboard standoffs and small circuit-board screws strip easily if cross-threaded or driven past their seating threshold. Once the screw runs down near the board surface, finish the final tightening turn with a manual driver to feel exact snugness without over-torquing.
Continue reading
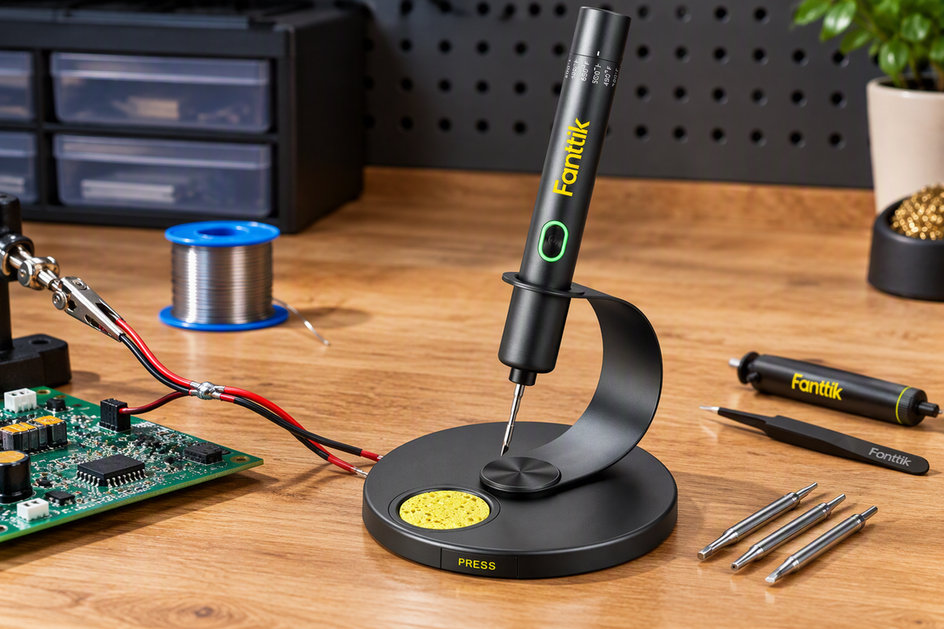 Soldering Iron Chisel vs Conical Tips: Selecting the Right Contact Area for Wire Splices
A technical look at how tip shape changes heat transfer on wire splices, with a decision path for...
Soldering Iron Chisel vs Conical Tips: Selecting the Right Contact Area for Wire Splices
A technical look at how tip shape changes heat transfer on wire splices, with a decision path for...
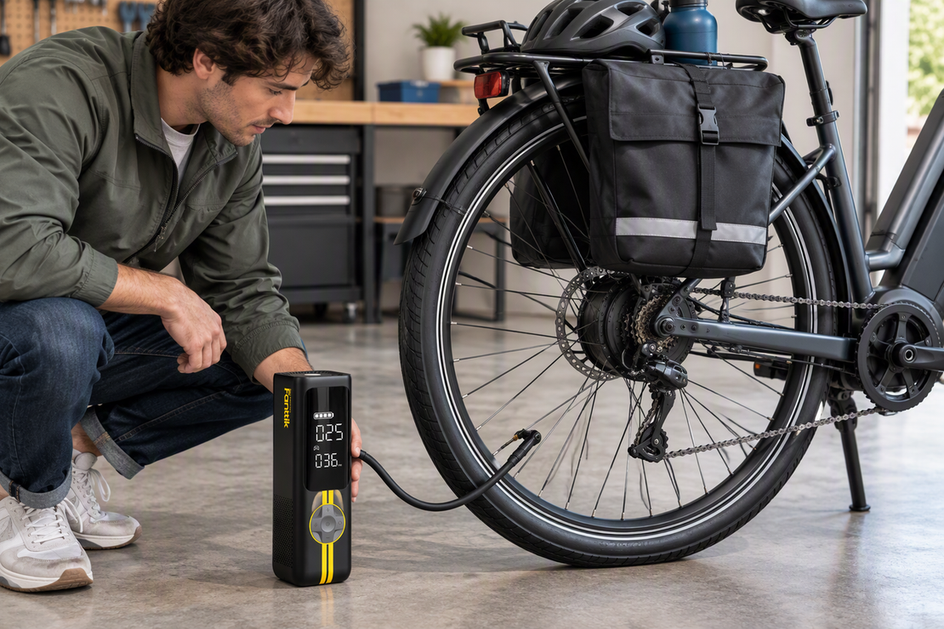 Electric Commuter Bike Tire Pressure: Factoring in Rear Hub Motor and Battery Weight
A practical, evidence-based method for setting front and rear PSI on rear-heavy commuter e-bikes, keeping every choice inside...
Electric Commuter Bike Tire Pressure: Factoring in Rear Hub Motor and Battery Weight
A practical, evidence-based method for setting front and rear PSI on rear-heavy commuter e-bikes, keeping every choice inside...



Leave a comment
This site is protected by hCaptcha and the hCaptcha Privacy Policy and Terms of Service apply.