











































Use a rotary tool for 3D print cleanup only when the job is small and controlled. The documentation for your exact tool and accessory should also cover your print material and the operation you plan. Think of it as a finishing option for one specific spot, not a fast way to strip away a lot of plastic.
The reason is simple. A spinning accessory creates friction, and friction creates heat, so pressing harder or staying on one spot longer can soften plastic or wear away fine detail. If you can't confirm the fit, or the target sits on a visible surface next to fine features, a slower and more controlled method is the safer choice.
When a Rotary Tool Fits—and When It Doesn't
A rotary tool is worth a careful trial when three things are true: the cleanup is localized, the area can tolerate a small mistake, and your tool and accessory documentation covers the material and the task. If any one of those is missing, hold off on the powered approach.
Start by naming the job in plain terms. Is it one isolated remnant, like a nub left where a support touched the part or a rough patch on an underside that no one will see? Or is it a broad surface, like a whole face with visible layer lines or a large region scarred by support contact? These are different jobs, and they don't carry the same risk.

An isolated remnant on a sturdy or hidden area is the strongest case for rotary use. The work stays small, you can stop the moment something looks wrong, and a minor flaw won't ruin the part. Even then, the tool only makes sense if the accessory you plan to use is documented for plastic and for that kind of work.
Broad surface work and heavy material removal are a different story. Running a rotary tool across a large area isn't a proven shortcut, and no general rule says how much plastic it can safely remove before heat or uneven contact becomes a problem. Treat a big cleanup job as a reason to slow down, not speed up.
Detail-critical work raises the stakes further. When the remnant sits next to thin walls, sharp edges, text, or small features, removing too much plastic can cost more than leaving a tiny bump behind. A tool's general capability, such as a listing that mentions plastic, doesn't confirm that it suits your particular print, accessory, and spot.
How Material, Accessory, and Detail Change the Call
These four checks decide whether a rotary trial makes sense for your part. Treat them as decision checks for your own setup, not as a universal compatibility chart. No single rule covers every plastic, accessory, and tool.
- Print material: Know exactly what the part is made of, such as the filament type on the spool label or the resin named on the bottle. Plastics respond differently to heat and abrasion, so "plastic" alone isn't enough to go on. If you don't know the material, you can't match it against any documentation.
- Accessory's stated use and fit: Read what the accessory's packaging or listing says it is meant for. Bits and wheels are rated for specific materials, and how wheel material ratings work matters more than the accessory's type name. The shank also has to match your tool's collet, and matching collet and shank sizes is a separate check from material fit.
- Tool operating limits: Look up the speed settings in your tool's manual and the maximum RPM printed for the accessory. A maximum RPM is a ceiling, not a recommended working speed. No-load RPM also tells you nothing about how the accessory behaves once it's pressed against plastic.
- Detail sensitivity: Look at how close the cleanup spot sits to fine geometry or a visible face. The closer it is, the more an untested setup can cost you, because a mistake there is hard to hide or fix.
If all four checks line up, run a short trial before touching the real part. Use a scrap piece printed in the same material, such as a failed print or a test piece, or an inconspicuous spot on the part itself. Watch the surface closely. If it turns glossy, smears, gums up the accessory, or the edges start to round over, stop and switch to another method. A clean trial tells you how that one setup behaved on that one piece. It doesn't mean the same tool will work on a different material or a more detailed area.

When a Different Cleanup Method Is a Better Fit
Choosing an alternative method starts by identifying which cleanup task you are actually facing.
Post-processing guidance draws a useful line between focused support removal versus broader surface finishing. Support removal targets specific support points. Sanding, smoothing, and polishing deal with larger areas of the surface. If your problem covers a whole face rather than a few contact points, you're doing surface finishing, and the localized rotary case from the first section doesn't apply.
Fine geometry pushes the decision the other way. When removing too much material would damage a feature you care about, the deciding question is whether you can control the result, not how fast the job goes. If you can't predict how the plastic will react, stick with a method that removes material slowly enough for you to see what's happening.
For resin printers, there's a well-defined example. Formlabs' hand-tool support-removal guidance for delicate features on its SLA prints recommends a very sharp hobby knife, tweezers, or a small file. That advice is written for the Formlabs SLA workflow. It isn't a rule for FDM filament prints or other resin systems.
For filament prints, no single substitute method is proven for every material. If the same cleanup problem keeps coming back, changing how supports touch the part on your next print is one option to try. Whether it helps depends on the model and your slicer setup.
When a part does not qualify for a localized rotary pass, shifting to manual tools or adjusting slicer support interfaces gives you direct control over each pass without heat buildup.
FAQs
Can I use a rotary tool on resin prints?
The same documentation rule applies to resin. Confirm the resin type and check that the accessory and tool documentation covers it. For delicate features on Formlabs SLA prints, Formlabs recommends hand tools such as a sharp hobby knife, tweezers, or a small file for removing supports, so a powered tool isn't its suggested path for those areas.
What should I do if the plastic starts to smear or melt?
Stop right away and lift the accessory off the part. Smearing or a glossy, softened surface means the setup is putting too much heat into that plastic for the job. Let the area cool, then switch to a slower method you can control instead of pushing on with the same approach.
Is it worth buying a rotary tool just for 3D print cleanup?
It makes sense when your regular cleanup jobs are small, localized fixes on parts that can tolerate a minor flaw, and when you can find accessories documented for your print material. If most of your work is broad surface finishing or fine-detail models, a rotary tool may not cover the jobs you actually do most.
Continue reading
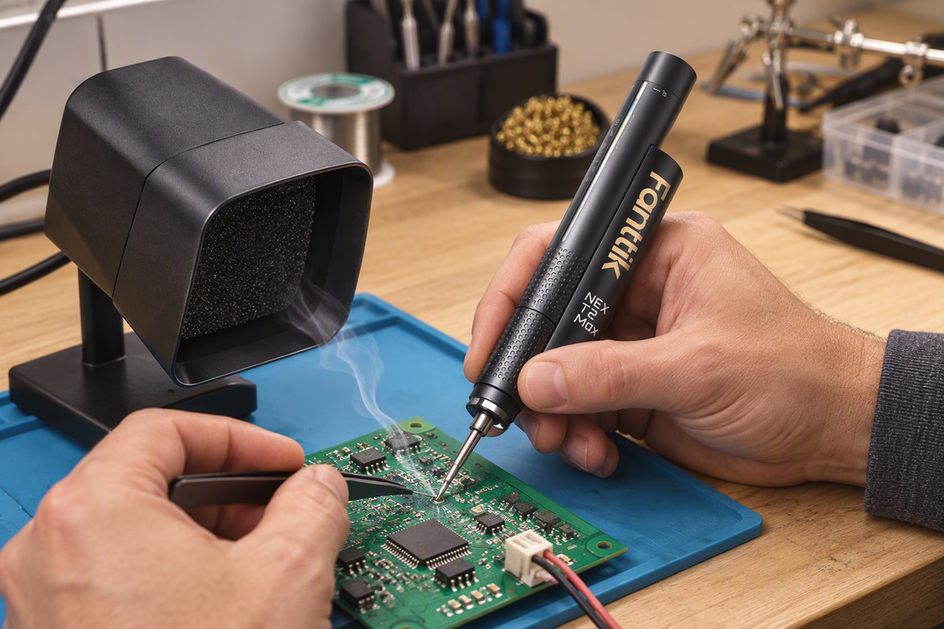 How to Set Up Ventilation for a Small Soldering Workspace
A step-by-step guide to reading solder and flux SDSs, placing a capture hood near the joint, and telling...
How to Set Up Ventilation for a Small Soldering Workspace
A step-by-step guide to reading solder and flux SDSs, placing a capture hood near the joint, and telling...
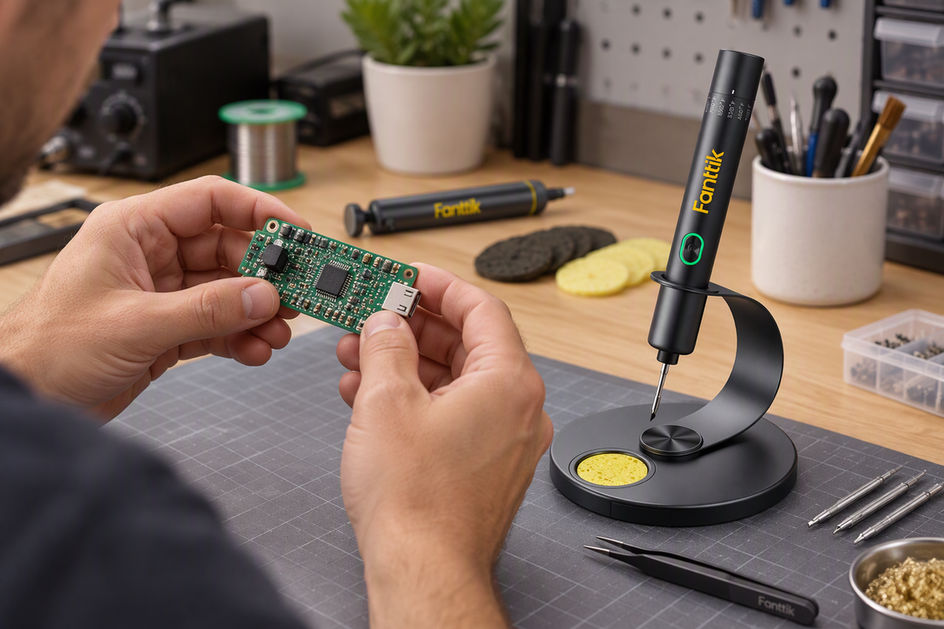 How to Tell Whether a Solder Joint Needs Rework
A practical guide to judging an electronics solder joint by physical defects, project requirements, and continuity results before...
How to Tell Whether a Solder Joint Needs Rework
A practical guide to judging an electronics solder joint by physical defects, project requirements, and continuity results before...
Leave a comment
This site is protected by hCaptcha and the hCaptcha Privacy Policy and Terms of Service apply.