










































This practical guide covers the Fanttik E2 Ultra Precision Electric Screwdriver, a precision electric screwdriver for small fasteners and delicate repair work. It is designed for owners looking for a clear setup and care reference. It does not substitute for the official user manual or the safety leaflet supplied with the product.
Before First Use
- Choose a bit that fully fills the screw recess; a loose profile can strip the head.
- Seat the bit straight in the holder and confirm it does not wobble.
- Support the device being repaired on a stable, static-safe work surface.
Photograph the product label and keep the order details before the first job. Those details make model confirmation and warranty support much easier if the tool later needs service.
Safe Operating Workflow
- Start with the lowest practical torque setting for an unfamiliar fastener.
- Keep the driver aligned with the screw axis and apply only light downward pressure.
- Break stubborn screws loose by hand if the tool's manual-control design permits it; never force a stalled motor.
- Use powered rotation to remove or seat the screw, then finish delicate tightening by feel.
- Return each bit to its labeled slot so the next repair begins with the correct profile.
If a control, icon, or indicator on your unit differs from this overview, stop and follow the labeling on the product and the documentation supplied in its box. Do not borrow button sequences or indicator meanings from a sibling Fanttik model.
Charging and Storage
Charge in a dry, ventilated place with the connection specified for the product. Inspect the cable and port before use, and stop if a connector becomes unusually hot or loose. For storage, switch the product off, clean away working debris, and keep it away from direct sun, standing water, and temperature extremes. If it will sit unused, check it periodically rather than allowing the battery to remain deeply discharged.
Routine Care
- Clean bits before storage so metal filings do not collect in the holder.
- Recharge through the specified charging connection and do not operate the tool while it is charging.
- Retire rounded or bent bits before they damage a fastener.
Routine care should stay external: cleaning accessible surfaces, checking consumables, and keeping connections dry. Opening a sealed battery or drive housing can create a safety risk and should be left to Fanttik support.
When the Product Does Not Behave Normally
| Symptom | First safe check | Next action |
|---|---|---|
| No power | Confirm charge state and control position | Test a known-good charging source, then contact support if there is still no response |
| Stops under load | Remove the load and let the product cool | Check for binding, debris, or an unsuitable accessory |
| Unusual heat, odor, or noise | Switch off and move away from combustible material | Do not continue testing; request service |
Manual and Support Options
Fanttik publishes the official E2 Ultra user manual (PDF), and the product page lists the current specifications for this exact model. Keep the printed documentation supplied with the product and use the Fanttik Support Center to request model-specific documentation when needed. The Fanttik manual hub also collects official manuals for other Fanttik models.
Bit Fit Is More Important Than Motor Power
A precision screw can be damaged long before the screwdriver reaches its limit. Match both the profile and size: Phillips, Torx, hex, pentalobe, and other heads can look similar at a glance but transfer force differently. The correct bit sits deeply with little side-to-side movement. If it rocks in the recess, choose another bit rather than pressing harder.
Keep removed screws organized by location. Electronics often use fasteners that look alike but differ in length; returning a long screw to a shallow hole can damage a board, display, or housing. A labeled mat or a simple sketch is more reliable than placing every screw in one cup.
Removing a stubborn precision screw
First clean lint or adhesive from the screw head so the bit can seat fully. Hold the E2 Ultra square, apply gentle axial pressure, and use the lowest effective setting. If the motor stalls or the bit begins to cam out, stop. Repeated powered attempts polish the recess and make later removal harder. Where the tool design and supplied instructions permit manual torque, break the screw loose carefully by hand; otherwise move to the appropriate hand driver.
Controlled reassembly
Start every screw by hand or at the lowest setting so crossed threads are noticed early. Seat fasteners gradually around a cover instead of fully tightening one corner first. Stop when the parts are secure and gaps are even. Small-device screws usually need consistency, not maximum torque. After the repair, inspect each bit for rounding and return it to the correct labeled position so a damaged profile is not used on the next device.
FAQ
Is this an official manual PDF?
No. It is a setup and care guide based on the official product page. For the official document, use the E2 Ultra user manual PDF linked in the Manual and Support Options section above.
Can I use instructions from a similar Fanttik model?
Use sibling-model advice only for general care. Controls, chargers, accessories, and indicator behavior can differ, so confirm instructions for the exact model.
What should I record before contacting support?
Record the model label, order details, charging source tested, accessory installed, and a short description or video of the symptom.
Should I open the housing to replace the battery?
No. This guide does not treat an internal battery or sealed drive assembly as user-serviceable.
Related Support
Continue reading
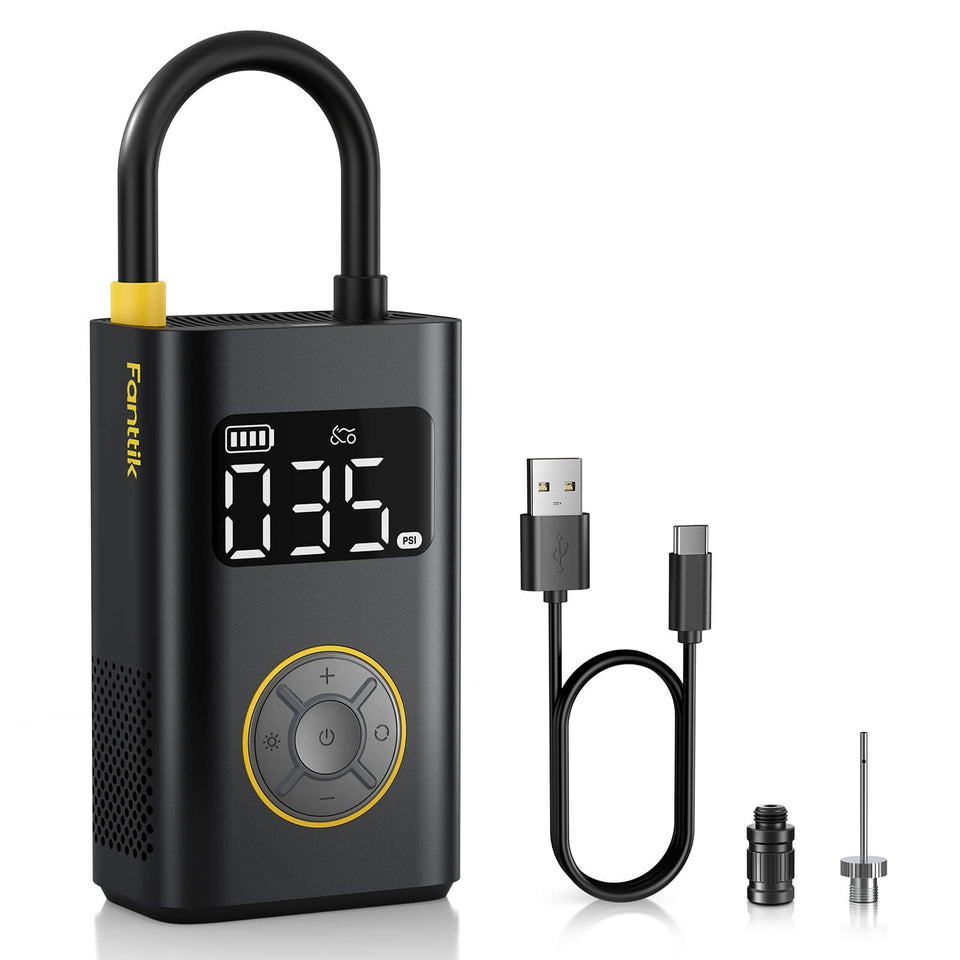 Fanttik X9 Pro Not Charging? Safe Checks to Try
If your Fanttik X9 Pro is not charging, use this safe sequence to check the cable, power source,...
Fanttik X9 Pro Not Charging? Safe Checks to Try
If your Fanttik X9 Pro is not charging, use this safe sequence to check the cable, power source,...
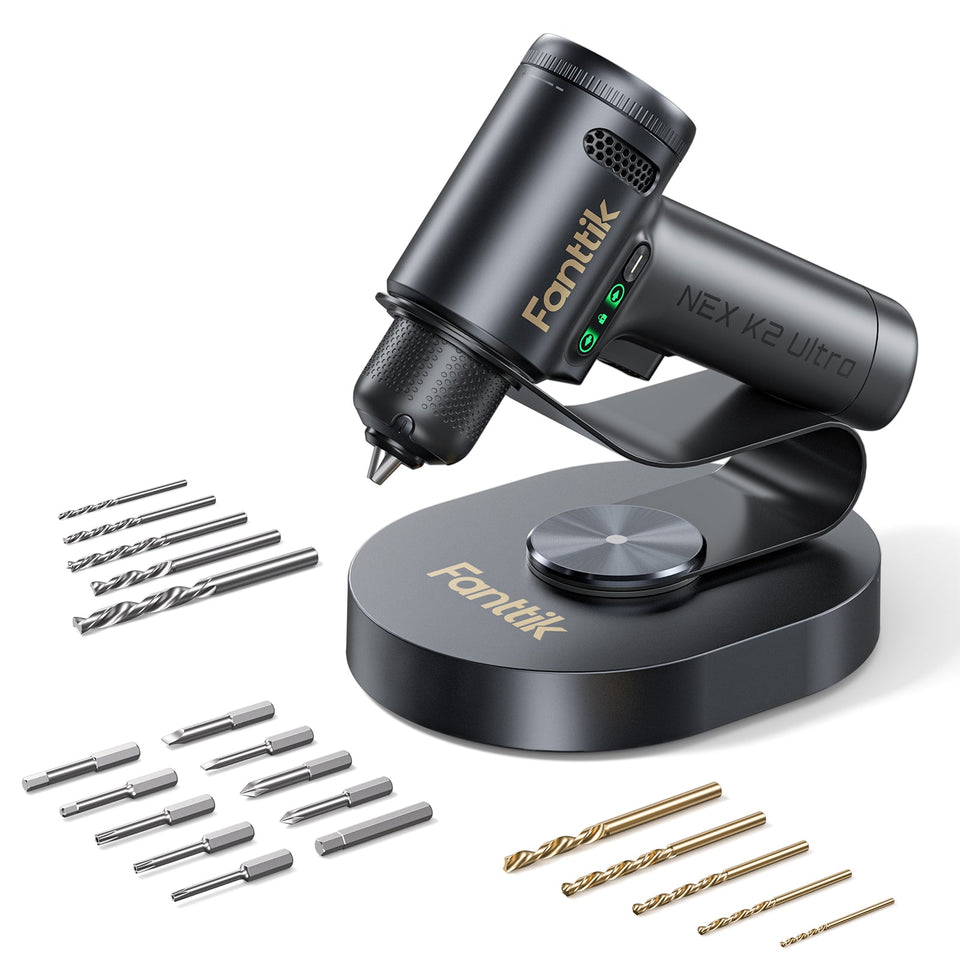 Fanttik K2 Ultra Manual: Drill Setup & Safe Use
Use this Fanttik K2 Ultra manual for bit setup, controlled drilling and driving, charging, storage, and safe first-use...
Fanttik K2 Ultra Manual: Drill Setup & Safe Use
Use this Fanttik K2 Ultra manual for bit setup, controlled drilling and driving, charging, storage, and safe first-use...


Leave a comment
This site is protected by hCaptcha and the hCaptcha Privacy Policy and Terms of Service apply.