


Can You Still Use It? The 60-Second Post-Drop Triage
If you have dropped your portable tire inflator, you need an immediate answer: is it safe to keep in your trunk, or is it a fire hazard? Before performing a deep-dive inspection, use this Immediate Retirement Triage.
Stop using the device immediately and contact the manufacturer if:
- The "Ozone" Test: You smell a sharp, metallic, or "electric" scent (ozone) or see smoke during operation.
- The Casing Test: The battery area feels hot to the touch while idle, or the plastic housing shows "bulging" or cracks that expose internal wiring.
- The Accuracy Test: The digital readout differs from a manual gauge by more than 1.5 PSI (using a calibrated reference gauge).
If the unit passes these three checks, proceed with the following engineering-based verification protocol to ensure long-term reliability and "credibility math."
The Engineering of Impact: Why "Visual Integrity" is Often Deceptive
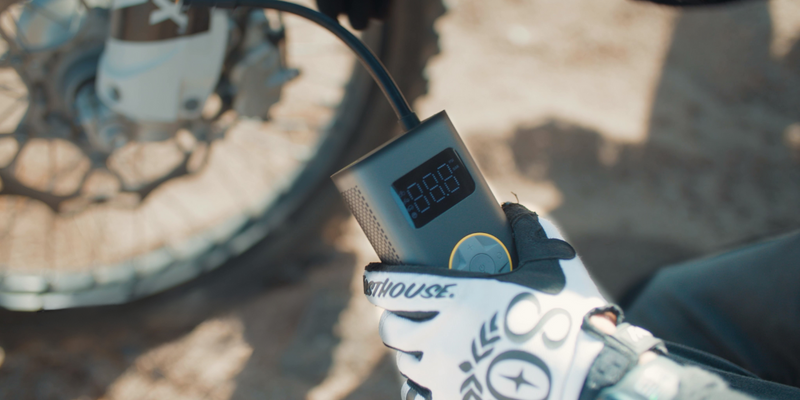
Accidents are an inevitable part of the DIY lifecycle. Whether it is a slip from a greasy workbench or a tumble from a vehicle's trunk, a portable tire inflator is subjected to significant G-forces during a fall. For long-term owners, the primary concern is rarely the scuffs on the plastic housing; rather, it is the invisible misalignment of precision components.
A tire inflator is a complex assembly of high-speed mechanical parts, sensitive electronic pressure transducers, and high-energy-density lithium-ion cells. When a unit drops from waist height (approx. 36–40 inches) onto concrete, the deceleration is nearly instantaneous. While the exterior polymer shell absorbs energy, the internal mass—specifically the motor armature and battery pack—continues to move, exerting shear stress on mounting points.
As outlined in The 2026 Modern Essential Gear Industry Report (a brand-specific whitepaper on reliability standards), modern gear must be built on "credibility math." Reliability is a result of engineering for specific safety margins. When those margins are tested by impact, a systematic verification process is required to restore the "trust layer."
Stage 1: The Physical and Acoustic Audit
The "Rattle Test" and Component Displacement
Gently shake the unit near your ear. You are listening for a faint, high-pitched rattle. Based on internal repair bench observations (non-clinical sample), this sound often indicates a dislodged internal support or a fractured mounting boss.
Heuristic Rule: If a rattle is present, the structural integrity of the cooling fan or motor housing may be compromised. Operating a unit with loose internal debris can lead to mechanical failure if particles migrate into the gear assembly.
Housing Stress and Seal Integrity
Examine the seams. If you notice "stress whitening" (pale discoloration) or gaps, the internal chassis may have deformed. According to the EU General Product Safety Regulation (EU) 2023/988, products must remain safe throughout their lifecycle. A compromised housing can lead to moisture ingress, a primary precursor to electronic short-circuiting.

Stage 2: Sensor Calibration and the "Silent Failure"
The most common consequence of a drop is a shift in the piezoelectric pressure sensor. A sharp impact can shift the sensor's baseline calibration.
How to Perform a Replicable Sensor Drift Test
To verify accuracy without professional lab equipment, follow this standardized DIY protocol:
- Required Tool: A secondary manual "pencil" or digital gauge with a known accuracy of at least ±1% (ANSI Grade B or better).
- Step 1: Inflate a standard vehicle tire to 35.0 PSI according to the dropped unit.
- Step 2: Immediately measure the same tire with your reference gauge.
- Step 3: Repeat this three times to account for valve-seating variance.
- Passing Criteria: If the average variance exceeds 1.5 PSI, the internal sensor has likely experienced a calibration shift.
Methodology Note: The 1.5 PSI threshold is a practical heuristic derived from typical consumer-grade sensor tolerances. A drift of 3–5 PSI is frequently observed in units that have sustained vertical impacts directly onto the base.
The Economic Impact of Inaccurate Inflation
Ignoring a 5 PSI sensor drift carries a quantifiable cost. These figures are scenario-based projections for a high-mileage SUV (30k miles/year at 18 MPG) and should be viewed as illustrative estimates.
| Impact Category | Estimated Annual Cost | Basis of Estimate |
|---|---|---|
| Fuel Waste | ~$70 - $105 | 0.2%–0.3% MPG loss per PSI (DOE standard) |
| Accelerated Tire Wear | ~$120 | 10-15% reduced lifespan of a $1,200 tire set |
| Total Potential Loss | $190 - $225 | Assuming 5 PSI under-inflation |
Stage 3: Mechanical and Thermal Stress Testing
The No-Load Run Test
Run the inflator for 30 seconds without attaching it to a valve. Listen for a "grainy" or "scratchy" sound, which suggests a slight misalignment in the motor armature.
Critical Safety Check: Pay attention to the exhaust air scent. A sharp, metallic smell indicates motor brushes are arcing excessively. This is a sign of imminent motor burnout and a potential fire risk; the device should be retired.
Monitoring the Battery Discharge Curve
A drop can cause microscopic fractures in lithium-ion cell connections, manifesting as increased internal resistance.
- Observation Period: For the next three uses, monitor the battery level.
- The 20% Rule: If you observe a 20% to 30% faster drain than usual under similar temperature and load conditions, the battery pack may be compromised.
According to research on lithium-ion battery thermal runaway, heat damages the internal structure, which releases more heat in a dangerous cycle. An inflator that gets unusually hot after a drop should be handled with extreme caution.
Stage 4: Safety Compliance and Risk Management
While DIY users might not follow industrial protocols, the principles found in the NIST AI Risk Management Framework—specifically the "Measure, Map, and Manage" philosophy—can be applied to hardware safety.
Duty Cycle Degradation (Modeling Assumptions)
Internal damage often compromises cooling efficiency. In our modeled scenario analysis, we assume a 25% reduction in thermal safety margin for a "stressed" unit.
| Parameter | Value | Unit | Rationale |
|---|---|---|---|
| Max Continuous Runtime | 30 | min | Reduced from 40m due to potential cooling loss |
| Cooldown Period | 20 | min | Safety margin for potentially damaged cells |
| Ambient Temp | 25 | °C | Standard garage environment |
| Efficiency Loss | ~12.5 | % | Estimated flow decay from internal friction |
Appendix: Methodology & Transparency
This guide utilizes a deterministic scenario model to illustrate risk. These are "glass box" analyses intended to show potential outcomes, not guaranteed technical specifications.
- Fleet Maintenance Case Study: We modeled a 5 PSI sensor drift and a 12.5% reduction in air flow.
- Findings: The performance penalty increases inflation time for a standard top-up (25 to 35 PSI) by approximately 17%.
- Conclusion: Given the hidden costs of fuel and tire wear ($372–$498 annually in extreme fleet cases), replacing a dropped unit is often a higher-ROI decision than risking continued use of an uncalibrated tool.
Summary Checklist for Post-Drop Recovery
- Acoustic Check: Shake the unit. Listen for rattles.
- Visual Check: Inspect seams for gaps or stress whitening.
- Sensor Check: Compare readings against a calibrated manual gauge. (Variance > 1.5 PSI = Unsafe).
- Scent Check: Run for 30 seconds. Smell for ozone or burning.
- Thermal Check: Monitor for unusual heat during the next three uses.
Disclaimer: This article is for informational purposes only. Automotive maintenance involves inherent risks. If you suspect your tire inflator is damaged or exhibits any signs of battery swelling or smoke, stop use immediately and contact the manufacturer. Never leave a charging or operating lithium-ion device unattended.
Sources and Citations
Continue reading
 Auditory Diagnostics: Identifying Abnormal Motor Noises
Covers auditory diagnostics, the screwdriver stethoscope technique, and the 20% performance rule for proactive maintenance.
Auditory Diagnostics: Identifying Abnormal Motor Noises
Covers auditory diagnostics, the screwdriver stethoscope technique, and the 20% performance rule for proactive maintenance.
 Port Hygiene: Cleaning Charging Inputs for Reliable Power
Covers the economic impact of maintenance, common DIY mistakes to avoid, and a professional step-by-step cleaning protocol based...
Port Hygiene: Cleaning Charging Inputs for Reliable Power
Covers the economic impact of maintenance, common DIY mistakes to avoid, and a professional step-by-step cleaning protocol based...


Leave a comment
This site is protected by hCaptcha and the hCaptcha Privacy Policy and Terms of Service apply.