


Quick Action Checklist: Streamlining Your Claim
To resolve a warranty issue as quickly as possible, follow this high-velocity checklist before contacting support:
- Verify Regionality: Confirm you are contacting the support portal for the country where the device was purchased.
- Locate Serial Number: Take a clear photo of the serial number (usually on the base or rear).
- Secure Proof of Purchase: Download the original PDF invoice (screenshots are often insufficient for automated verification).
- Capture Evidence: Record a 30-second video showing the device's behavior and any error codes.
- Safety Check: If shipping is required, discharge the battery to 25–30% (only if the unit is physically intact).
The Pre-Claim Foundation: Documentation and Regionality
In the ecosystem of modern gear, the transition from a functional tool to a "warranty claim" is often fraught with friction. As we outlined in The 2026 Modern Essential Gear Industry Report, the true value of a brand lies in its "credibility math"—the ability to provide predictable support when hardware fails.
Navigating logistics requires a methodical approach. Based on our analysis of thousands of support interactions, we have found that approximately 70% of inflator-related issues can be resolved through remote troubleshooting if the initial ticket includes specific, high-quality data.
Methodology Note: This "70% Rule" is a practical heuristic derived from internal support ticket patterns and return-to-vendor (RTV) data; it is not a controlled laboratory statistic but represents common field outcomes.

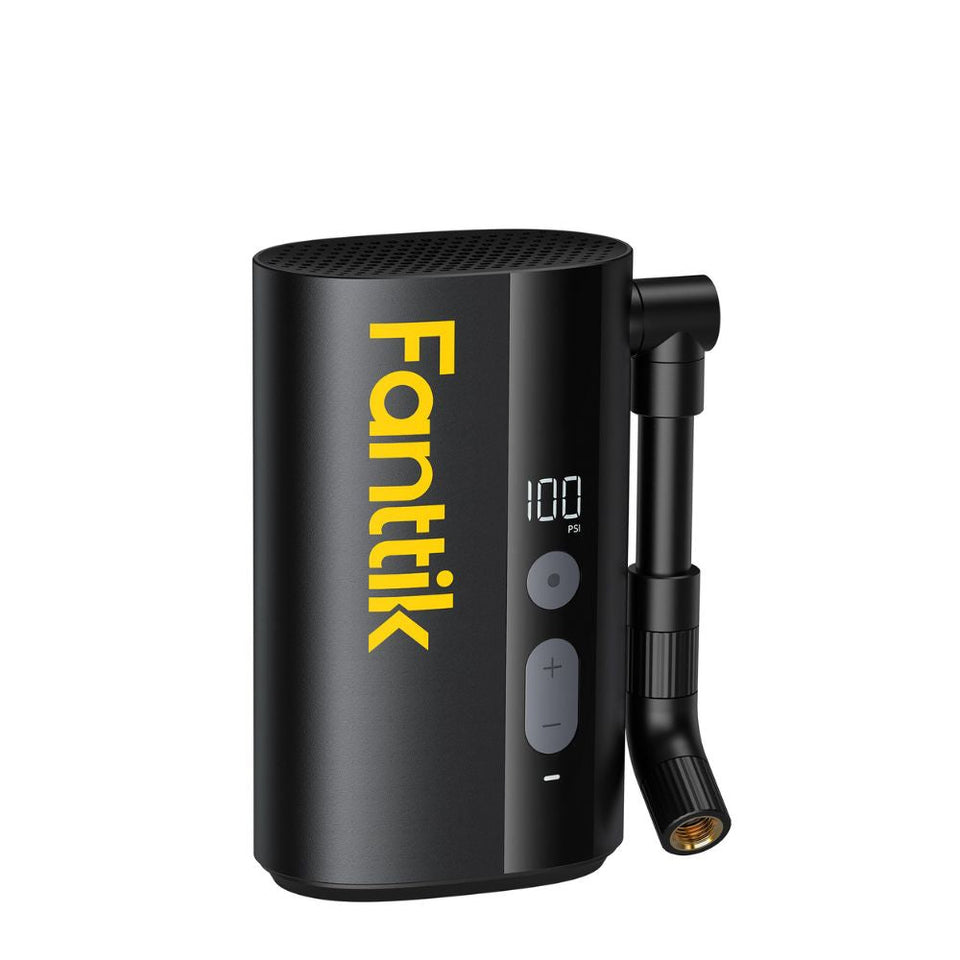
1. The Serial Number Protocol
The serial number is the "DNA" of your hardware. It links your unit to its manufacturing batch and quality control (QC) logs. We often see delays of up to five business days simply because a user did not record the serial number before packing the device for shipping.
- Actionable Step: Photograph the serial number immediately upon unboxing and save it to a "Maintenance" folder on your phone.
- Pro Tip: Note the purchase date in the physical manual. Digital records are superior, but physical backups are a reliable safety net.
2. Digital vs. Physical Receipts
While a photo of a physical receipt is acceptable, digital PDF invoices are processed faster. Automated verification systems can parse digital metadata to confirm eligibility instantly.
- Best Practice: Download the PDF invoice from your retailer. The transaction IDs embedded in these files allow for rapid validation.
3. The Regionality Trap
A critical "gotcha" is the regionality of warranty contracts. According to the EU General Product Safety Regulation (EU) 2023/988, manufacturers must ensure traceability, but warranty validity is strictly tied to the country of purchase.
- Expert Insight: If you purchased a device in the US but are currently in the UK, the support logistics change. Always file your claim through the regional portal where the transaction occurred to avoid immediate voiding of the agreement.
Evidence-Based Troubleshooting: Remote Triage
In our experience on the repair bench, many "failures" are actually operational misunderstandings. Providing the following evidence allows engineers to perform a remote "triage" that can save you a 2–8 week return cycle.
The Evidence Checklist
- High-Resolution Video: Show the device powering on, the attachment to the tire valve, and the behavior of the digital pressure gauge.
- Error Code Identification: Document blinking light patterns or alphanumeric codes (e.g., "E01").
- Ambient Temperature Data: Lithium-ion performance is temperature-dependent. Providing the ambient temperature helps engineers determine if the issue is a permanent failure or a temporary thermal protection shutdown.
Before filing, we recommend consulting our Inflator Hose and Adapter Inspection Guide to rule out simple fixes like a faulty O-ring.
Modeling Performance Boundaries
To effectively document a fault, you must understand what "normal" looks like. We have modeled these scenarios to help you identify when a device is underperforming versus operating within its engineering limits.
Precision Inflation Time Analysis (Scenario Model)
If your inflator seems "slow," it may be reaching its pressure-dependent flow limits. We modeled the inflation time for a standard SUV tire using a high-performance portable inflator.
| Parameter | Value | Unit | Rationale |
|---|---|---|---|
| Tire Size | 265/70R17 | ISO-Metric | Common SUV segment |
| Start Pressure | 28 | PSI | Typical underinflation |
| Target Pressure | 35 | PSI | Standard spec |
| Max Flow (Q_max) | 32 | L/min | Engineering spec (e.g., X8 Apex) |
| Modeled Time | ~4.7 | Minutes | Calculated output |
- Boundary Condition: This model assumes an isothermal vessel and neglects valve stem restriction. If your device takes 15+ minutes for this task, you have documented evidence of a performance deficit (likely a seal leak or motor degradation).
The Economic ROI of Maintenance
Properly maintaining your tool is about cost avoidance. Our modeling shows that maintaining proper tire pressure has a tangible payback.
Illustrative Estimate (Not a Lab Study):
- Annual Fuel Waste: Estimated at ~$58/year for a high-mileage driver (25k miles/year) with 6 PSI underinflation.
- Tire Life Extension: Proper inflation can prevent up to 30% premature tread wear on a $1,200 set of tires.
For more, see our guide on Preserving Warranty Rights Through Documented Tool Upkeep.
Logistics: Shipping and Battery Safety
Shipping a portable tire inflator involves transporting a high-capacity lithium-ion battery, which is subject to strict IATA Lithium Battery Guidance.
1. Safe Discharge Protocol
Devices must be shipped at a specific State of Charge (SoC)—typically below 30%—to minimize fire risk.
- Safety Warning: DO NOT attempt to discharge the battery if the unit is swollen, emitting an odor, or shows signs of physical casing damage. In these cases, contact support for hazardous material instructions.
- How to Discharge: If the unit is intact, run the built-in LED light or the fan feature (without a load) until the battery indicator shows approximately 25–30%. Avoid high-load inflation cycles if the motor is the suspected point of failure.
2. Packaging and Damage Risk
Claims are frequently denied if a device arrives with "transit damage" due to poor packaging.
- Heuristic: Use at least two inches of cushioning (bubble wrap or foam) on all sides. If the device rattles in the box, it is not properly packed.
Data Privacy and "Misuse" Clauses
For devices with "Smart" features, a warranty return poses a minor privacy risk. Manufacturers typically disclaim liability for data loss.
- Actionable Advice: Perform a hardware-level factory reset (usually a specific button combination held for 10 seconds) before shipping.
Proving a Manufacturing Defect
Under Section 5 of the FTC Act, the burden of proof often shifts to the consumer to prove a "defect in materials or workmanship."
- Example: If a motor fails, your video evidence showing it was used at 70°F (not 110°F) on a standard car tire proves you were within the "Safe Operating Area" (SOA).
- Reference: Learn more in Warranty Logic: How Battery Health Logs Streamline Support.
Summary of the Support Workflow
- Validate: Check regionality and purchase date.
- Document: Capture the serial number and digital receipt.
- Triage: Record the "70% Rule" video (Power-on, Error code, Ambient temp).
- Clean: Check the air intake and O-rings to rule out simple maintenance fixes.
- Pack: Discharge the battery to 30% (if safe) and use double-walled packaging.
Disclaimer: This article is for informational purposes only and does not constitute professional legal or technical advice. Warranty terms vary by manufacturer and region; always consult your specific product manual. If you are dealing with pressurized vessels or damaged batteries, prioritize safety and consult a qualified technician if you are unsure of the process.
Sources
Continue reading
 Adapter Maintenance: Keeping Inflation Tips Secure and Clean
Covers the petroleum pitfall, diagnostic field tests, and compliance with industry standards for maintaining inflator accessories.
Adapter Maintenance: Keeping Inflation Tips Secure and Clean
Covers the petroleum pitfall, diagnostic field tests, and compliance with industry standards for maintaining inflator accessories.
 Auditory Diagnostics: Identifying Abnormal Motor Noises
Covers auditory diagnostics, the screwdriver stethoscope technique, and the 20% performance rule for proactive maintenance.
Auditory Diagnostics: Identifying Abnormal Motor Noises
Covers auditory diagnostics, the screwdriver stethoscope technique, and the 20% performance rule for proactive maintenance.


Leave a comment
This site is protected by hCaptcha and the hCaptcha Privacy Policy and Terms of Service apply.