











































For soft sand, a practical starting point is 12-15 PSI. For deep, soft snow, start around 10-15 PSI instead. Both ranges come from off-road driving practice, not a tire or vehicle specification, so treat them as a starting point you adjust after a short test drive, not a fixed target.
Packed snow, ice, and any stretch of pavement do not belong in this range. Lower pressure changes how a tire spreads across loose ground, and that same softness works against you once the surface firms up or turns to asphalt. The rest of this guide covers how to air down correctly, when to stop, and how to get every tire back to road pressure before you leave the trail.
What PSI Should You Start With for Sand and Snow?
Sand and deep snow call for different starting pressures because the two surfaces resist the tire differently. Use the table below as a practice-based starting point, then read the next section for what moves you off that number.
Starting Ranges by Soft-Terrain Situation
| Situation | Starting PSI | Condition that changes the decision |
|---|---|---|
| Soft sand | 12-15 PSI | Heavier trucks or larger tires may need the higher end of the range |
| Deep, soft snow | 10-15 PSI | Applies to loose, unpacked snow only |
| Packed snow, ice, or pavement | Vehicle-specific road pressure | Do not carry over the deep-snow range; underinflation does not improve traction here |
The deep-snow figure only applies while you're still on loose, unpacked snow. Cold weather lowers tire pressure on its own, and USTMA guidance is clear that underinflation does not give tires better grip in winter conditions and instead leaves them more vulnerable to damage. If you're transitioning onto packed snow, ice, or a plowed road, that's a road-pressure situation, not a deep-snow one.
What Moves the Starting Point
Vehicle weight, tire size and construction, cargo load, how supportive the surface actually is, temperature, and your wheel setup all push the number up or down. A heavier truck loaded with gear needs more pressure than an empty SUV on the same beach. Rather than guessing, start at the upper end of the range, drive a short distance at low speed, and watch how the tire responds; a quick look at how lower PSI changes footprint can help you judge whether you've gone too far before you commit to a lower number.

Why Airing Down Helps on Soft Terrain
Lower pressure lets the tire spread out and grip more surface area, which is why it helps on sand and snow in the first place. That same change also costs you something in control and durability, so it's worth understanding both sides before you drop pressure further than you need to.
How a Larger Footprint Reduces Digging
A tire at full pressure stays round and concentrates your vehicle's weight on a small contact patch. Drop the pressure and the sidewalls flex outward, letting the tread spread over a longer, wider area. That larger footprint means less weight pressing down on any one spot of loose sand or snow, so the tire is less likely to dig a hole and more likely to ride across the surface. This is a footprint effect, not a traction guarantee: it doesn't fix a stuck vehicle on every surface, and it works against you the moment you're back on a firm one.
What You Give Up When Pressure Drops
- Steering response gets slower. A softer tire doesn't turn as precisely, so inputs feel delayed on technical terrain.
- Sidewalls flex more. That flex increases exposure to cuts, pinch damage against rocks or ruts, and rim contact on hard impacts.
- Cornering margin shrinks. A low tire has less structure to resist sideways load, which matters if you need to make a quick correction.
- Bead retention has no universal number. There's no single PSI where a bead is guaranteed to stay seated; it depends on the wheel, tire, and load. If a bead unseats or you notice damage, stop the pressure experiment and get the tire evaluated by a qualified tire service rather than chasing a specific number.
How to Air Down and Adjust Pressure on the Trail
Once you've picked a starting range, the process is the same regardless of terrain: record your road pressure, deflate to your target, verify with a gauge, and test at low speed before adjusting further.
A Controlled Air-Down Sequence
- Write down the road pressure for each tire position before you touch a valve, so you have a target to return to later.
- Deflate each tire evenly to your chosen starting number and confirm the reading with a gauge rather than judging by the tire's shape.
- Replace valve caps and check each tire visually for cuts, bulges, or damage before you move the vehicle.
How to Decide Whether to Adjust
Drive slowly on the actual surface you're working with and pay attention to steering feel, wheelspin, and how much the sidewall flexes. If the vehicle feels stable and the tire stays within the range you started with, only make small adjustments from there, typically around 2 PSI at a time. If the vehicle keeps struggling at the low end of your starting range, that's usually a sign of a terrain or load mismatch rather than a reason to keep dropping pressure.
How to Re-Inflate Before Returning to Asphalt
Before you leave the trail, reinflate every tire to the pressure your vehicle actually calls for, and confirm it with a gauge rather than trusting the trail number. This step isn't optional: driving at normal road speed on aired-down tires affects handling and puts extra strain on a tire that's already flexing more than it should.
The On-Site Reinflation Sequence
- Find the vehicle manufacturer's recommended tire pressure on the driver-side door label or in the owner's manual. This is the target, not the maximum PSI printed on the tire's sidewall.
- Connect your inflator, set it to that target, and inflate one tire at a time, checking each reading against the inflator's gauge and a separate manual gauge.
- Repeat for every tire, including the spare if you used it, and inspect each one for damage or unusual pressure loss before moving on to the next.
When You Are Ready for Pavement
Don't resume normal-speed driving until every tire is back at its road-appropriate pressure. A tire pressure monitoring system can flag a serious drop, but it isn't a substitute for checking each tire yourself; NHTSA notes that a proper cold-pressure reading needs the vehicle parked for at least three hours, so treat a warm trailhead reading as a working number and recheck once the tires have cooled if you can.
What Portable Tire Inflator Fits Off-Road Re-Inflation?
The right inflator for this job is the one that's proven it can move enough air, fast enough, for your actual tire size and tire count, not the one with the highest maximum PSI on the box. Maximum pressure tells you the ceiling; it says nothing about how long four or six large tires will actually take.
The Capabilities That Determine Field Fit
- Tire volume and demonstrated speed. Look for a documented time-per-tire or multi-tire result at a realistic pressure range, not just a top-line PSI figure.
- Power source and workload. Battery capacity, charging options, and how the unit is meant to be recharged in the field all affect whether it can finish the job.
- Duty cycle and usability. Hose reach, gauge readability, and auto-stop behavior determine how much attention the reinflation actually takes, and any thermal or duty-cycle limits in the manual set the real ceiling on back-to-back use.
Where the X9 Ultra Fits—and Where Evidence Stops
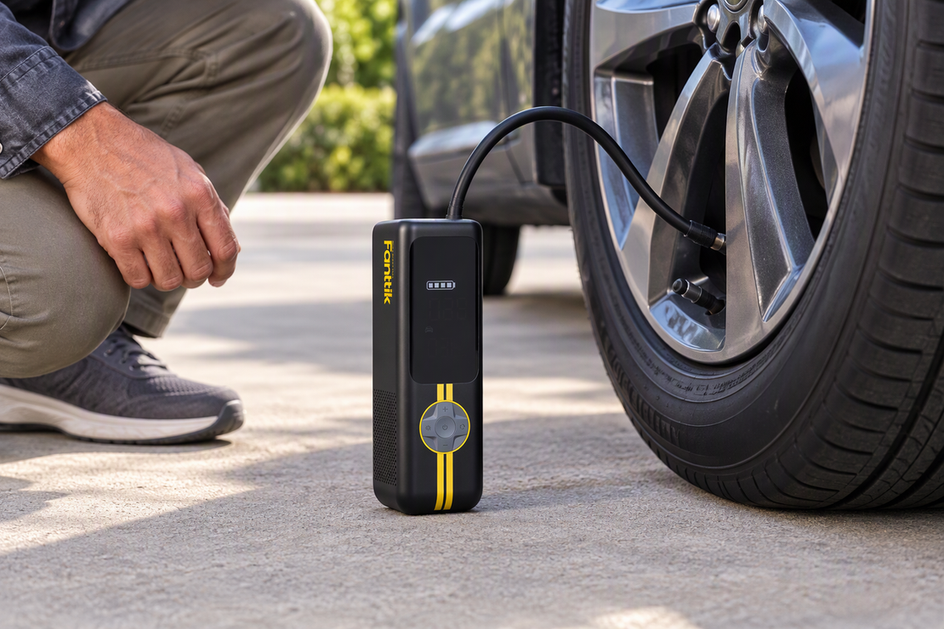
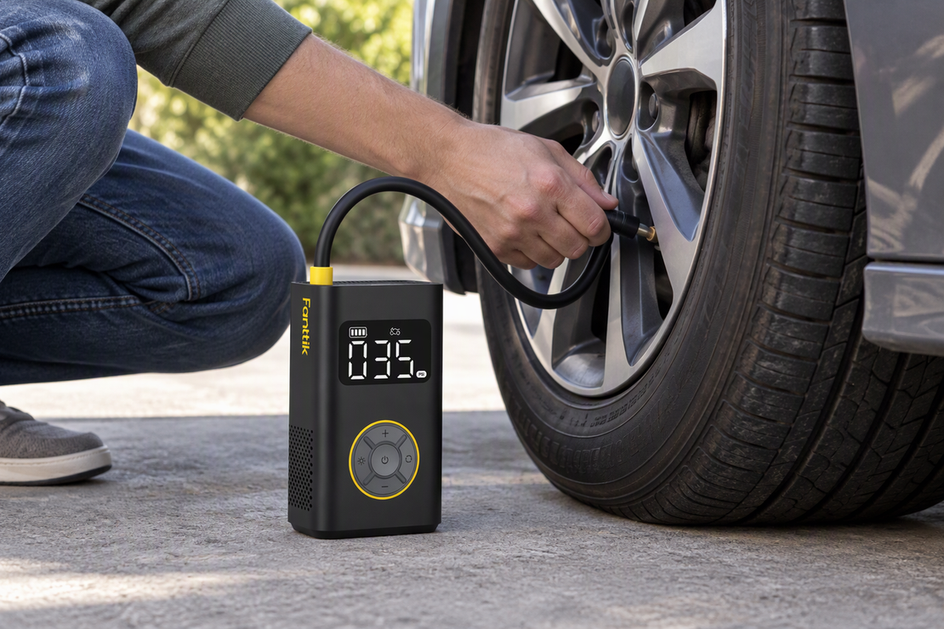
Our Fanttik X9 Ultra Tire Inflator is built for pickup truck and SUV reinflation, with a 150 PSI maximum and a documented result of 18 seconds to bring a 25-inch tire from 30 to 35 PSI, plus a stated result of 12 tires refilled from 0 to 35 PSI on its 92.5 Wh battery. That test scope makes it a reasonable candidate if your reinflation workload looks similar: a handful of pickup or SUV-sized tires per trip. If you're running larger off-road tires or a heavier multi-vehicle workload, that's outside the documented scope here, and our off-road inflator size guide covers what to check before choosing an inflator built for that larger job.

FAQs
Can I use the same tire pressure for sand and snow?
No. Treat sand (12-15 PSI) and deep, soft snow (10-15 PSI) as separate starting ranges. Once you're on packed snow, ice, or pavement, switch to your vehicle's normal road pressure instead of carrying either off-road number forward.
Should I air down for packed snow or ice?
Not as a traction fix. Underinflation doesn't improve grip on packed snow or ice, and it leaves the tire more exposed to damage. Check your pressure against the vehicle's recommended setting, especially as cold weather causes it to drop on its own, and correct it rather than deflating further.
Can TPMS confirm that my tires are ready for the road?
Not by itself. A tire pressure monitoring system can warn you about a significant drop, but it doesn't replace checking each tire with an accurate gauge against your vehicle's road-pressure target before you resume normal-speed driving.
What should I do if a tire loses its bead while airing down?
Stop immediately. Don't keep driving or try to find a specific PSI that reseats the bead yourself. A suspected bead separation or visible tire damage needs qualified tire service, since safe limits depend on your specific wheel and tire combination.
Continue reading
 TPMS Warning Light Still On After Inflating Tires: Reset Methods and Common Causes
Why a TPMS warning can stay lit after you use an air pump for car tires, plus how...
TPMS Warning Light Still On After Inflating Tires: Reset Methods and Common Causes
Why a TPMS warning can stay lit after you use an air pump for car tires, plus how...
 How to Choose the Right Foam Density and Filter Maintenance for Cordless Car Vacuums
A practical guide to matching filter families, safely washing and drying filters, and knowing when to replace them...
How to Choose the Right Foam Density and Filter Maintenance for Cordless Car Vacuums
A practical guide to matching filter families, safely washing and drying filters, and knowing when to replace them...

Leave a comment
This site is protected by hCaptcha and the hCaptcha Privacy Policy and Terms of Service apply.